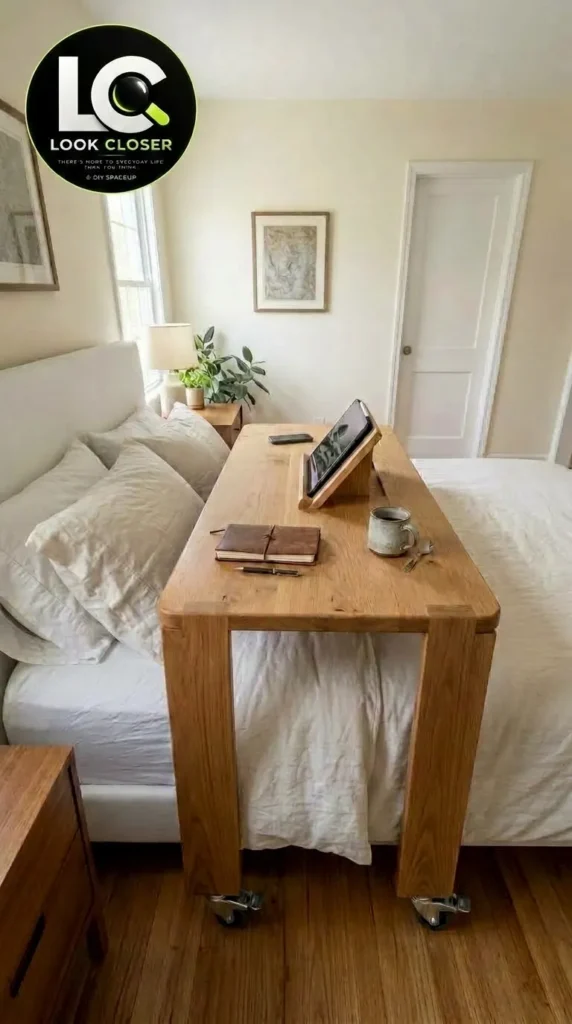
What started as unused space above the bed became a practical little work surface that can roll into position when needed and move away when the bed needs to be used normally.
The supplied project references show a simple wooden tabletop supported by a rolling base with vertical wooden members and casters. The finished version creates a compact surface for a laptop, tablet, notebook, coffee, or other everyday items without permanently filling the room with another piece of furniture.
The reference images do not establish every hidden fastening detail or the exact dimensions of the frame, so those details should be verified against the real build rather than copied as assumed specifications.
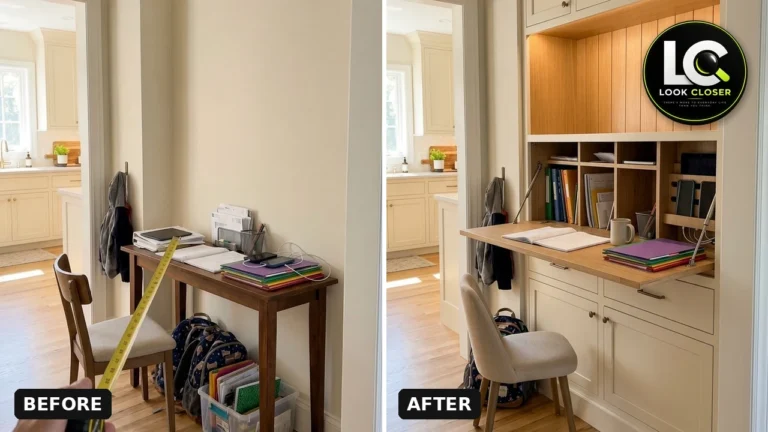
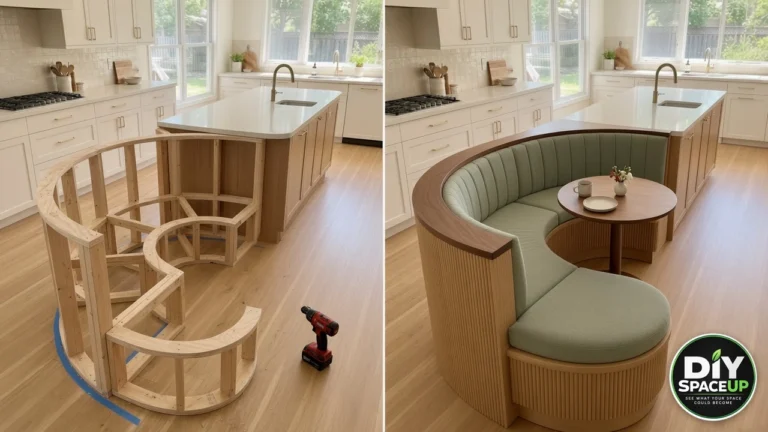
Reference note: The supplied social-post screenshot describes a window breakfast-bar project, but the attached construction and finished photographs clearly show a rolling over-bed table. This article follows the actual project visible in the photographs.
Affiliate disclosure: As an Amazon Associate, DIY SpaceUp earns from qualifying purchases. Some links below are affiliate links, which means we may earn a commission at no extra cost to you.
Table of Contents
What We’re Building
The finished project is a compact rolling table positioned over a bed.
Component
Visible function
Solid wood tabletop
Main working surface
Wooden vertical supports
Support the tabletop and create the rolling base
Casters
Allow the table to roll
Wood joinery / hardware
Connect the tabletop and supporting structure
Small tabletop stand
Holds a tablet or similar device in the finished reference
The exact internal joinery is not visible in every photograph, so the article does not assume a specific screw, bolt, dowel, or bracket system where the references do not prove it.
Why an Over-Bed Table Can Be Useful
A rolling over-bed table can be useful when a conventional desk would take up too much floor space.
The important advantage of this design is mobility.
Instead of permanently attaching a work surface to the bed or wall, the finished table can be positioned over the mattress and then rolled away when access to the bed is needed.
It can work as a:
laptop surface
reading table
breakfast surface
writing desk
tablet station
temporary bedside work surface
The exact use depends on the dimensions and stability of the completed build.
Plan the Table Around the Bed
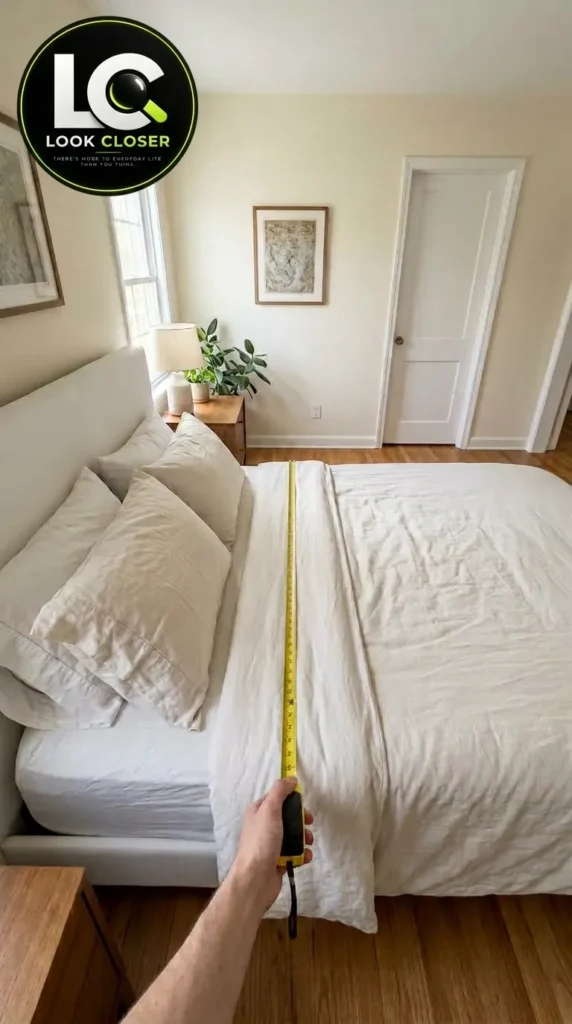
The first step is measuring the bed to determine the right dimensions for the rolling table.
Before buying lumber, measure the actual bed.
You need to know:
Mattress width
Mattress length
Mattress height from the floor
Available clearance beside the bed
Desired tabletop height
Desired tabletop depth
How far the table should extend over the mattress
Where the casters need to sit
How far the table must roll to clear the bed
Do not use the proportions visible in the photographs as exact measurements.
Leave enough clearance
The tabletop should sit high enough above the mattress to provide useful working space without creating an uncomfortable obstruction.
At the same time, avoid making the table unnecessarily tall. A taller structure generally creates more leverage on the base when someone places weight toward the edge of the tabletop.
The final height should be determined from the actual bed and intended use.
Choose the Wood
The photographs show a warm, natural wood tabletop and matching wooden support components.
A hardwood or quality furniture-grade panel can create a similar appearance, but the actual species and construction of the supplied tabletop cannot be confirmed from the photographs alone.
For a project like this, choose material that is:
straight
sufficiently thick for the intended span
free of major defects
suitable for furniture construction
compatible with the desired finish
The tabletop deserves particular attention because it becomes the largest visible component of the finished piece.
Materials
A basic materials list can include:
Wood for the tabletop
Wood for the vertical supports/base
Heavy-duty furniture casters
Appropriate screws or other structural fasteners
Wood glue if compatible with the actual joinery
Sandpaper
Wood finish
Optional tablet stand or similar tabletop accessory
The exact quantity and dimensions depend on the measurements of your bed and the frame design.
Do not select casters based only on their advertised load rating. The useful capacity of the finished table also depends on the frame, fasteners, wood, caster attachment, leverage, and how the load is distributed.
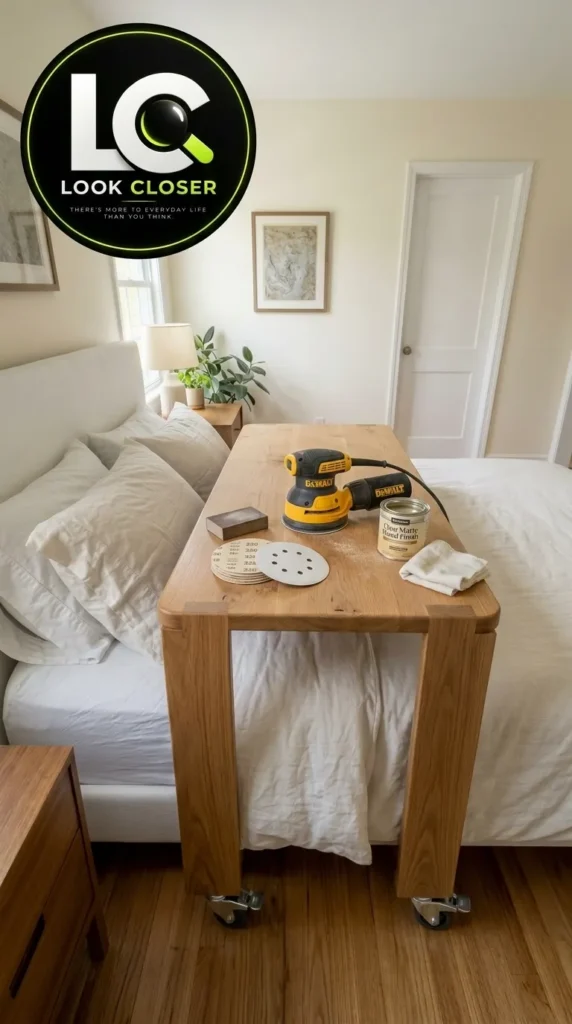
For finishing, a DEWALT Random Orbital Sander can make sanding the tabletop and supports much faster than sanding everything by hand.
Step 1: Measure the Bed and Determine the Tabletop Size
Start with the bed rather than the wood.
A STANLEY FATMAX 25-Foot Tape Measure is a practical choice for measuring the mattress, available floor space, and clearances around the bed.
Measure the mattress and the surrounding clearance.
Then determine the footprint you actually need.
The tabletop shown in the reference is large enough to create a useful working surface while remaining relatively compact inside the bedroom.
As a planning exercise, draw the tabletop footprint on paper or mark its approximate size temporarily before cutting anything.
This gives you a chance to check:
Mattress clearance
Walking clearance
Door clearance
Nearby furniture
Desired overhang
Caster position
Remember that these are planning considerations, not dimensions taken from the photographs.
Step 2: Cut and Prepare the Wooden Components
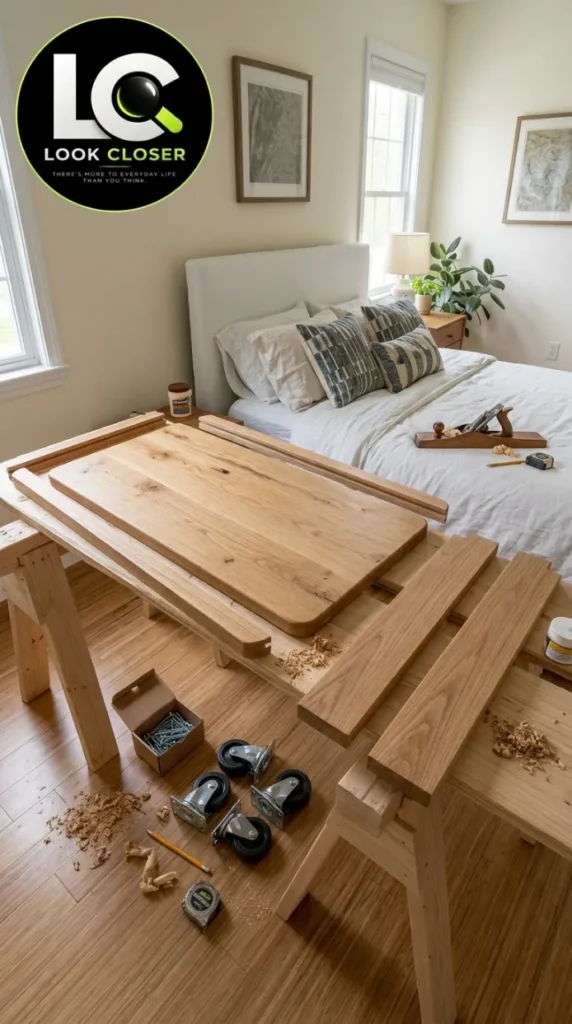
The wooden support structure and caster-mounted base are assembled before final finishing.
Cut the tabletop and support components according to your measured design.
The supplied construction references show the wooden components being progressively assembled into the rolling structure.
Before applying glue or permanently fastening anything, dry-fit the pieces.
Check:
Overall width
Overall height
Left/right symmetry where intended
Caster positions
Tabletop position
Clearance around the mattress
A dry fit is much easier to correct than a glued assembly.
Step 3: Build the Rolling Support Structure
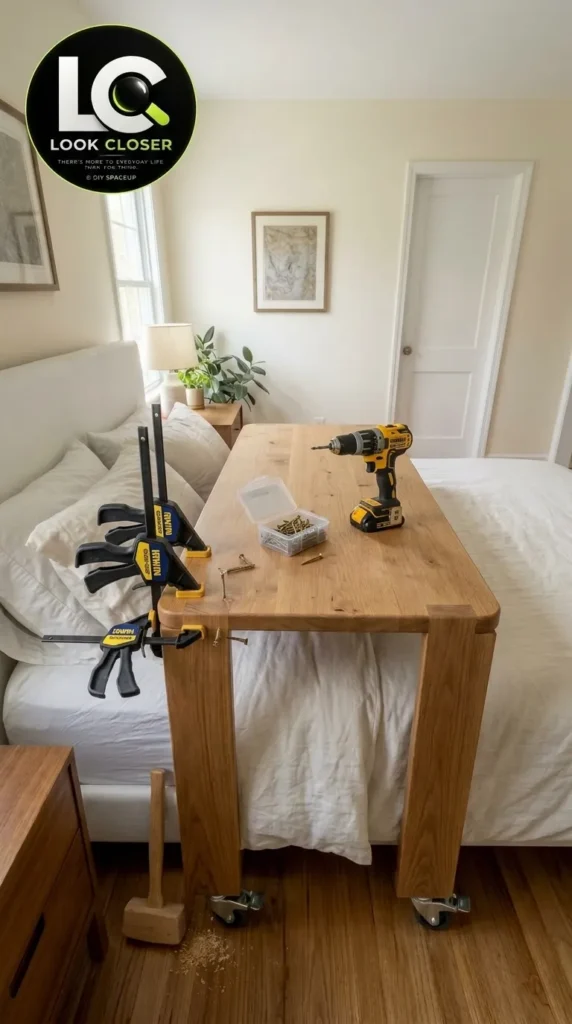
The wooden support structure and caster-mounted base are assembled before final finishing.
The vertical wooden members form the main support structure beneath the tabletop.
This is where the project becomes more than a tabletop sitting on a few pieces of wood.
The frame must resist:
Side-to-side movement
Front-to-back movement
Twisting
Loads placed toward the tabletop edge
The exact joinery shown inside the completed structure is not fully visible in the supplied references.
Use a furniture-appropriate structural connection suitable for the wood dimensions and the actual load requirements.
Do not rely on ordinary adhesive alone unless the specific adhesive and joint design are appropriate for the intended structural load.
Step 4: Install the Casters
The finished project clearly shows casters beneath the wooden supports.
For this type of mobile furniture, 4-Inch Heavy-Duty Locking Swivel Casters are worth considering because the wheel size, mounting plate, swivel action, and locking mechanism all affect how the finished table behaves.
Choose casters according to the actual construction and expected load rather than simply buying the largest wheels available. The caster mounting method also needs to match the supporting wood and the manufacturer’s installation requirements.
Position the casters so the table sits evenly and rolls without interference.
Before installing them permanently, check the caster mounting footprint against the wood.
The caster mounting method needs to match the caster manufacturer’s instructions and the thickness and type of the supporting wood.
Check the rolling footprint
With the casters installed, roll the base across the floor before attaching the tabletop.
Look for:
Wobble
Binding
Uneven wheel contact
Caster interference
Excessive movement
Floor clearance problems
If the base does not roll properly when empty, adding the tabletop will not solve the problem.
Step 5: Attach the Tabletop
Once the rolling base is stable, position the wooden tabletop.
The tabletop should be centered and securely connected to the supporting structure.
Check its position from above and from each side before making the final connections.
The reference images show a clean wooden top with rounded outer corners and a warm natural finish.
If you want to reproduce that appearance, spend time getting the tabletop edges smooth and consistent before assembly.
Step 6: Sand the Entire Assembly
The assembled wooden table is sanded and prepared for its final finish.
Sand the tabletop and exposed support components progressively.
Pay particular attention to:
Tabletop edges
Corners
End grain
Areas around fasteners
Hand-contact surfaces
The finished project has a furniture-like appearance, so rough construction edges would be especially noticeable.
Break sharp edges slightly rather than leaving knife-sharp corners.
This is particularly important for furniture that will be used beside a bed.
Step 7: Apply the Finish
The reference shows a natural warm wood appearance.
A clear or lightly tinted furniture finish can preserve that character, but the exact finish used in the project cannot be confirmed from the photographs.
Choose a finish appropriate for the wood and intended indoor use.
Apply it according to the manufacturer’s instructions and allow adequate curing time before placing the table over the bed.
Do not assume that a finish is ready for use simply because it feels dry to the touch.
Step 8: Add the Tabletop Accessory
The finished reference includes a small wooden stand positioned on the tabletop, supporting a tablet or similar device.
This is a secondary accessory rather than part of the structural table.
Keep that distinction clear.
The table should remain structurally stable without the accessory.
If you add a tablet stand, make sure it does not create an awkward edge hazard or interfere with normal use of the tabletop.
Step 9: Test the Table Before Using It
Before placing a laptop, drink, or other valuable object on the finished table, test the complete assembly.
Roll it into position.
Check:
Does it roll smoothly?
Does it remain stable when stopped?
Do all casters contact the floor?
Does the tabletop remain level?
Does the frame flex excessively?
Does the table interfere with the mattress?
Can it be removed from the bed easily?
Are any fasteners loosening?
Are there sharp edges?
Do not treat a smooth rolling motion as proof of structural capacity.
Load and Stability Considerations
This is one area where the photographs cannot provide a universal answer.
The safe working load depends on the complete system.
Variable
Why it matters
Tabletop thickness
Affects stiffness and span
Tabletop size
Larger projection increases leverage
Wood species/material
Changes stiffness and strength
Support spacing
Changes how the top carries loads
Joinery
Determines how forces transfer through the frame
Fasteners
Their type, size, placement, and connection matter
Caster attachment
Transfers the load into the rolling base
Load position
Edge loads create more leverage than centered loads
Floor condition
Uneven floors can affect stability
Because the hidden construction and exact material specifications are not visible in the supplied references, no universal weight capacity should be assigned to this particular table from the photographs alone.
If the table will support something unusually heavy, have the actual design and connections evaluated rather than relying on a generic DIY load estimate.
Safety Checklist
Before using an over-bed rolling table:
All structural connections are secure.
Casters are properly attached.
The table rolls without binding.
The tabletop does not wobble excessively.
Sharp corners and edges have been addressed.
The table does not interfere with getting in or out of bed.
The table can be moved away when necessary.
The load is kept within the capacity of the actual construction.
Drinks and electronics are positioned where accidental spills are less likely.
Finishes have fully cured before normal use.
Children should not climb, hang from, or play on the table.
If the table is used over a sleeping area, stability deserves particular attention. A rolling piece of furniture should never become something a person could reasonably lean against and cause to tip.
Estimated Project Cost
A reasonable planning budget for a simple version is roughly $150–$500+, depending heavily on the wood, casters, finish, and tools already owned.
Category
Planning range
Tabletop wood
$50–$200+
Support lumber
$30–$100+
Casters
$25–$80+
Fasteners / hardware
$15–$50
Sandpaper and finish
$20–$60
Optional tabletop accessory
$10–$50+
Tools
$0–$300+ if already owned
Premium hardwood, custom milling, specialty casters, or new power tools can push the project above these ranges.
Mistakes to Avoid
Mistake
Better approach
Choosing the tabletop size first
Measure the bed and available clearance first
Guessing dimensions from the photo
Measure the actual bedroom
Attaching casters as an afterthought
Design the rolling base around their footprint
Using weak decorative connections
Use appropriate structural joinery
Making the table unnecessarily tall
Keep the center of gravity and leverage in mind
Skipping the dry fit
Assemble the structure temporarily before final fastening
Ignoring floor clearance
Test the rolling base on the actual floor
Assuming a caster rating equals table capacity
Evaluate the entire structure
Leaving sharp tabletop edges
Sand and ease exposed edges
Using the table before finish has cured
Follow the finish manufacturer’s curing instructions
Adding accessories that make the top unstable
Keep secondary accessories compact and secure
How to Keep the Finished Table Useful
The biggest advantage of this design is flexibility.
Keep the tabletop relatively uncluttered so the table can still perform different jobs.
For example, the finished reference uses a combination of a tablet, notebook, pen, and drink. That demonstrates how the same surface can become a small personal workspace without requiring a permanent desk.
When the table is not needed, roll it away rather than leaving it in a position where it obstructs the bed.
Periodically inspect the caster fasteners and structural joints, particularly if the table is moved frequently.
Final Thoughts
The finished rolling over-bed table provides a compact, movable workspace above the bed.
This project demonstrates how a relatively small piece of furniture can make use of an otherwise awkward area above a bed.
The key is not simply building a wooden top.
The useful part of the design is the combination of a properly sized tabletop, a stable supporting structure, and a rolling base that allows the entire piece to move when the room needs to be used differently.
Because the supplied photographs do not reveal every fastening detail or provide exact measurements, the safest way to reproduce the project is to copy the visible design and proportions while sizing the structural components, hardware, and clearances for your own bed and actual room.
We use cookies and similar technologies to help our website function properly, understand how visitors use the site, and improve your experience. You can accept or manage your preferences at any time. Some features may not work as intended if certain cookies are disabled.
Functional
Always active
The technical storage or access is strictly necessary for the legitimate purpose of enabling the use of a specific service explicitly requested by the subscriber or user, or for the sole purpose of carrying out the transmission of a communication over an electronic communications network.
Preferences
The technical storage or access is necessary for the legitimate purpose of storing preferences that are not requested by the subscriber or user.
Statistics
The technical storage or access that is used exclusively for statistical purposes.The technical storage or access that is used exclusively for anonymous statistical purposes. Without a subpoena, voluntary compliance on the part of your Internet Service Provider, or additional records from a third party, information stored or retrieved for this purpose alone cannot usually be used to identify you.
Marketing
The technical storage or access is required to create user profiles to send advertising, or to track the user on a website or across several websites for similar marketing purposes.