That narrow space beneath an upper kitchen cabinet usually does very little. Meanwhile, spice jars take over shelves, countertops, and drawers.
This project turns that overlooked space into something genuinely useful: a two-tier pull-out tilt-down spice rack that stays tucked beneath the cabinet when closed and brings your most-used seasonings forward when you need them.
The clever part is the movement.
The rack does not simply tilt against the backsplash. It first travels forward on two side slides. Once it has enough clearance from the wall and cabinet, it tilts downward for easy access.
To close it, the movement happens in reverse: tilt it back up, then slide the entire rack into its frame beneath the cabinet.
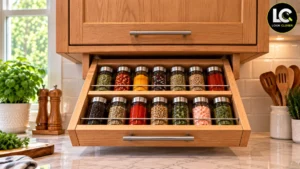
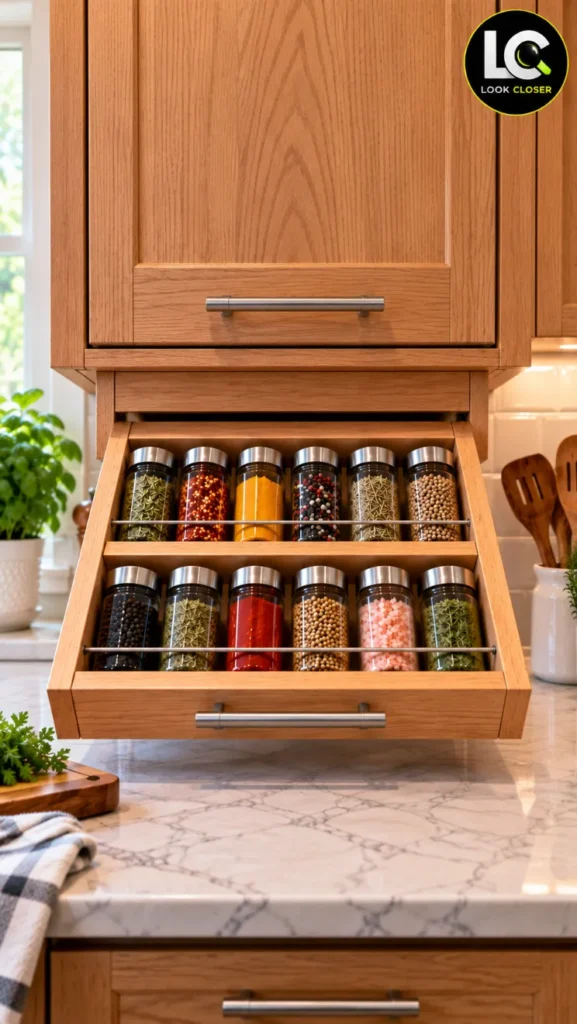
The spice rack pulls forward from its hidden frame before tilting down, giving easy access to both rows of jars.
Affiliate disclosure: As an Amazon Associate, DIY SpaceUp earns from qualifying purchases. Some links below are affiliate links, which means we may earn a commission at no extra cost to you.
Table of Contents
How the Hidden Spice Rack Works
The system has four main parts:
Part
What It Does
Fixed wooden frame
Creates the housing beneath the cabinet
Left and right slides
Move the rack forward and backward
Pivot/tilt mechanism
Allows the rack to rotate downward
Two-tier wooden rack
Holds the spice jars
The opening sequence is simple:
Pull forward → clear the backsplash → tilt down → access the spices.
To close:
Tilt up → align → slide backward → store.
This forward movement is essential. Without it, the rear of a deep rack could collide with the backsplash as you tried to tilt it.
Before Building: Measure Your Kitchen
Don’t start by copying someone else’s dimensions.
Start with your cabinet.
Measure the available space carefully because the final dimensions depend on your cabinet, slides, jars, and backsplash clearance.
Measurement
Why It Matters
Cabinet width
Determines maximum rack width
Cabinet depth
Determines how much rack can hide underneath
Available height
Determines rack and frame height
Backsplash clearance
Determines when the rack can tilt
Counter clearance
Prevents collision when fully open
Spice jar diameter
Determines shelf depth
Spice jar height
Determines tier spacing
Slide thickness
Determines final rack width
Measure in several places. Cabinets and walls aren’t always perfectly square.
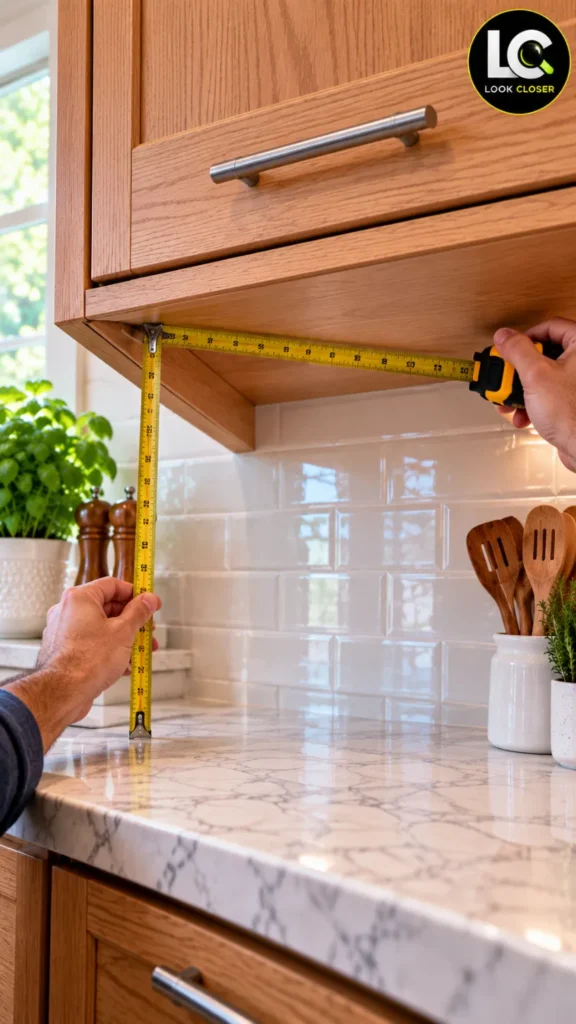
Measure the available cabinet space carefully before sizing the rack, frame, and slide system.
Choosing the Right Slides
This is one component worth selecting carefully.
The slides need to carry the combined weight of the wooden rack, pivot hardware, retaining rods, glass jars, and spices.
They also need enough travel to move the rack forward before it tilts.
Full-extension ball-bearing slides are a practical option to investigate because they provide substantial forward travel. Follow the manufacturer’s specified load rating, mounting orientation, required side clearance, and installation instructions.
Many common side-mount slides require approximately 1/2 inch of clearance on each side, but this is not universal. Always build around the specifications of the exact slides you buy.
Materials You’ll Need
For a natural cabinet look, hardwood such as oak works beautifully. Cabinet-grade plywood is another practical choice, particularly for a painted version.
Material
Purpose
Hardwood or cabinet-grade plywood
Spice rack
Matching wood
Fixed under-cabinet frame
2 full-extension slides
Forward/backward movement
Pivot/support hardware
Tilt-down movement
Metal retaining rods
Keep jars contained
Cabinet pull
Opening the rack
Wood glue
Assembly
Wood screws/fasteners
Assembly and installation
Sandpaper
Finishing
Stain, paint, or clear coat
Final finish
If you want uniform jars like those shown in the finished organizer, choose them before finalizing the shelf dimensions. 4 oz glass spice jar set with metal lids
Tools
You’ll need a tape measure, square, pencil, drill/driver, appropriate saw, clamps, level, drill bits, countersink bit, and sander.
A drawer-slide installation jig is optional but useful because the two slides need to remain parallel and at exactly corresponding heights. Drawer slide installation jig
Step 1: Build the Two-Tier Spice Rack
Build the organizer on a workbench before touching the kitchen cabinet.
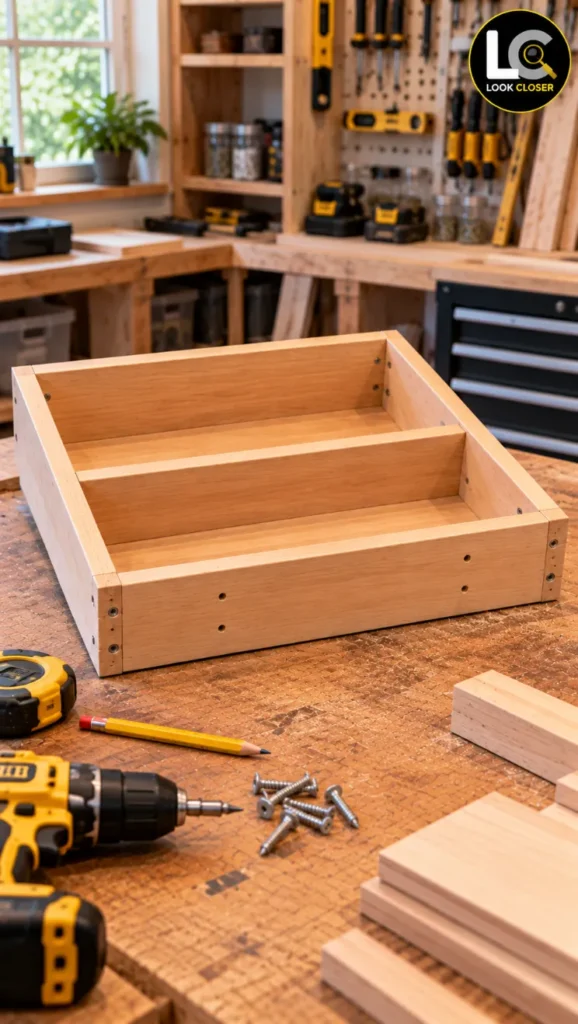
The two-tier wooden spice rack is assembled and checked on the workbench before the sliding and tilt-down mechanism is installed.
Cut the two side panels, bottom, front and rear components, and raised second tier according to your measurements.
Dry-fit everything before applying glue.
Check that the assembly is square by measuring diagonally from opposite corners. The two diagonal measurements should match.
Assemble the lower section, clamp it securely, and verify square again before the glue sets.
Then add the raised rear tier.
Before permanently fixing its height, place your actual jars in both rows.
You should be able to see and remove jars from the rear row without first emptying the front row.
Step 2: Add the Jar-Retention Rails
Because the organizer tilts, the jars need protection against falling forward.
The design uses a slim horizontal metal retaining rod across each row.
Position each rod high enough to catch the body of the jars but low enough that the jars remain easy to remove.
Test this before installation.
Using empty jars, slowly rotate the organizer by hand through approximately the angle it will reach when installed.
The containers should remain safely behind the retaining rails.
Step 3: Build the Fixed Frame
The frame beneath the upper cabinet is critical.
It provides the structure that supports the slides and creates the space into which the rack retracts when closed.
The frame depth should work with the available cabinet depth and selected slide length.
Its internal width must also account for the clearance required by both slides.
Keep the frame square.
If the left and right sides aren’t parallel, the slides may bind.
Step 4: Install the Left and Right Slides
Install the slides according to their manufacturer’s instructions.
The two sides should be parallel, level, and positioned at matching heights.
Even a small alignment error can make a loaded rack difficult to move.
Before adding the tilt mechanism, test only the horizontal movement.
Pull the assembly completely forward and push it back several times.
It should travel smoothly without twisting, scraping, or binding.
If something feels wrong now, fix it before continuing.
Step 5: Find the Correct Tilt Position
This is the detail that makes the project physically work.
Pull the rack forward until its rear and upper edges have enough clearance from the backsplash and cabinet to rotate downward.
If the movement changes noticeably, unload the rack before investigating.
A normal preparation-counter area away from direct cooking heat is preferable. If installation is near a cooktop, range hood, electrical equipment, or under-cabinet lighting, verify the applicable manufacturer clearances and local requirements first.
Frequently Asked Questions
Why can’t the rack simply tilt down?
Because its rear portion follows an arc. Without enough clearance, a deep rack could hit the backsplash or cabinet. Sliding it forward first creates the space required for rotation.
Does it need slides on both sides?
This design uses matched left and right slides to support and guide the moving assembly.
Should I use full-extension slides?
They are worth considering because substantial forward travel is useful here. The final choice should still depend on the required travel, load, mounting orientation, and available depth.
Can I make the rack wider?
Yes, potentially, but additional width increases weight and flex. Reassess the material thickness, slides, pivot hardware, and frame rather than simply enlarging every dimension.
Can I use plywood?
Yes. Quality cabinet-grade plywood can be a practical choice. Finish exposed edges appropriately.
Can I install this under any cabinet?
No. You need adequate depth, width, opening clearance, and suitable structural attachment points.
What keeps the jars from falling?
The raised wooden edges and metal retaining rods contain the jars. Always test the finished rack using your actual containers before regular use.
Before You Load It: Final Checklist
Check
Done
Cabinet width and depth measured
□
Actual spice jars measured
□
Fixed frame square
□
Both slides parallel and level
□
Correct slide clearance provided
□
Enough forward travel before tilt
□
Rack clears backsplash
□
Pivot movement tested
□
Retaining rails tested
□
Empty movement test completed
□
Loaded movement test completed
□
Frame structurally secured
□
No electrical or appliance interference
□
The Small Detail That Makes the Whole Idea Work
The finished rack looks simple because most of the engineering disappears when it closes.
But the key is the order of movement.
Pull forward → clear the cabinet → tilt down.
Then:
Tilt up → align → slide back.
The slides prevent the rack from trying to rotate through the backsplash, while the fixed frame gives the organizer somewhere to disappear when it is closed.
That is why this project should be built around your cabinet dimensions, your spice jars, and the specifications of your hardware rather than copied from a universal cut list.
Measure first, test the complete movement while empty, add weight gradually, and only then fill it with your everyday spices.
The result is a small kitchen upgrade that turns genuinely wasted space into storage you can use every day.
We use cookies and similar technologies to help our website function properly, understand how visitors use the site, and improve your experience. You can accept or manage your preferences at any time. Some features may not work as intended if certain cookies are disabled.
Functional
Always active
The technical storage or access is strictly necessary for the legitimate purpose of enabling the use of a specific service explicitly requested by the subscriber or user, or for the sole purpose of carrying out the transmission of a communication over an electronic communications network.
Preferences
The technical storage or access is necessary for the legitimate purpose of storing preferences that are not requested by the subscriber or user.
Statistics
The technical storage or access that is used exclusively for statistical purposes.The technical storage or access that is used exclusively for anonymous statistical purposes. Without a subpoena, voluntary compliance on the part of your Internet Service Provider, or additional records from a third party, information stored or retrieved for this purpose alone cannot usually be used to identify you.
Marketing
The technical storage or access is required to create user profiles to send advertising, or to track the user on a website or across several websites for similar marketing purposes.