A simple round mirror transformed into warm sunburst wall decor using natural wooden clothespins and a carefully spaced radial pattern.
DIY Clothespin Sunburst Mirror: An Easy Wood Wall Decor Project
See how an ordinary round mirror and wooden clothespins can become an affordable sunburst-style wall decoration with careful measuring, spacing, gluing and secure mounting.
It was clean, bright, and perfectly usable—but it felt unfinished.
Instead of buying an expensive decorative mirror, we started with something much simpler: one round mirror and a collection of ordinary wooden clothespins.
By arranging the clothespins in a repeating circle around the mirror, those inexpensive everyday pieces become a surprisingly warm sunburst-style frame.
The best part? There is no complicated woodworking involved.
This project is mostly about accurate measuring, consistent spacing, careful gluing, and secure wall mounting.
What We’re Actually Building
The reference project uses a round mirror as the center with natural wooden spring clothespins radiating outward around its entire circumference.
The clothespins remain recognizable as clothespins—the metal springs are part of the finished look.
Component
Purpose
Round mirror
Center of the project
Wooden clothespins
Creates the sunburst frame
Hot glue
Secures decorative pieces
Measuring tape
Determines final size and wall placement
Pencil/temporary marks
Helps establish center and spacing
Hanging hardware
Secures finished mirror to wall
There is no painted finish, no additional wood backing visible, and no complicated joinery in the reference design.
Step 1: Measure the Wall Before Building
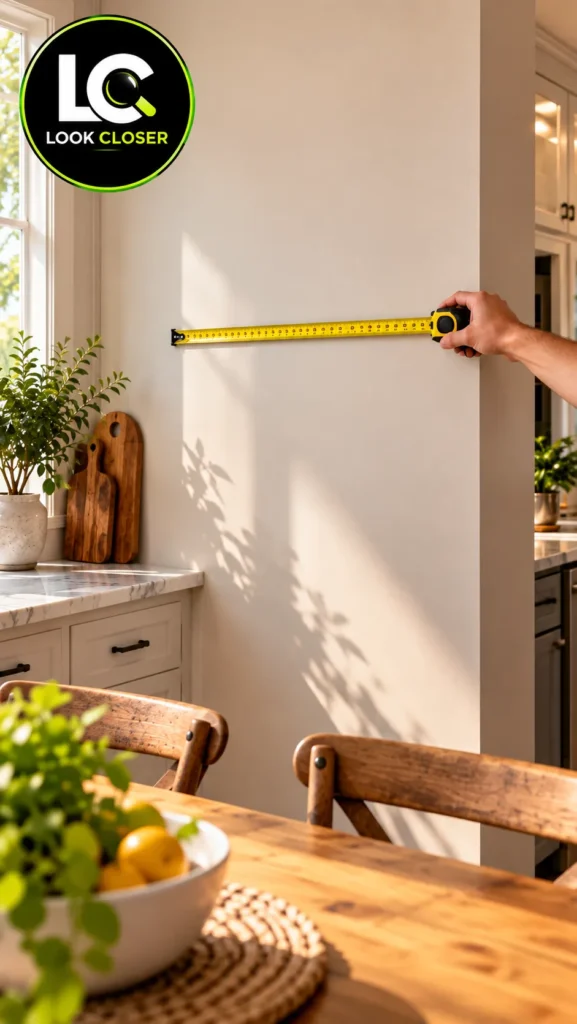
Our BEFORE image shows this happening first.
The available wall is measured horizontally before the mirror is installed.
That matters because you’re not sizing only the round mirror.
You’re sizing the finished sunburst.
If your mirror is 16 inches in diameter and the clothespins extend approximately 2½ inches beyond its edge, for example, the finished piece could approach:
16 + 2.5 + 2.5 = 21 inches
That’s an example only. Measure your actual mirror and clothespins.
Measure the available wall space before building the mirror so the finished clothespin sunburst has enough clearance around it.
This establishes the real location before construction.
The mirror should have a firm perimeter capable of supporting the decorative treatment.
The reference uses a simple round mirror with a thin dark rim. That dark line remains subtly visible inside the wooden sunburst and gives the design a cleaner center.
Don’t buy the mirror based on diameter alone.
Check its weight and, especially, how the manufacturer intends it to be hung.
That’s important because the decorative clothespins should not become the structural hanging system.
A simple round wall mirror with a thin metal frame is the closest match to this project.
Step 3: Choose Matching Wooden Clothespins
This project looks simple, but inconsistent clothespins will quickly make the circle look uneven.
A few may be warped, cracked or visually different enough that you won’t want them in the final ring.
Step 4: Decide the Pattern Before Gluing
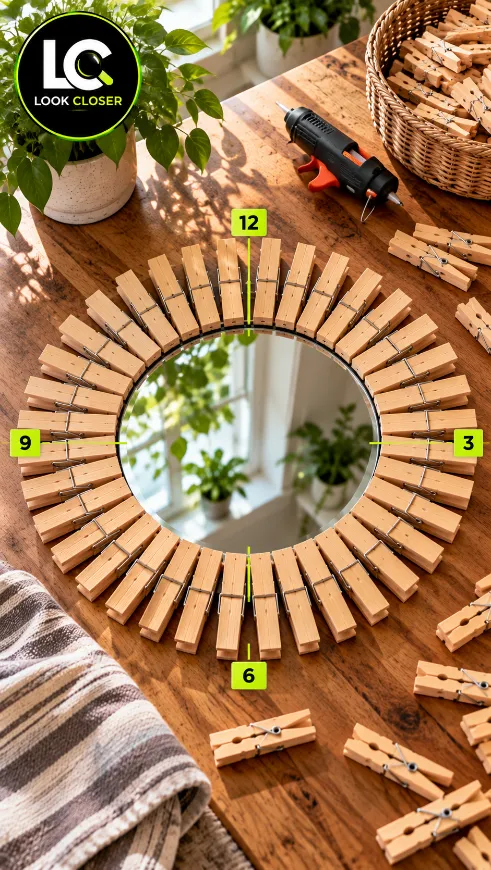
Start by setting clothespins at the 12, 3, 6 and 9 o’clock positions, then divide each section evenly to keep the sunburst pattern balanced.
This is where the project can either look handmade in a good way—or simply uneven.
Place the mirror face-up on a flat, protected table, as shown in our MIDDLE reference.
Start positioning clothespins around the perimeter without glue.
Do not permanently attach the first one immediately.
Instead, establish the repeating geometry first.
A Simple Spacing Trick
Think of the mirror as a clock.
Temporarily establish positions at:
12 → 3 → 6 → 9 o’clock
Then divide each quarter again.
Continue filling the spaces symmetrically.
This prevents a common problem: placing dozens of clothespins beautifully and discovering that the final gap is too small—or too large—for the last one.
Step 5: Keep Every Clothespin Pointing Radially
Each clothespin should visually point away from the center of the mirror.
Imagine invisible lines extending from the exact center of the mirror outward.
Each clothespin follows one of those lines.
That radial consistency is what creates the sunburst effect.
Don’t worry about making the wood look machine-perfect. Small natural differences in grain are part of the charm.
But spacing and direction should remain intentional.
Step 6: Glue the Clothespins One Section at a Time
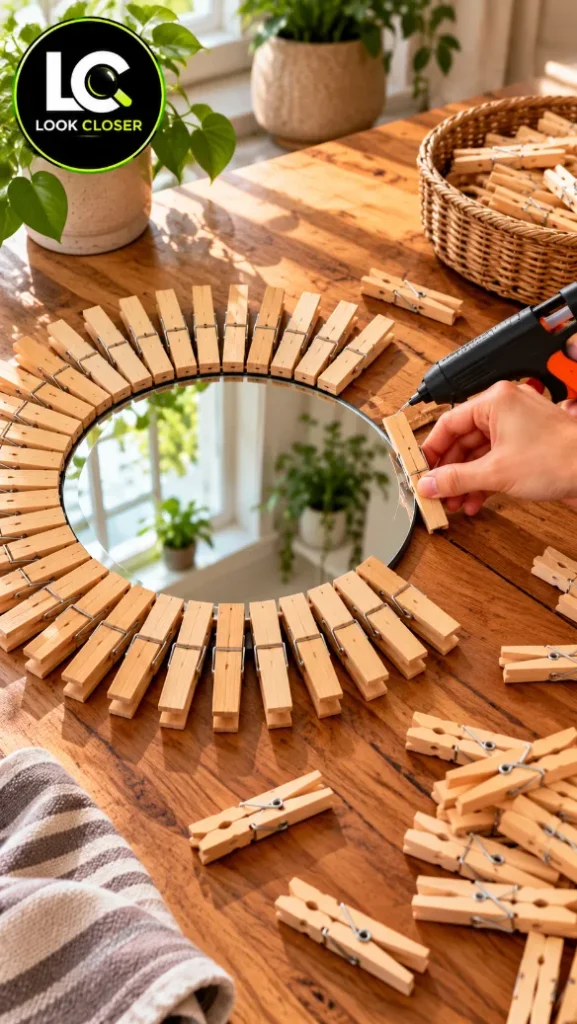
Now we reach the stage shown in the construction photo.
The mirror is flat on the wooden table, the clothespins are arranged around its perimeter, and a hot glue gun is being used to secure them.
Wooden clothespins are attached one at a time around the round mirror, keeping the radial spacing consistent to create the sunburst pattern.
Work in small sections rather than removing the entire dry layout.
Lift one clothespin, apply the appropriate amount of adhesive to the actual contact surface, return it to its established position and hold it until stable.
Hot glue works well for many lightweight craft applications, but adhesion depends on the actual materials and surfaces involved.
If the clothespins are being bonded directly to glass rather than a frame or backing surface, verify that your chosen adhesive is suitable for glass-to-wood bonding.
A product such as E6000 Craft Adhesive may provide a more durable bond for compatible materials, but it cures much more slowly and should be used according to its ventilation and manufacturer instructions.
Do not assume hot glue is structurally permanent simply because it feels solid after a few seconds.
Step 7: Complete the Full Circle Before Hanging
Continue the same pattern until the entire perimeter is filled.
Then stop.
Don’t immediately lift the mirror vertically.
Let the adhesive fully set or cure according to the product instructions.
Inspect the circle from directly above.
Look for:
one clothespin noticeably farther out;
inconsistent gaps;
crooked pieces;
loose springs;
visible excess adhesive;
clothespins that aren’t securely attached.
This is much easier to correct while the mirror is still lying flat.
Step 8: Measure the Finished Diameter Again
Remember the first measurement?
Now it matters again.
Measure the finished sunburst from its widest points.
Then return to the wall and verify that the completed piece still fits comfortably within the intended area.
For a composition like the reference, the mirror should have enough negative space around it to feel intentional rather than squeezed between the window, doorway and furniture.
Step 9: Find the Correct Hanging Height
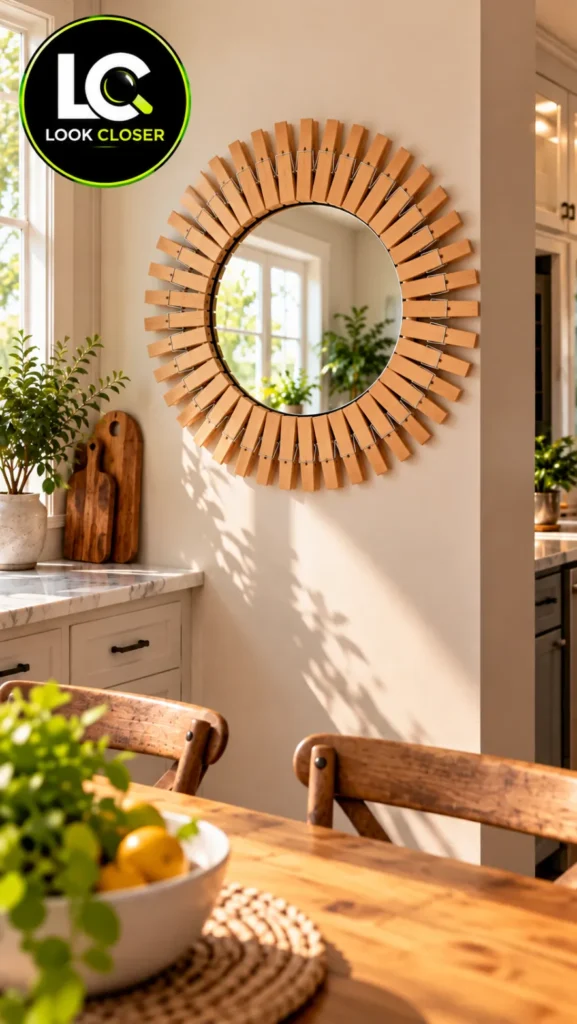
The AFTER image places the finished mirror prominently on the open wall above the dining area.
There isn’t one mandatory height for decorative mirrors.
Instead, consider:
furniture height;
average eye level;
mirror diameter;
surrounding architectural features;
visual center of the available wall.
Before drilling, have someone hold the mirror—or make a lightweight paper template of its finished size—and step back.
View it from the dining area and from the adjoining kitchen.
Small height changes can make a surprisingly large visual difference.
Step 10: Hang the Mirror From Its Structural Hardware
This is the most important safety point in the project.
Never hang the finished mirror by a clothespin.
The clothespins are decorative.
The mirror’s actual mounting hardware must support the mirror.
If a stud cannot be used and the mirror’s installation instructions permit an anchor system, choose properly rated drywall anchors based on the wall construction and actual finished weight.
Never choose an anchor simply because its advertised rating exceeds the mirror’s weight. Installation conditions and wall material matter too.
Hot Glue Safety
The project looks harmless, but hot-melt adhesive can cause significant burns.
Use a heat-resistant work surface, keep fingers away from the nozzle and fresh adhesive, and never leave a powered glue gun unattended.
A Sili Mat Silicone Craft Mat can protect the table from accidental glue drips and makes cleanup much easier.
Also keep loose cloth, children and pets away from the active work area.
How Many Clothespins Will You Need?
The exact number depends on the mirror diameter, clothespin width and desired spacing.
Don’t rely on a number copied from another project.
A simple planning method is:
Mirror circumference = π × diameter
For example, a 16-inch mirror has a circumference of approximately:
3.1416 × 16 = 50.3 inches
You can then compare that circumference with the actual width occupied by each clothespin at the attachment point.
Because the pieces radiate outward, the outer gaps naturally become wider.
Always dry-fit before purchasing based solely on a calculation.
Affiliate disclosure: As an Amazon Associate, DIY SpaceUp earns from qualifying purchases. Some links below are affiliate links, which means we may earn a commission at no extra cost to you.
Approximate Project Cost
This is one reason the idea is attractive.
Item
Relative Cost
Round mirror
Medium
Wooden clothespins
Low
Adhesive
Low
Hanging hardware
Low
Glue gun if already owned
$0 additional
New basic glue gun
Low
Total
Generally budget-friendly
The mirror will normally represent the largest share of the project cost.
If you already own a suitable round mirror, the transformation becomes considerably cheaper.
Common Mistakes to Avoid
Mistake
Better Approach
Starting to glue immediately
Dry-fit the full pattern first
Using different clothespin sizes
Use one matching set
Eyeballing the first pieces randomly
Establish 12/3/6/9 positions
Letting pieces drift sideways
Keep them radial to the center
Using too much hot glue
Apply controlled amounts at contact points
Lifting before adhesive cures
Let the assembly remain flat
Hanging from a clothespin
Use the mirror’s structural hanger
Choosing wall anchors by guesswork
Match hardware to wall type and weight
Making the sunburst before measuring the wall
Check the final diameter first
Final Quality Check
Before the mirror goes on the wall, gently inspect every clothespin.
Nothing should move independently or feel loose.
Look at the complete circle from a distance. The outer silhouette should appear balanced, even though the natural wood grain will vary slightly.
Check that no dried glue is visible on the mirror face.
Finally, verify the wall attachment one more time before releasing the mirror.
The finished mirror turns simple natural wooden clothespins into a warm sunburst frame that adds character to the previously empty wall.
From Empty Wall to Something Personal
The BEFORE image was simply an empty wall and a tape measure.
The MIDDLE looked almost too simple: a round mirror, a pile of clothespins and a glue gun.
But repetition changes the material.
One ordinary clothespin still looks like something from the laundry room. Dozens of them carefully arranged around a circle begin to look like a warm wooden sunburst.
That’s what makes this project worth trying.
It doesn’t require an elaborate workshop or expensive lumber.
It requires patience, consistent spacing, careful adhesion and secure mounting.
And sometimes that’s enough to turn an overlooked wall into the part of the room people notice first.
We use cookies and similar technologies to help our website function properly, understand how visitors use the site, and improve your experience. You can accept or manage your preferences at any time. Some features may not work as intended if certain cookies are disabled.
Functional
Always active
The technical storage or access is strictly necessary for the legitimate purpose of enabling the use of a specific service explicitly requested by the subscriber or user, or for the sole purpose of carrying out the transmission of a communication over an electronic communications network.
Preferences
The technical storage or access is necessary for the legitimate purpose of storing preferences that are not requested by the subscriber or user.
Statistics
The technical storage or access that is used exclusively for statistical purposes.The technical storage or access that is used exclusively for anonymous statistical purposes. Without a subpoena, voluntary compliance on the part of your Internet Service Provider, or additional records from a third party, information stored or retrieved for this purpose alone cannot usually be used to identify you.
Marketing
The technical storage or access is required to create user profiles to send advertising, or to track the user on a website or across several websites for similar marketing purposes.