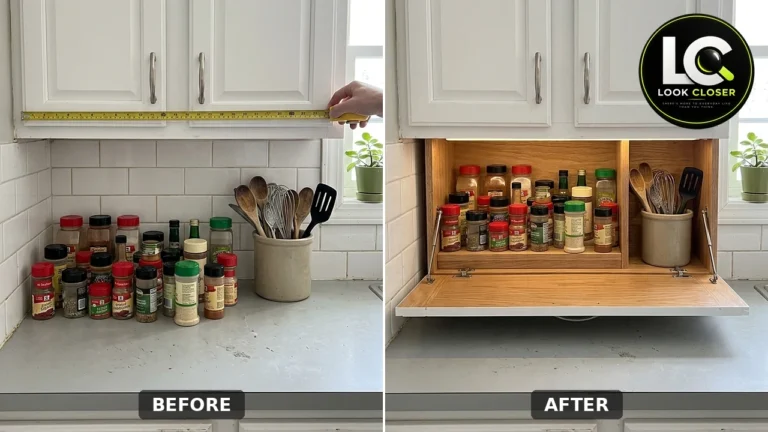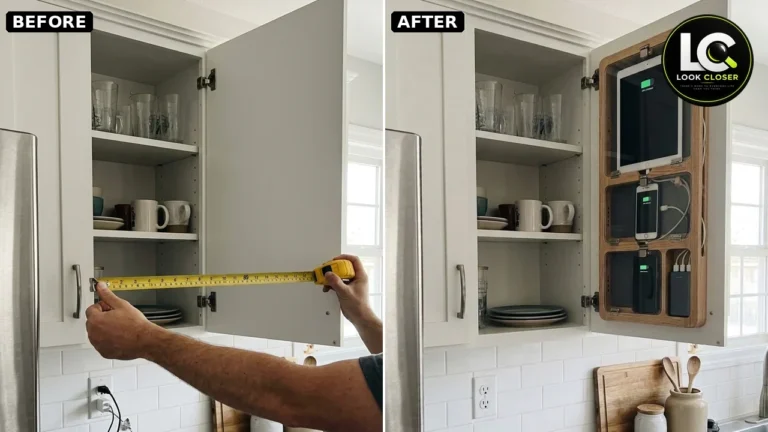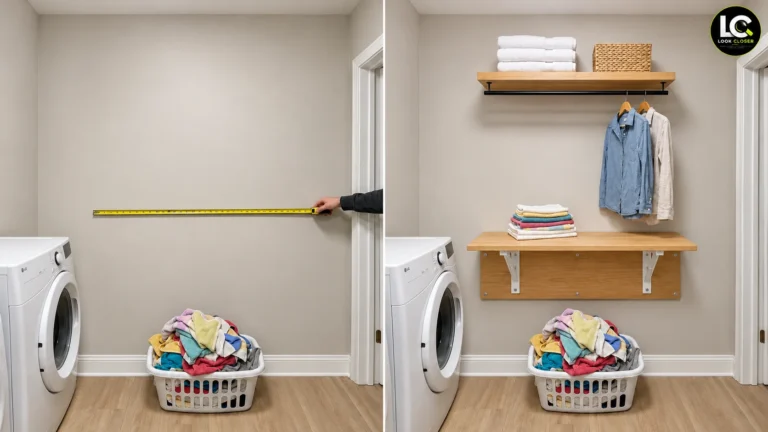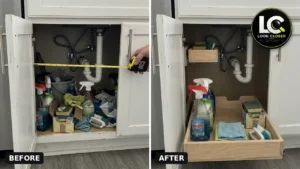

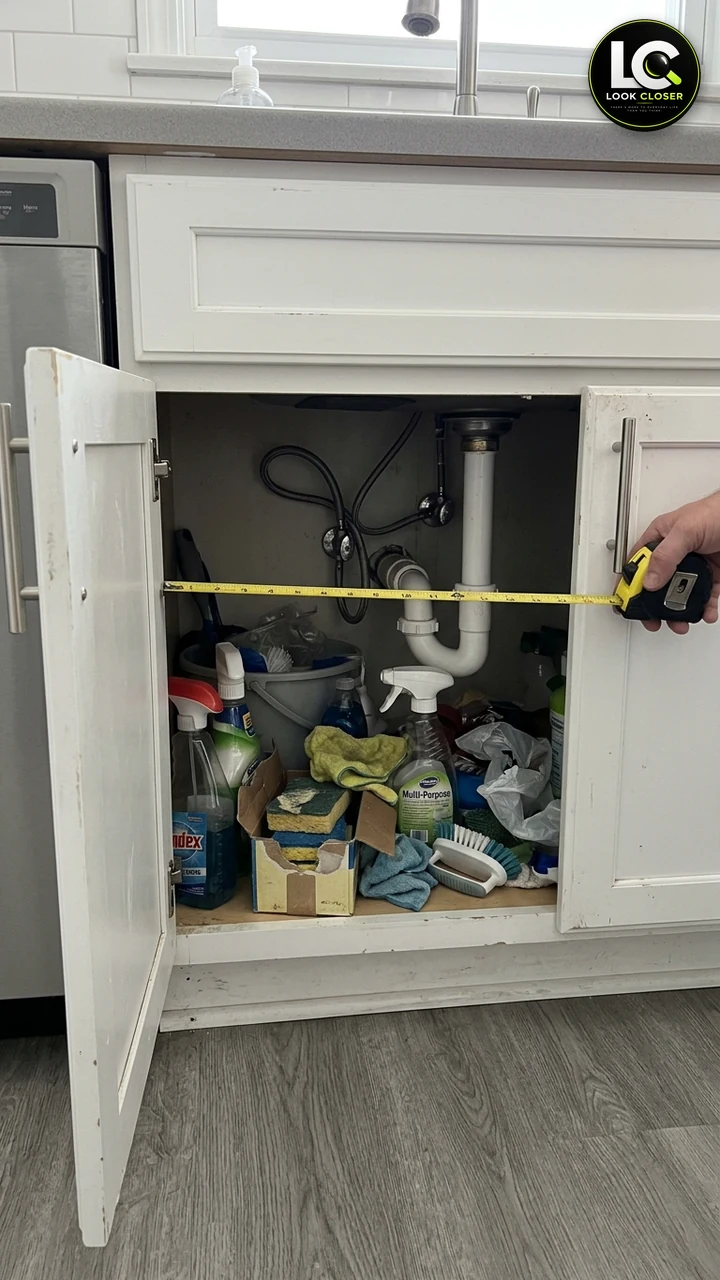
Every kitchen has one: the cabinet under the sink where spray bottles fall over, sponges disappear behind the trap and the bucket blocks the shutoff valves you’d need in a hurry. This one was no different. Bottles, a bucket, a box of sponges and a tangle of rags all fought for the same few square feet of cabinet floor, while the space beside and around the plumbing sat empty. It’s exactly the kind of cabinet an under sink pull out was made for.
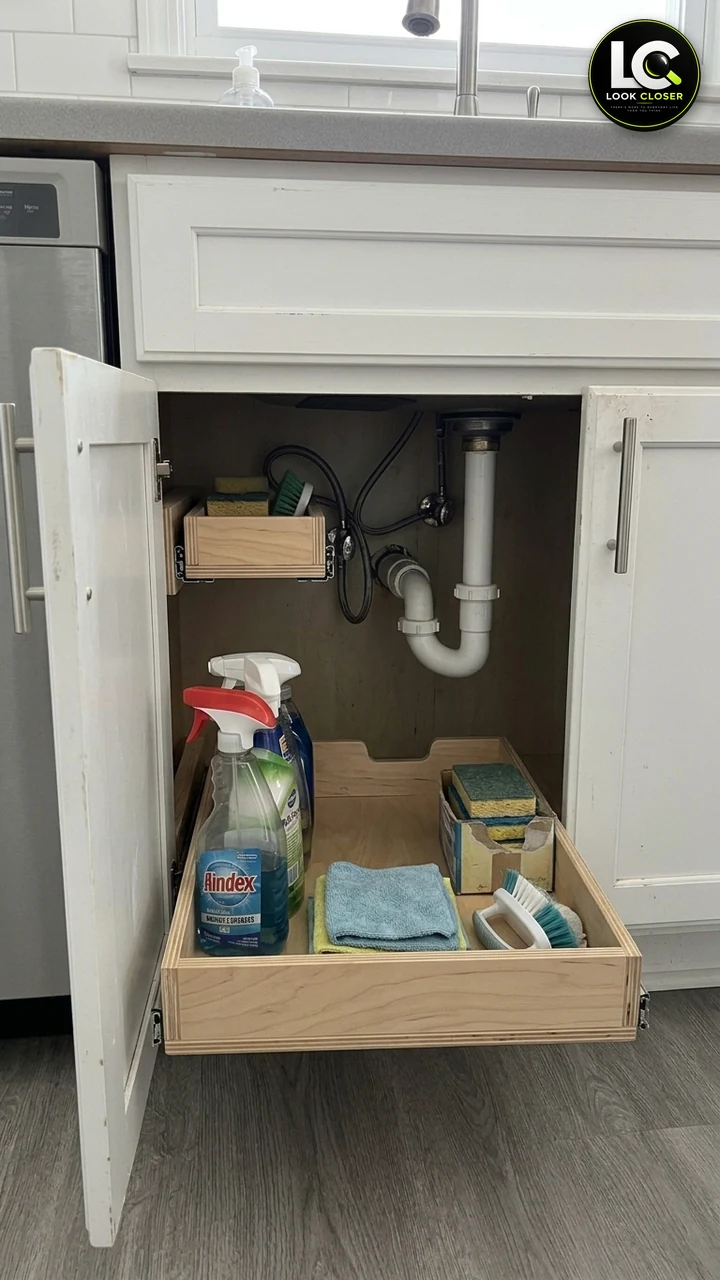
The fix is a two-level under sink pull out: a shallow, full-width birch tray that slides out under the P-trap, plus a small drawer on the left for sponges and brushes. Everything rolls out to you, the pipes stay in plain view, and with the doors closed the cabinet looks exactly as it did before.
Important: The Look Closer reel behind this project is AI-assisted DIY inspiration, and its own caption says to verify measurements, plumbing clearances, slide ratings, mounting support and shutoff access. The video skips every construction step: it jump-cuts from an empty cabinet to finished boxes sliding onto hardware that is already installed. This guide fills in those steps the way a cabinetmaker would. One step photo is an AI illustration of the same kitchen. Every dimension here is a planning example, not a number read from the photos. Measure your own cabinet, and call a plumber if any line has to move.
Affiliate Disclosure: As an Amazon Associate I earn from qualifying purchases. Product links in this article may earn a commission at no additional cost to you.
In This Guide
- What We’re Building
- Will an Under Sink Pull Out Fit? Inspect First
- Measurements: Planning Examples
- Materials and Tools
- Step-by-Step: Build the Under Sink Pull Out
- How Much Can It Hold?
- Safety Checklist
- Estimated Project Cost
- Common Mistakes to Avoid
- Frequently Asked Questions
What We’re Building
Two simple boxes, each on its own pair of full-extension slides, built around the plumbing instead of through it.
| Component | What it does |
|---|---|
| Bottom tray (1/2 in birch plywood, solid front, sides and back) | A shallow rectangle that runs under the P-trap and holds the heavy, everyday bottles |
| Shallow rear notch in the tray’s back wall | Clears the lowest point of the trap when the tray slides all the way in; it is not a handle |
| Two plywood mounting strips on the cabinet floor | Give the bottom slides a flat, solid, parallel surface and bring them past the face frame and hinges |
| Full-extension side-mount slides (bottom pair) | Pull the tray all the way out so you can reach the back |
| Small upper-left box (1/2 in birch plywood) | Sponges, brushes and gloves, kept left of the valves and below the dishwasher hose |
| Upper support frame (vertical plywood panels) | Carries both upper slides so neither one floats; its load goes to the cabinet floor and the side wall |
| Shorter slide pair (upper box) | Matched to the shallower depth left of the valves |
| Water-based clear finish on every face and edge | Keeps raw plywood from swelling when a bottle drips |
Notice what the finished photos do not show: there is no deep U-shaped cutout wrapping around the pipes. The tray is simply low enough to pass under the trap, with one shallow notch on the back edge for extra clearance.
Will an Under Sink Pull Out Fit? Inspect First
Before you buy a single slide, empty the cabinet completely, put on a flashlight, and look at everything that lives in there.
| Check | What you’re looking for | If you find it |
|---|---|---|
| Shutoff valves | Can you reach and turn both of them by hand? | Plan the boxes so you still can after the build. If a valve is seized, have it replaced first |
| Leaks and damage | Drips at the trap, supply lines or faucet; soft, stained or swollen cabinet floor; mold or pests | Fix the leak and dry or repair the floor before building. The EPA WaterSense leak tips are a good checklist |
| P-trap height | The lowest point of the trap and drain above the cabinet floor | This sets the maximum height of the bottom tray |
| Dishwasher drain hose | Where it loops, and whether it sags | The upper box must not pinch, rub or push on it |
| Garbage disposal | Its bottom and the electrical cord or switch box | A disposal hangs much lower than a trap; the tray may need to be shorter or shallower, and the cord must stay free |
| Outlet, water filter or hot-water unit | Anything mounted on the back or side walls | Plan around it; never box in an outlet or a filter you need to service |
| Cabinet material | Plywood or particleboard? How thick are the sides and floor? | Thin sides need mounting strips and a frame, not screws into the side alone |
| Lines through the floor | Supply or drain pipes coming up through the cabinet floor | A full-width tray may not fit; consider two narrower trays or call a pro |
If you can’t keep both valves reachable, or a pipe would have to move for the design to work, stop here and talk to a plumber.
Measurements: Planning Examples
These are typical ranges for a standard kitchen sink base, not dimensions taken from the photos. Measure your own cabinet in at least three places and design to the smallest number.
| Measurement | Typical planning range | How to use it |
|---|---|---|
| Inside width (side to side) | About 28 to 34 in in a 30 to 36 in sink base | Measure at the front, middle and back; the face frame and hinge cups usually make the front opening the smallest |
| Clear opening at the doors | Inside width minus hinge intrusion, often 1/2 to 1 in per side | The tray and slides must pass the open doors and hinge cups |
| Depth (face frame to back wall) | About 21 to 23 in | Choose the longest slide that fits, often 18 to 20 in, minus any back obstruction |
| Height: cabinet floor to the lowest point of the P-trap | Often about 8 to 14 in | Tray side height = this number minus your mounting strip and at least 1 in of clearance |
| Front zone height (no pipes above) | Usually the full opening height | This is where tall bottles go |
| Valve and hose locations | Measured from the left wall, the floor and the back | Mark them on a sketch; the upper box must stay clear in every position |
| Upper box zone (left of the valves) | Example: 8 to 10 in wide, 3 to 4 in tall, 12 to 14 in deep | Fits sponges and brushes without touching the hose |
Example only: a 30 in sink base might take a bottom tray about 26 in wide, 18 in deep and 4 in tall, with a shallow 1 in rear notch, plus an upper box about 9 in wide and 12 in deep. Your cabinet will be different, so treat this as a sanity check, not a cut list.
Materials and Tools
| Item | Why you need it |
|---|---|
| Highpoint 3J01 18 in Full-Extension Side-Mount Slides (pair) | Bottom tray; choose the length that fits your depth. The listing gives a 75 lb rating tested on an 18 in slide and 16 in wide drawer |
| Highpoint 3J01 12 in Full-Extension Side-Mount Slides (pair) | The shorter upper box, which can’t run as deep as the tray |
| Minwax Polycrylic Protective Finish, Clear Satin | Water-based seal for every face and edge of both boxes, strips and panels |
| Titebond II Premium Wood Glue | Water-resistant glue for the box joints |
| Kreg Pocket-Hole Jig 320 | Optional: fast, square joints in 1/2 to 3/4 in plywood |
| DEWALT DWE315K Oscillating Tool Kit | Cuts the rear notch cleanly and trims parts in place (a jigsaw also works) |
| STANLEY FATMAX 25 ft Tape Measure | Width, depth and trap height checks |
| Gorilla Grip Non-Adhesive Drawer and Shelf Liner | Optional: trim to fit inside the tray so bottles don’t slide |
| DEWALT Anti-Fog Safety Goggles | Cutting, drilling and working under the sink at eye level with the pipes |
| 1/2 in birch plywood (about a half sheet) | Tray and upper box (local lumberyard) |
| 3/4 in plywood scraps | Mounting strips and upper support panels |
| Screws, 1-1/4 in brad nails, 220-grit sandpaper | Assembly and finishing (buy locally) |
| Drill/driver, clamps, square, level, flashlight | Layout and installation |
Step-by-Step: Build the Under Sink Pull Out
Step 1: Empty, Clean and Inspect
Take everything out, wipe the cabinet floor, and let it dry. Run the faucet and dishwasher while you watch the trap, supply lines and hose connections for drips. Turn both shutoff valves off and back on to be sure they work. Note any soft spots in the cabinet floor; you’ll be screwing into it, so it has to be sound.
Step 2: Measure Your Own Cabinet
Use the table above. The number that matters most is the height from the cabinet floor to the lowest point of the P-trap, measured with a short level or a straightedge under the trap. Then measure width at the front, middle and back, the clear opening with both doors open, and the depth to the back wall. Sketch the valves, supply lines and dishwasher hose with their distances from the left wall, the floor and the back.
Step 3: Plan the Two Boxes and Their Supports
Bottom tray: width = space between the mounting strips minus the slide clearance (side-mount slides like the Highpoint usually need 1/2 in per side; check your slide’s spec sheet). Height = trap clearance minus the strip height minus at least 1 in. If the trap sits just above the tray’s back wall, plan a shallow rounded notch centered under it. That’s what the finished photos show.
Alternative, only if your trap or disposal hangs lower: you can deepen the rear notch, shorten the tray so it stops in front of the trap, or make the whole tray shallower. A deep U-cutout that wraps the pipes is a different, weaker design and isn’t what’s shown here.
Upper box: keep it entirely left of the valves and below the dishwasher hose, with at least an inch of air around both. Plan a small support frame: one vertical 3/4 in panel against the left wall and a second vertical panel on the inner side, joined by a top rail. The inner panel must stop above the bottom tray so the tray can pass underneath.
Step 4: Build the Bottom Tray and Cut the Rear Notch
Cut the sides, front, back and bottom from 1/2 in birch plywood. Lay out the notch on the back piece before assembly, cut it with an oscillating tool or jigsaw, and round and sand the edges smooth. Assemble with glue and pocket screws or screws and brads, and check that the box is square by measuring both diagonals. Keep the front solid; you’ll grab the top edge or the sides, just like in the photos.
Step 5: Build the Upper Box and Its Support Frame
Build the small box the same way. Then build the support frame from 3/4 in plywood: the left panel, the inner panel and a top rail that ties them together, so the pair stays exactly parallel. Size the inner panel so its bottom edge clears the top of the bottom tray with room to spare.
Step 6: Seal Every Face and Edge, Then Let It Cure
This is the step that decides whether your pull-out lasts. Sand to 220 grit, then brush on Minwax Polycrylic (or another water-based clear finish) inside and out on both boxes, the mounting strips and the support panels. Pay extra attention to the exposed plywood edges and the notch, because end grain soaks up water fastest. Apply the coats the can recommends, sand lightly between them, and let the final coat cure fully before installing. Raw birch under a sink will swell the first time a bottle leaks.
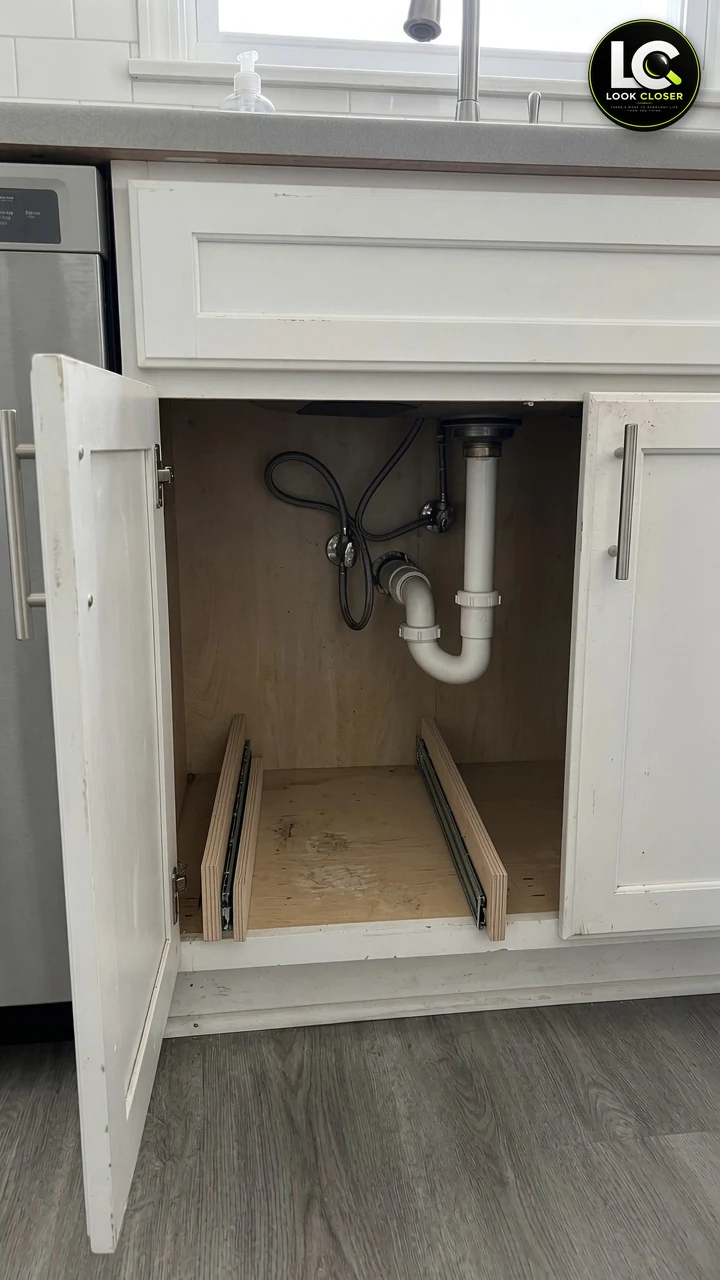
Step 7: Install the Bottom Mounting Strips and Slides
Cabinet sides are often thin plywood or particleboard, so don’t screw slides into them alone. Instead, fasten two straight plywood strips to the cabinet floor, one along each side, thick enough to bring the slides past the face frame and the hinge cups. Drive the screws into the cabinet floor plywood only, never through it into the room floor below, which may be a floating vinyl plank floor. Check that the strips are parallel and level, shim if the floor isn’t flat, then mount the slide cabinet members on the inner faces of the strips with the screws the manufacturer specifies.
Step 8: Dry-Fit the Bottom Tray
Attach the drawer members to the tray, slide it in, and run it in and out slowly. Watch three things: the back wall and notch must pass under the trap with clearance; the tray must clear both open doors and the hinge cups; and it must close fully without the back touching the cabinet wall. If anything rubs, adjust now, before the upper box is in the way.
Step 9: Install the Upper Support Frame and Slides
Set the support frame in on the left. Rest the left panel on the left mounting strip, so its weight goes down to the cabinet floor, and screw it to the side wall and a cleat on the back. Fasten the inner panel to the top rail and the back so it can’t flex. Mount the shorter slides at the same height on both panels, checking with a level and a tape so they are perfectly parallel. Both slides need solid backing; an inner slide hanging in the air will rack and fail.
Step 10: Dry-Fit the Upper Box and Check the Hose and Valves
Slide the upper box in and test it fully open and fully closed. It must not pinch, rub or push on the dishwasher drain hose at any point. With both drawers in and with both drawers out, reach in and turn each shutoff valve off and on. If you can’t, move or resize the box now.
Step 11: Test Loaded, Then Load It Smart
Load the tray with what you plan to store and cycle it a dozen times. Watch for sagging, rubbing or screws pulling out of the strips. Then organize by height: tall spray bottles in the front zone in front of the trap where there’s headroom, cloths and low items in the middle, and nothing tall at the back under the pipes. Sponges, brushes and gloves go in the upper box. A trimmed piece of Gorilla Grip liner in the tray keeps bottles from sliding.
Building more kitchen storage? See our slim rolling pantry beside the fridge, the pull-out tilt-down spice rack, the hidden toe kick drawer and our kitchen corner shelf. For bedrooms, the under-bed storage drawer uses the same box-and-slide basics.
How Much Can It Hold?
There’s no honest single number for a DIY build. What a pull-out can carry depends on the slide’s published rating and how it was tested, how solidly the strips are fastened to the cabinet floor, how sound that floor is, the plywood and joints in the box, and how far the tray extends. The Highpoint listing, for example, rates its slides at 75 lb, based on an 18 in slide on a 16 in wide drawer. That’s the slide’s rating, not a promise for your tray.
Cleaning liquids are heavier than they look, so pick slides whose published rating comfortably exceeds what you’ll store, follow the manufacturer’s mounting instructions, and do the loaded test in Step 11. If a tray sags or a screw loosens, lighten the load or upgrade the slides.
Safety Checklist
- Turn off the water at the shutoffs if you’re working near the supply lines, and keep a towel handy
- Never move, kink or cut plumbing or the dishwasher hose; that’s a plumber’s job
- If there’s a disposal, unplug it or switch off its circuit before reaching around it
- Wear safety goggles when cutting or drilling, and a dust mask when sanding; see OSHA’s wood dust guidance
- Let the finish cure fully with the doors open before loading
- Store cleaners upright in their original containers, keep bleach and ammonia-based products apart, and add a child-safety latch if little kids are around. Keep Poison Control’s number handy (1-800-222-1222 in the US)
- Check the area under the tray for drips every few months
Estimated Project Cost
| Item | Typical range (USD) |
|---|---|
| Two pairs of full-extension slides | About $50 to $80 |
| 1/2 in birch plywood plus 3/4 in scraps | About $40 to $90 |
| Clear water-based finish | About $15 to $30 |
| Glue, screws, sandpaper, optional liner | About $15 to $45 |
| Total (DIY, excluding tools) | About $120 to $245 |
Prices vary by region and store. If you already own the tools and have plywood scraps, you’ll land at the low end.
Common Mistakes to Avoid
| Mistake | Better approach |
|---|---|
| Building before checking for leaks | Fix drips and dry the cabinet floor first |
| Blocking the shutoff valves | Design both boxes so the valves stay reachable, open or closed |
| Measuring height to the trap’s middle | Measure to its lowest point, then subtract strip height and at least 1 in |
| Cutting a deep U around the pipes | Keep a shallow tray that slides under the trap, with a small rear notch if needed |
| Screwing slides into thin cabinet sides | Use plywood mounting strips on the cabinet floor and a support frame for the upper box |
| Screwing through into the floating room floor | Fasten only into the cabinet’s own floor |
| One slide supported, the other floating | Give both slides of each pair solid backing |
| Forgetting the hinges | Check clearance with both doors fully open |
| Leaving plywood edges raw | Seal every face and edge and let it cure |
| Tall bottles at the back | Tall items in the front zone; low items under the pipes |
Frequently Asked Questions
Will an under sink pull out work with a garbage disposal?
Often, but the disposal hangs lower than a plain trap, so the tray usually has to be shorter or shallower, and the cord and switch must stay free. Measure to the bottom of the disposal, not the trap.
What slides should I use under a sink?
Full-extension, side-mount ball-bearing slides are the easiest to fit. Pick a length that suits your depth and a published rating that comfortably exceeds what you’ll store, then follow the manufacturer’s screw and mounting instructions.
Is plywood OK in a wet cabinet?
Yes, if it’s sealed. Coat every face and edge with a water-based clear finish, let it cure, and fix any leaks. A trimmed liner inside the tray helps too.
Why is there a notch at the back of the tray?
It clears the lowest point of the P-trap when the tray is pushed all the way in. It isn’t a handle; you pull the tray by its solid front edge.
Can I still reach my shutoff valves?
You must be able to. Test both valves with the drawers in and out before you call the project finished.
Do I need to remove the doors?
Usually not. Just make sure the trays and slides clear the hinge cups and the open doors; that’s why the mounting strips are there.