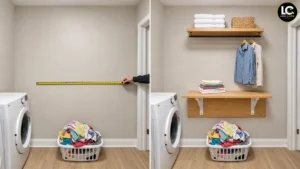

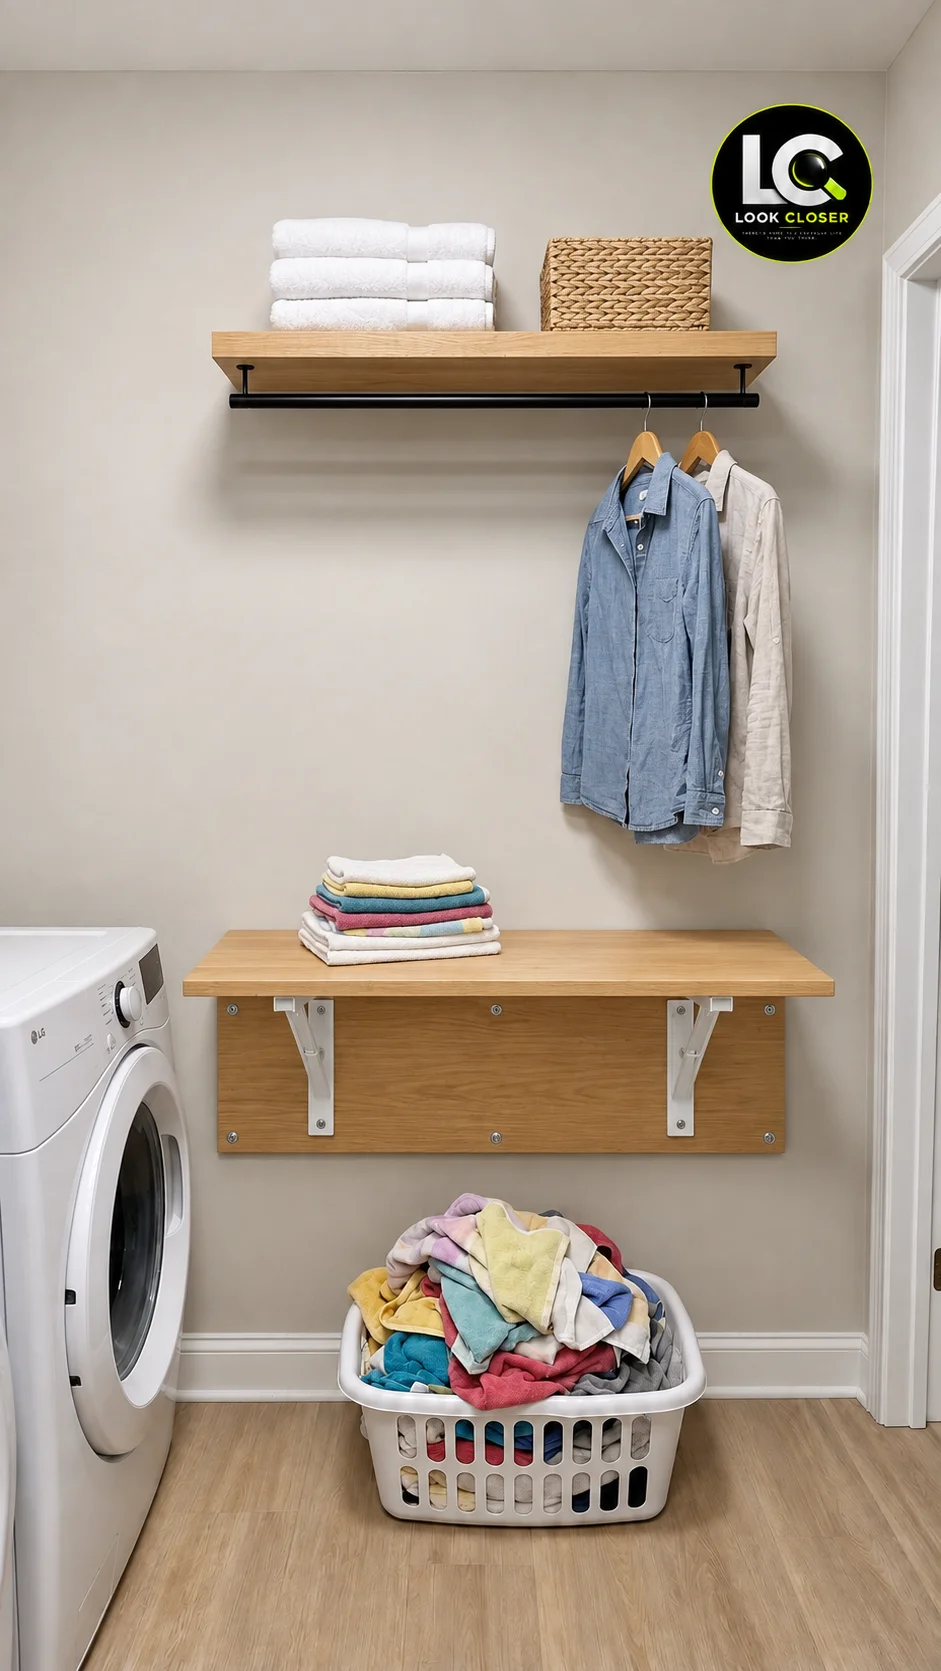
A DIY fold down laundry table gives a small laundry room a place to fold towels without leaving a permanent worktop in the walkway. This Look Closer project uses a short wall beside the washer for an oak-look folding surface, an upper storage shelf, and a hanging rod.
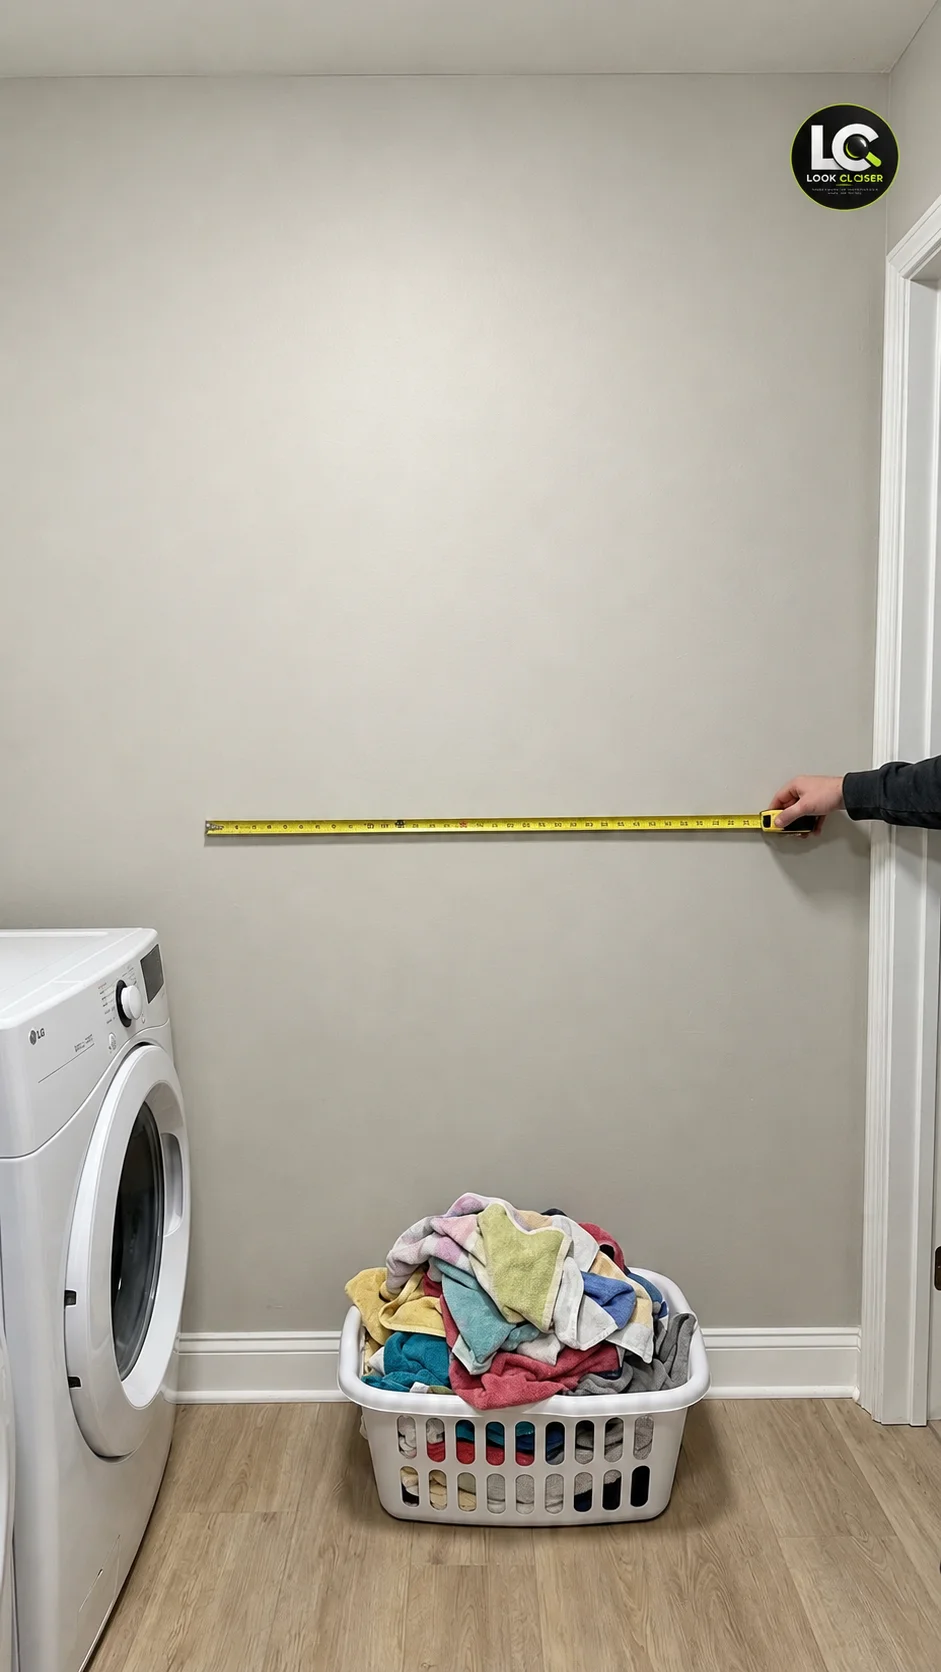
The social post describes a 40-inch wall. Treat that as the inspiration, then measure your own space. The practical build below uses locking brackets with integrated pivots, rather than copying the separate hinge arrangement visible in parts of the AI-assisted reference.
About this project: These images illustrate a design concept, not a documented installation or a tested load rating. Wall construction, hidden utilities, hardware instructions, and local requirements determine whether this setup is suitable for your home.
What You Are Building
| Part | Purpose | Planning requirement |
|---|---|---|
| Fold-down tabletop | A smooth surface for clean laundry | Size and weight must suit the selected brackets |
| Locking folding brackets | Support and pivot the tabletop | Use one compatible system and its installation template |
| Structural mounting | Transfer the load to wall framing | Verified studs or properly designed blocking/backer |
| Upper shelf and rod | Store towels and hang a few garments | Independent supports, load limits, and clearances |
Plan on intermediate DIY skills: accurate layout, drilling pilot holes, understanding the wall attachment, and handling a panel safely. Set aside a work session for measuring and installation, plus the finish manufacturer’s drying and curing time. Opening a wall for blocking or relocating utilities changes both the scope and schedule.
Plan the Size Before Buying Materials
A 40-inch-wide by 16-inch-deep tabletop is an illustrative starting size, not a verified cut list from the video. A nominal 3/4-inch oak-veneered plywood panel with finished edges can provide the warm appearance; confirm actual thickness, stiffness, screw holding, and panel weight against your hardware requirements. Solid oak is another option, but its seasonal movement needs appropriate attachment details.
Choose a comfortable working height by mocking up the surface with cardboard. Around 34–36 inches above the floor may suit some standing users, but comfort, accessibility, the bracket geometry, and appliance clearances should decide the final height. Do not choose a tabletop depth until you have the bracket manufacturer’s allowable panel dimensions.
- Measure between the appliance and doorway trim at several heights. Allow usable clearance rather than forcing a 40-inch board into a 40-inch opening.
- Open the washer door and room door fully. Check loading, walking, and service access with the table both open and closed.
- Trace the full downward swing of the panel, including its corners, locks, and folded bracket thickness. Baseboards and baskets can interfere.
- Hang an actual shirt on the proposed rod. Its shoulders need wall clearance, and its hem must clear the tabletop.
- Keep shutoff valves, receptacles, hoses, ventilation, and appliance service areas accessible.
Materials and Tools
Disclosure: As an Amazon Associate, we earn from qualifying purchases. Product links below are optional tool examples; use suitable tools you already own.
| Item | Quantity or selection | What to check |
|---|---|---|
| Oak-look tabletop and edge treatment | One panel, cut locally after layout | Actual dimensions, weight, flatness, and hardware compatibility |
| Locking folding brackets with integrated pivots | Matched pair or the number specified by the manufacturer | Panel depth, spacing, release access, fasteners, and installation instructions |
| Structural backer or wall blocking | As designed for the wall and bracket layout | Must support every required bracket mounting hole |
| Wall and tabletop fasteners | Selected for the actual substrate and hardware | Approved type, head, diameter, length, and required embedment |
| Upper shelf, supports, rod, and rod sockets | One separate shelf-and-rod assembly | Support instructions and combined shelf/garment loading |
| Magnetic stud finder | One; example: model 03040 | Finds metal fasteners; does not certify a drilling path is clear |
| Cordless drill/driver kit | One; example: DCD771C2 | Use correct pilot and driver bits; avoid overtightening |
| 9-inch torpedo level | One; example: CMHT82390 | Also use a straightedge long enough to compare both brackets |
| 220-grit sanding sheets | As needed for final preparation | Follow the wood finish’s sanding directions; rough edges may need coarser preparation first |
| Other essentials | Tape, pencil, square, clamps, suitable bits, eye protection, dust control, and interior wood finish | Borrow or rent cutting tools if buying them for one panel is unnecessary |
For the folding mechanism, compare the installation information for the manufacturer’s EB bracket system. That documentation describes self-locking brackets that do not require a separate hinge. It is an example of the mechanism category, not confirmation that the white brackets in the reference are that model.
Build the DIY Fold Down Laundry Table in 7 Steps
1. Check the Wall and Mark a Clear Working Area
Move the laundry basket, protect the appliance, and identify the wall construction. Locate framing and investigate likely plumbing, electrical, and vent routes before drilling. A magnetic stud finder can identify fasteners, but a metal hit alone does not prove you have safe, solid wood behind that point.
Do not drill blindly around laundry hookups. If utilities or framing cannot be established confidently, have a qualified professional check the wall. The wood-framed-wall approach here does not automatically apply to steel studs, masonry, damaged drywall, or an unknown substrate.
2. Choose One Folding Mechanism
Use brackets designed to pivot the panel and lock securely in the horizontal position. Read the exact model’s instructions before laying out mounting holes. Confirm the permitted panel dimensions, bracket count and spacing, tabletop weight, and release operation.
Do not add a separate piano hinge to integrated-pivot brackets unless the manufacturer explicitly specifies that combination. Two different pivot arrangements can bind rather than help each other. If your hardware requires a separate hinge, use its specified layout instead of combining unrelated parts.
A soft-close version is optional. Its damper must be selected for the actual panel weight and depth; “soft close” does not mean any tabletop will descend safely. Published bracket ratings also do not establish the capacity of your complete wall-mounted table.
3. Prepare the Tabletop and Structural Mounting
Cut the tabletop to the confirmed dimensions, square the corners, and smooth every exposed edge so fabric cannot snag. Edge oak plywood appropriately. Apply a suitable interior protective finish to the faces and edges according to its label, then allow the required cure before putting clean laundry on it.
If the bracket positions align with suitable studs, use the specified direct attachment. Otherwise, the mounting design may need properly installed wall blocking or a structural backer that spans framing. A narrow decorative strip above the brackets does not support mounting holes located below it.
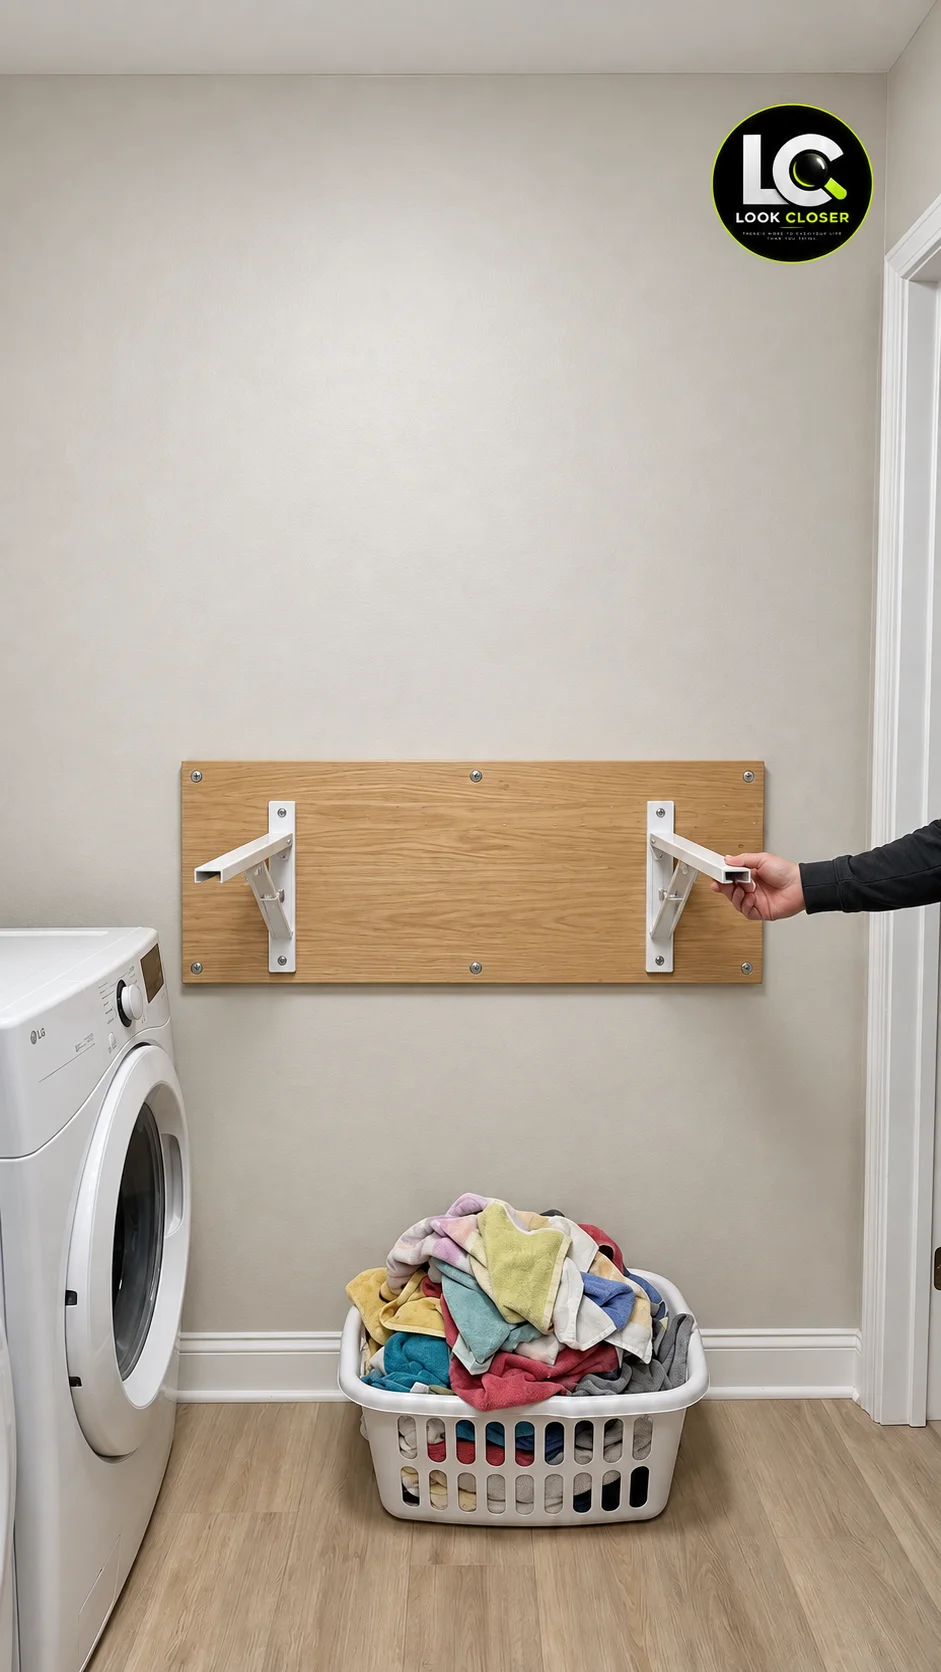
The corrected illustration uses a broad backer behind the complete vertical bracket plates. Its thickness, material, framing attachments, and fastener pattern must be designed for the actual installation. The illustration is not a screw-spacing template. Have a carpenter resolve a backer layout if you cannot verify its capacity.
4. Mount and Align Both Brackets
Transfer the manufacturer template to the verified mounting surface. Keep the brackets parallel and their upper arms at the same height. Drill the specified pilot holes and install the required fasteners. Account for drywall and backer thickness when calculating embedment into framing.
Use the specified fastener head so it seats correctly in the bracket. Drywall screws and ordinary plastic wall plugs are not substitutes for a specified structural attachment. Avoid overdriving screws or crushing the wall finish. If a hole misses framing, stop and correct the layout rather than adding random anchors.
5. Attach the Tabletop and Check Movement
With a helper supporting the panel, position it on the open, locked bracket arms. Confirm the rear clearance, front overhang, and left/right position against the hardware instructions. Clamp securely where appropriate, then mark and drill tabletop pilot holes with controlled depth.
Choose tabletop screws that provide the required hold without breaking through the finished face. Mounting a solid-wood top may require manufacturer-approved allowance for seasonal movement; do not improvise slotting in the bracket itself.
Support the unloaded panel through its first opening and closing cycles. Follow the release procedure for both brackets, keep fingers away from joints, and watch the full sweep. Stop if the panel twists, binds, scrapes, or fails to lock on both sides. Never force a misaligned mechanism.
6. Install the Upper Shelf and Hanging Rod
Position the upper shelf after checking comfortable reach and the real hanging garment clearance. Attach its supports to verified framing or appropriate blocking independently of the table. Use a shelf-and-rod system rated for the intended combined load; a rod hanging under a shelf adds force to that shelf’s supports.
Secure the rod in compatible sockets or retainers so it cannot roll out. Keep hangers clear of the doorway and table mechanism. The reference’s towels and two shirts show the intended use, not proof that the shelf or rod can hold a particular weight.
7. Complete an Unloaded Function Check
Confirm all required mounting points are fastened, both locks engage fully, and the top is level. Operate the table slowly several times without laundry, using the manufacturer’s handling procedure. This checks movement; it does not certify structural strength.
Only then add light laundry within the established system limit. Stop using the table if the wall moves, fasteners loosen, a bracket deforms, or the top becomes unstable. Do not sit, climb, stand, or lean your body weight on it. Clear the top and move the basket out of the swing path before every fold-down.
Budget and Timing Without Guesswork
Price your actual panel and cutting, edging, brackets, mounting design, upper shelf/rod, fasteners, finish, and any borrowed or rented equipment. Add professional wall work if blocking or utility investigation is needed. A simple tabletop swap and a wall-opening job should not share the same budget estimate.
Hardware grade and the existing wall can change the cost substantially, so this guide does not promise a fixed dollar total. Get current local quotes before cutting or ordering. Measure first, choose the mechanism second, and buy the wood after the hardware layout is confirmed.
Common Problems and Better Fixes
| Problem | Likely issue | Better response |
|---|---|---|
| Table will not fold smoothly | Misaligned pivots, obstructions, or incompatible hinge | Unload, support the panel, and compare the installation with the exact instructions |
| Only one side locks | Bracket alignment or panel distortion | Stop using it until both sides lock properly |
| Wall plate pulls away | Inadequate substrate or attachment | Stop use and have the structural mounting corrected |
| Clothes drag on the table | Rod placed too low or too close to the wall | Mock up the actual hanger and garment before relocating supports |
| Surface catches towels | Rough edge or damaged finish | Repair and refinish before use; allow proper cure |
Care and Everyday Use
Wipe up moisture promptly and follow the finish manufacturer’s cleaning directions. Avoid leaving wet towels or detergent on the wood. Check for loosened hardware, wall movement, damaged finish, or changes in lock operation periodically and after any impact. Keep the locks and pinch points clear of lint and fabric.
If you enjoy this kind of small-space improvement, the pull-out trash cabinet and hidden cutting board drawer show other ways to add useful work and storage space without a major room remodel.
Frequently Asked Questions
Can I attach a fold-down laundry table to drywall alone?
This guide uses a load path into suitable framing or blocking. Do not substitute drywall-only anchors for that design. A different wall needs a mounting solution appropriate to that substrate and the hardware.
Does a 40-inch wall mean the tabletop should be 40 inches wide?
No. Measure the clear opening, bracket locations, doorway swing, appliance access, and fitting allowance. The post’s 40-inch description is a starting reference, not a guaranteed finished size.
Do folding brackets need a piano hinge?
Some brackets include their own pivot and do not require one. Other systems have a specified hinge arrangement. Follow one complete manufacturer’s design.
How much weight can this table hold?
There is no verified project rating from the images. The usable limit depends on the panel, bracket arrangement, fasteners, backer, framing, and installation. Do not multiply a bracket listing’s headline number and call it the table capacity.
Can it be used as an ironing board?
This is a folding surface for laundry. Ironing requires a suitable heat-resistant assembly and clearance; an ordinary finished oak tabletop and a loose towel do not establish that suitability.
Can I build it in a rental?
Obtain the owner’s permission before drilling or opening walls. If structural mounting is not permitted, consider a freestanding folding surface instead.
The useful result is simple: a work surface when you need it, a clearer walkway when you do not, and storage above that stays within reach. Careful mounting and a compatible folding mechanism make that small wall worth planning properly.