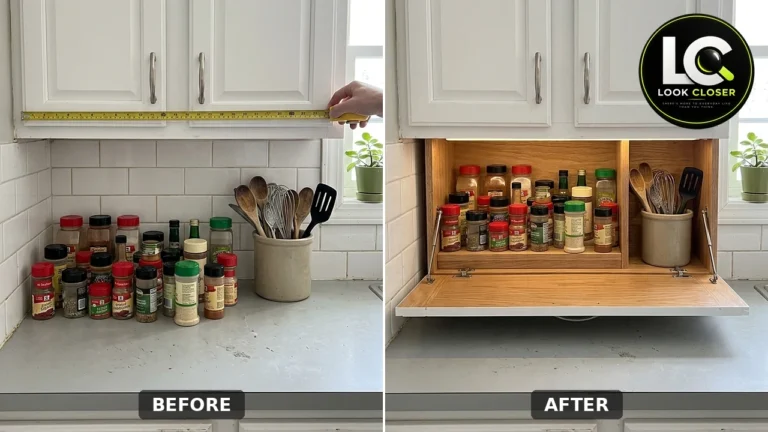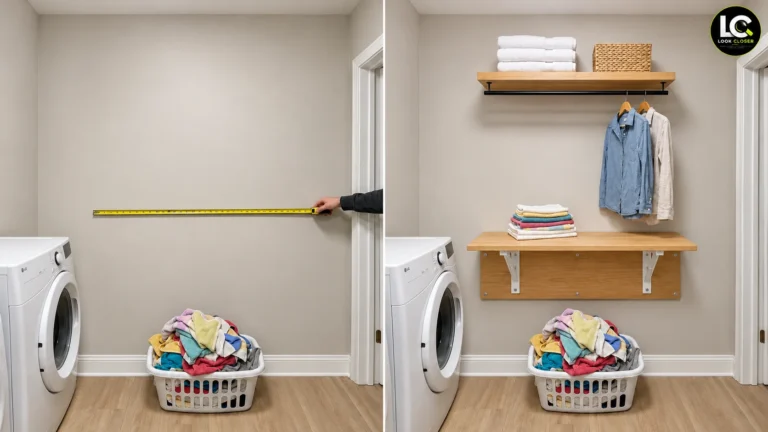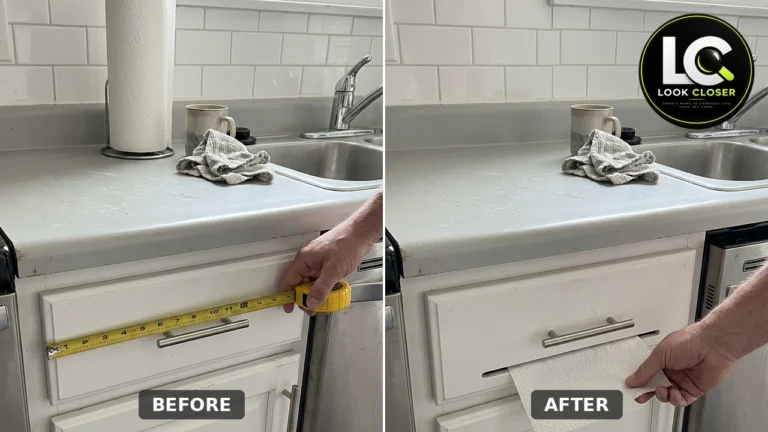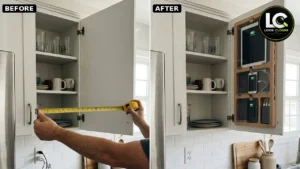

Two phones, a tablet, a tangle of white cables and a charger plugged into the backsplash outlet: that was the corner of our counter right next to the fridge. Every morning someone knocked a phone into the sink zone, and every night the tablet ended up under a cutting board.
This guide is our cabinet door charging station: a slim oak organizer screwed to the back of an upper kitchen cabinet door, with a felt-lined pocket for a tablet, a pocket for each phone, clipped short cables and a removable power bank. Close the door and the counter is clear; open it and everything is charged and in one place. The shelves behind it stay usable.
Important: The video that inspired this build is an AI-generated concept, and the photos in this article are AI illustrations of the same kitchen, step by step. They show the idea, not a tested installation. The video also skipped the parts that decide whether this works safely: how deep the organizer can be before it hits the shelves, how much weight the hinges carry, how you fasten into a thin shaker door, heat from charging batteries and where the power actually comes from. We fix each one in the steps and list them in What the Video Got Wrong. Measure your own cabinet and treat our numbers as a starting point to confirm, not a guarantee.
Affiliate Disclosure: As an Amazon Associate I earn from qualifying purchases. Product links in this article may earn a commission at no additional cost to you.
In this guide
- Cabinet Door Charging Station: What We’re Building
- Measure Before You Cut Anything
- The Numbers That Decide the Design
- Where the Power Comes From (Read This First)
- Materials and Tools
- Step-by-Step Build
- What the Video Got Wrong
- Estimated Cost, Time and Difficulty
- Common Mistakes to Avoid
- Safety Checklist
- When to Call an Electrician
- Maintenance
- Frequently Asked Questions
Cabinet Door Charging Station: What We’re Building
The cabinet, the shelves and the kitchen stay exactly as they are. Everything new lives on the back of one door and has to fit in the narrow gap between that door and the shelf edges when it closes.
| Component | What it does | Key detail |
|---|---|---|
| Slim oak organizer frame | Holds a tablet and two phones upright on the door back | 1/2 in. oak or a light plywood frame; total depth about 1 to 1-1/4 in. including the back |
| Felt-lined pockets | Protects screens and stops rattling when the door swings | Self-adhesive felt on the pocket floors and backs, applied after the finish cures |
| Open fronts or vented covers | Keeps devices in place without trapping heat | Open fronts with a lip, or acrylic covers with vent slots; never sealed boxes |
| Removable power bank | Charges the devices with no mains cable at the door | Certified to UL 2056, recharged outside the cabinet on a hard surface |
| Short USB-C cables and clips | Connects bank to devices without loose loops | 1 ft cables, clipped to the frame, nothing crossing the door edge |
| Fixing into the stiles and rails | Carries the load without splitting the thin center panel | Screws shorter than the door thickness, or a backer board spanning the stiles |
| Hinge check | Makes sure the heavier door still closes square | Weigh the loaded door, compare with the hinge maker’s chart, add a hinge if needed |
If you like hiding everyday clutter behind a door, this pairs well with our lift-up kitchen corner coffee station and the hidden paper towel drawer: same idea, different corner of the kitchen.
Measure Before You Cut Anything
Ten minutes with a tape measure decides whether this door can take an organizer at all. Write each number down.
- Door size and type. Overall width and height, and whether it is a shaker door (a frame of stiles and rails around a thinner center panel) or a solid slab. On most shaker doors the frame is about 3/4 in. thick and the center panel is much thinner, often about 1/4 in.
- Stile and rail widths. Measure the flat frame on the back of the door. Those strips are where your screws go.
- Shelf set-back. With the door open, measure from the front face of the cabinet box (or face frame) back to the front edge of each shelf, and to the front of the glasses, mugs or plates sitting on it.
- The closed-door gap. This is the number that matters. Close the door and check how much space there is between the back of the door and the shelf edges and items. Slide a ruler through the gap at the top and bottom or measure the difference between the shelf set-back and the door’s position against the cabinet.
- Hinge positions. Mark where the hinge cups and mounting plates sit. The organizer has to stay clear of them and of the face frame as the door swings.
- Device sizes in their cases. Width, height and thickness of the tablet, each phone and the power bank, with cases on. Thickness sets the pocket depth.
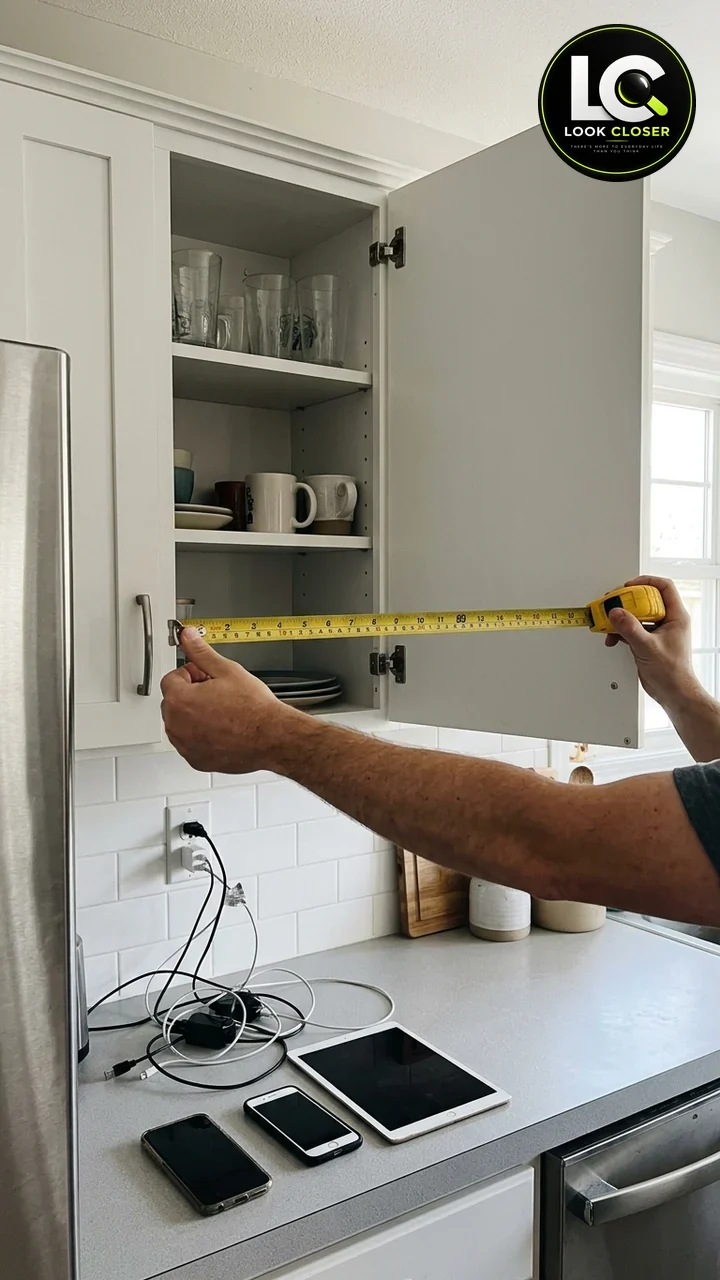
The Numbers That Decide the Design
| Measurement | Target | Why |
|---|---|---|
| Total organizer depth | About 1 to 1-1/4 in., and at least 1/4 in. less than the closed-door gap | Anything deeper hits the shelf edges, glasses or plates when the door closes |
| Pocket depth | Thickest device in its case plus about 1/8 in. | Room to drop devices in and out without forcing cables |
| Power bank thickness | Check before designing; our example bank is 0.98 in. thick | The bank is usually the thickest item; place it where the gap is largest or choose a slimmer bank |
| Distance from hinge-side edge | Clear of hinge cups and plates, usually 1 in. or more | Prevents the organizer hitting hinges or the face frame as the door opens |
| Screw length | Shorter than the door frame thickness; about 5/8 in. on a 3/4 in. frame | A screw that pokes through the face of the door ruins it |
| Added weight | As light as practical; weigh it loaded | Hinges are rated for door size and weight; heavy doors sag and stop closing square |
If the gap is too small, you have three honest options: move the shelves back (many cabinets have shelf pin holes you can reuse, or you can trim the shelf depth), keep the first shelf for short items that sit well back, or make the organizer even thinner and leave the power bank out of the door entirely.
Where the Power Comes From (Read This First)
The video shows devices glowing inside sealed acrylic boxes with a cable trailing out from under the door. Do not build it that way. A mains cable running through the door gap gets pinched every time the door closes, and a charging lithium-ion battery shut in a sealed box inside a closed cabinet has nowhere to shed heat.
There are two safe ways to power a cabinet door charging station:
- Option A, power bank only (what we recommend for a DIY build). A Anker Zolo 10,000mAh USB-C power bank sits in its own pocket and charges the phones through short cables. When it runs low, you take it out and recharge it on the counter, on a hard surface where you can see it. No wiring, nothing crossing the door edge. Buy a bank listed to UL 2056, the safety standard for power banks from a known brand, and do not leave it charging unattended.
- Option B, a hardwired USB receptacle installed by an electrician. If you want true plug-in charging, a licensed electrician can install a USB receptacle or USB outlet inside the cabinet, with the cable routed on the hinge side through a grommet so nothing is pinched. This work falls under local electrical code (based on the NFPA 70 (National Electrical Code) in most of the U.S.), and many areas require a permit. It is not a DIY extension cord job.
Fire services say the same thing about lithium-ion devices: use certified chargers, charge on a hard, flat surface, do not charge where heat builds up, and stop using anything that swells, smells or gets hot. See the U.S. Fire Administration lithium-ion battery safety handout, NFPA lithium-ion battery safety and CPSC battery charging safety.
Materials and Tools
Materials
| Item | Why you need it | Where to get it |
|---|---|---|
| 1/2 in. oak boards (or 1/2 in. hardwood plywood) | Frame, dividers and pocket lips; light but stiff | Local lumberyard or home center |
| 1/4 in. plywood back panel (optional) | A thin back that also works as a backer board spanning the stiles | Local supplier |
| Wood glue and brad nails | Assemble the frame and dividers | Local supplier |
| #6 x 5/8 in. wood screws (match your door thickness) | Fasten the organizer into the stiles and rails only | Local hardware store |
| Wipe-on polyurethane or hardwax oil | Seals the oak against kitchen moisture and fingerprints; Minwax Wipe-On Poly (satin) is an easy option | Amazon or local |
| Self-adhesive felt | Lines pocket floors and backs; self-adhesive black felt sheets | Amazon or craft store |
| 1/8 in. acrylic sheet (optional) | Hinged front covers, only if you add vent slots and leave them open while charging | Local plastics or hardware store |
| Small hinges (optional) | For hinged covers; 1 in. solid brass mini hinges. Check the included screws are shorter than your lid thickness | Amazon |
| Short USB-C cables | 1 ft USB-C to USB-C cables (2-pack); short cables mean no loose loops to snag | Amazon |
| Adhesive cable clips | self-adhesive cable clips keep each cable fixed to the frame | Amazon |
| Certified power bank | Anker Zolo 10,000mAh USB-C power bank (check the listing and the label for safety certification) | Amazon or electronics store |
| Magnet catches or elastic straps (optional) | Keep a device from sliding out when the door swings | Local hardware store |
Tools
- Tape measure, combination square and pencil
- Kitchen or postal scale (to weigh the door load)
- Miter saw or fine-tooth hand saw
- Drill/driver, countersink bit and a depth stop or tape flag
- Router with a straight or slot-cutting bit (for vent slots and cable channels), or a jigsaw
- Sandpaper, 120 and 220 grit
- Clamps
- Utility knife and straightedge for felt
- Safety glasses and hearing protection; dust mask while sanding
Step-by-Step Build
Step 1: Measure the Door, the Shelves and the Closed-Door Gap
Take the measurements from the section above, with the door closed for the gap. Then plan the layout on paper at full size: tablet pocket on top, phone pockets and the power bank below, all kept inside the stiles and rails and clear of the hinge side. Our door is a white shaker upper next to the fridge, and the organizer fits inside its frame with the tablet upright.
Correction: The video measures the door width and nothing else. The shelf clearance is the measurement that decides whether the door will close.
Step 2: Decide on Depth and Power, and Fix the Shelves if Needed
Choose your power option now (power bank only, or an electrician-installed USB receptacle), because it changes the layout. Then compare your planned organizer depth with the closed-door gap. If it is tight, move the top shelf back a few pin holes, trim the shelf depth, or store only short items at the front. Keep at least 1/4 in. of clearance, more where glasses sit near the edge.
Step 3: Cut and Assemble a Light Frame
Cut the outer frame and dividers from 1/2 in. oak. Glue and pin the corners, then add a 1/4 in. plywood back if you want one. A back panel makes the organizer stiffer and gives you a solid layer to fasten through into the door frame. Keep the pocket lips low (about 1 to 1-1/2 in.) so devices drop in easily and air can move. Dry-fit the tablet, phones and power bank in their cases before you glue anything.
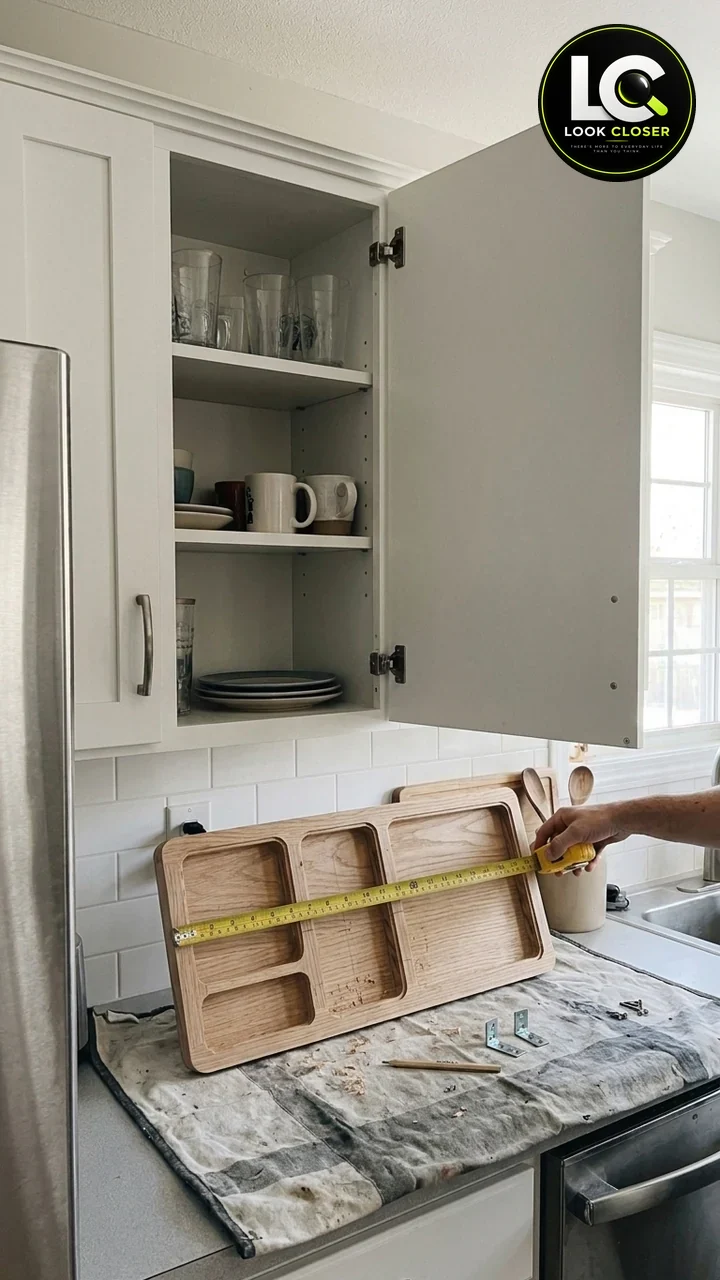
Step 4: Rout Cable Channels and Vent Openings
Rout a shallow cable channel from the power bank pocket up to each phone pocket so the cables lie flat, and cut vent slots or leave the bottom of each pocket open so warm air can escape. If a phone in a thick case sits proud of the lip, deepen that pocket instead of forcing it. Sand everything smooth, ease the edges and test the fit again.
Step 5: Finish, Let It Cure, Then Add the Felt and Covers
Wipe on two or three thin coats of finish, sanding lightly between coats. Minwax lists its oil-based Wipe-On Poly as ready to recoat in 2 to 3 hours and dry for light use in 24 hours; give it longer before closing it in a cabinet so the smell does not linger. Only after the finish has cured, stick the felt to the pocket floors and backs. Felt adhesive does not grip well on a fresh, soft finish.
If you want covers, hinge 1/8 in. acrylic fronts with small hinges and cut vent slots in them, and keep them open while devices are charging. A simpler option is an open front with a 1 in. lip, a small magnet catch or a soft elastic strap that stops a phone sliding out when the door swings.
Correction: The finished reel shows acrylic covers shut flat over charging phones and the tablet. A closed clear box traps heat; vents and open fronts are the safer layout.
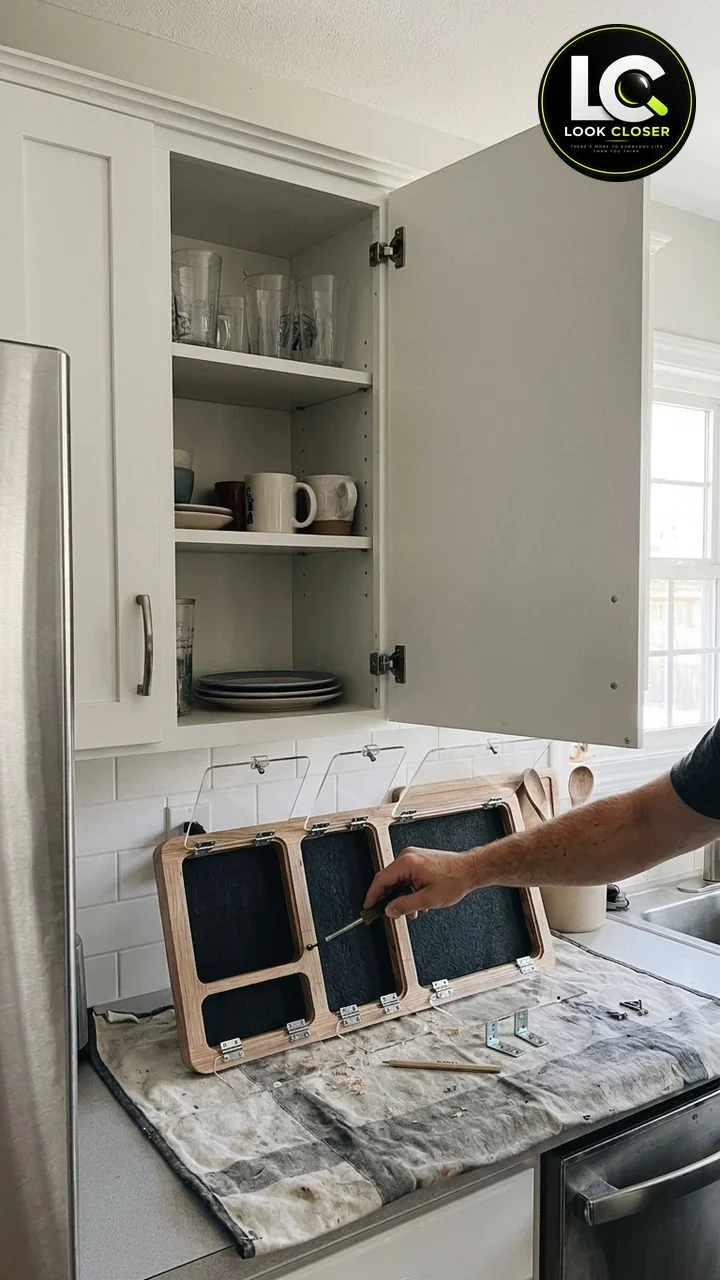
Step 6: Weigh It and Check the Hinges
Put the tablet, phones, power bank and cables into the organizer and weigh the whole thing on a kitchen or postal scale. Then open the door, hang a bag with roughly that weight from the door back near the middle, and watch the door: does it sag, rub the face frame or stop closing flush? Look up your hinge model (it is usually stamped on the hinge arm) and check the maker’s door weight and height chart. If the door is near the limit, add a third hinge or switch to a hinge rated for the load. Keep the organizer light: 1/2 in. oak and a thin back are plenty.
Step 7: Mount Into the Stiles and Rails With Short Screws
Hold the organizer on the back of the door, centered between the stiles and clear of the hinge cups, and mark the screw positions so every screw lands in the frame of the door, not in the thin center panel. Pre-drill, countersink and use screws at least 1/8 in. shorter than the frame thickness; a drill depth stop or a tape flag on the bit prevents drilling through the face. On a door where the organizer is smaller than the opening between the stiles, screw a 1/4 in. plywood backer board across the stiles first and fasten the organizer to that.
Correction: The video never shows how the organizer is attached. Screwing through a shaker panel can crack it or come straight through the painted face, and the panel is designed to float in its frame.
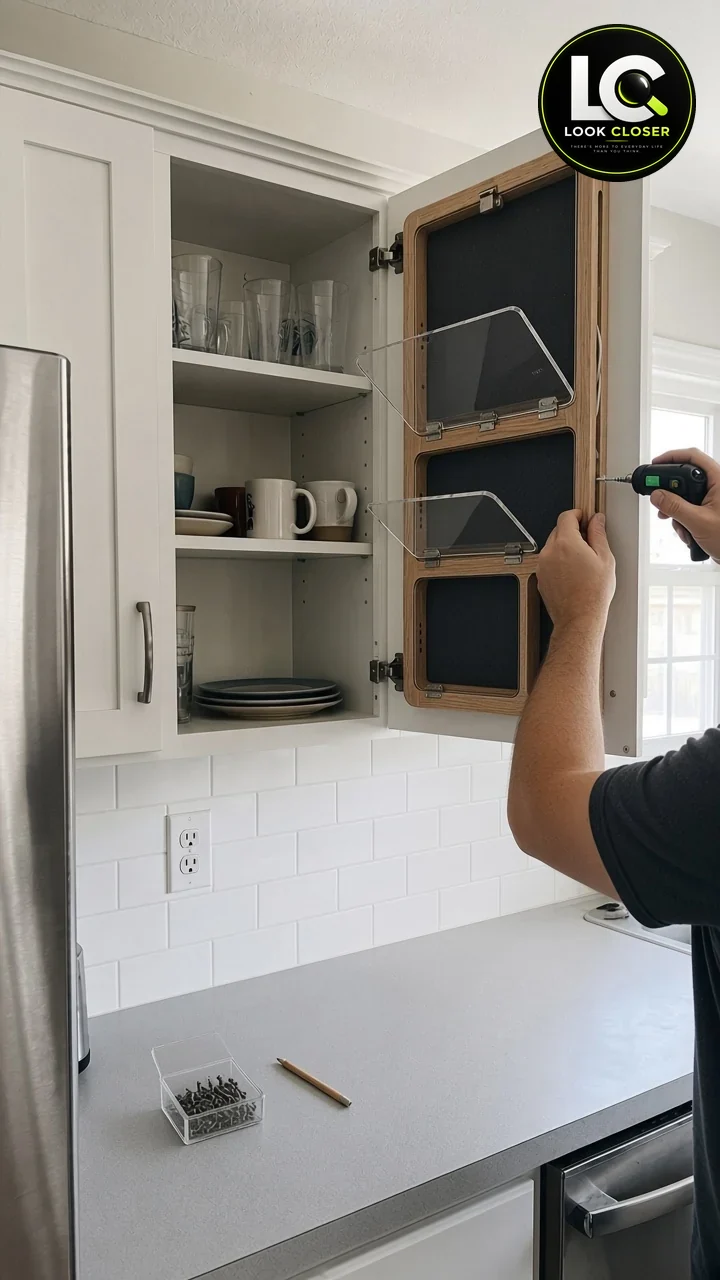
Step 8: Run Short Cables and Clip Them
Plug the short cables into the power bank, run each one through its channel to its pocket and fix it with an adhesive cable clip near both ends. No cable should loop outside the organizer or cross the door edge. If you chose the electrician-installed USB receptacle, the electrician routes the cord on the hinge side through a grommet with enough slack for the full door swing, and nothing ever runs across the opening edge of the door.
Step 9: Load It and Test the Door Closing
Load every device, close the door slowly and listen for contact. Open it, look for scuffs on the felt, the shelf edges and the glasses, then repeat with the door swung briskly the way kids will do it. The door should close flush with the same reveal as its neighbors and nothing should move in its pocket. Check again after a week, when the hinges have settled.
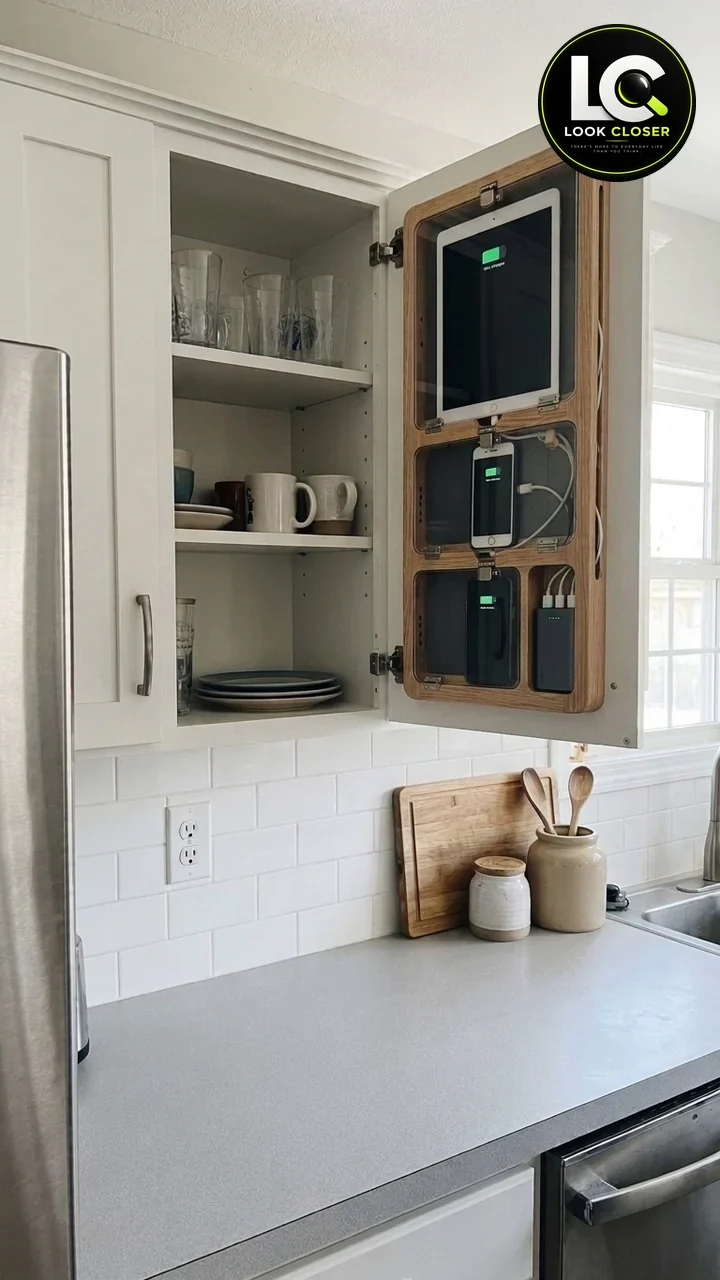
That is the finished result in our photos: tablet on top, two phones in the middle and the power bank in its own pocket, with the shelves still holding glasses, mugs and plates. In your build, leave the covers open (or vented) while charging and recharge the bank outside the cabinet.
What the Video Got Wrong
The AI-generated reel is a good idea with the engineering missing. Here is what we changed and why.
| In the video | Problem | What we do instead |
|---|---|---|
| Organizer depth never checked against the shelves | A deep organizer hits shelf edges, glasses and plates when the door closes | Keep the organizer about 1 to 1-1/4 in. deep, measure the closed-door gap and move or trim shelves if needed |
| Loaded organizer added to a standard door | Extra weight can make hinges sag so the door stops closing square | Weigh the loaded organizer, keep it light, check the hinge chart and add a hinge if needed |
| Mounting never shown on a thin shaker door | Screws through the center panel crack it or poke through the face | Fasten only into stiles and rails with screws shorter than the frame, or use a backer board |
| Acrylic covers closed over charging devices | Heat builds up around charging batteries | Open fronts or vented covers, kept open while charging |
| Power bank charged inside a closed cabinet | Unattended lithium-ion charging in an enclosed space | Remove the bank and recharge it outside on a hard surface where you can see it |
| A white cable trailing below the door | A mains cable through the door gap gets pinched and damaged | Power bank only, or an electrician-installed USB receptacle routed on the hinge side |
| Devices snapped into tight pockets | Phones in cases may not fit; cables get bent | Size pockets to devices in their cases, plus about 1/8 in. |
Estimated Cost, Time and Difficulty
| Item | Estimated cost (USD) |
|---|---|
| 1/2 in. oak and 1/4 in. plywood | $25 to $50 |
| Glue, brads and short screws | $8 to $15 |
| Wipe-on finish | $15 to $25 |
| Self-adhesive felt | $8 to $12 |
| Short USB-C cables and cable clips | $15 to $25 |
| Certified 10,000mAh power bank | $25 to $45 |
| Optional acrylic, hinges, magnets or straps | $10 to $30 |
| DIY total (power bank version) | about $95 to $200 |
| Electrician-installed USB receptacle (optional) | Varies widely by location and access; get a quote |
Time: about 5 to 8 hours of work over a weekend, plus finish drying and curing time before you load it. Difficulty: intermediate. The woodworking is simple; the careful part is measuring the gap, mounting into the door frame and keeping it light. Prices are rough 2026 estimates and change by region and store.
Common Mistakes to Avoid
| Mistake | Better approach |
|---|---|
| Building the organizer before measuring the closed-door gap | Measure the gap first and design the depth around it |
| Using 3/4 in. boards everywhere | Use 1/2 in. oak or a light plywood frame to keep weight down |
| Screwing into the thin center panel | Fasten into stiles and rails, or use a backer board |
| Screws as long as the door is thick | Use screws shorter than the frame and a depth stop on the drill |
| Sealed acrylic boxes over charging devices | Open fronts or vent slots, covers open while charging |
| Running a mains charger cable through the door gap | Power bank only, or an electrician-installed USB receptacle on the hinge side |
| Leaving the power bank charging inside the cabinet | Recharge it on the counter on a hard surface, attended |
| Sticking felt on fresh finish | Let the finish cure first |
| Ignoring the hinges | Weigh the load, check the hinge rating, watch for sag |
Safety Checklist
- Use a power bank from a known brand, listed to UL 2056, the safety standard for power banks, and stop using it if it swells, smells, hisses or gets hot.
- Never charge a power bank unattended inside a closed cabinet. Recharge it outside on a hard, non-flammable surface.
- Keep vents or open fronts so devices can shed heat; never trap charging devices in a sealed box.
- No mains cable through the door gap, and never pinch any cable in the door.
- Use the charger and cable types the device maker recommends; replace damaged cables.
- Mount into the door frame only, with screws shorter than the frame thickness.
- Check hinge load and door alignment after loading, and again after a week.
- Kids: mount the organizer on an upper cabinet out of reach of small children, keep cables short and clipped, and never let small children handle lithium-ion batteries.
- Wear safety glasses for cutting and routing, and ventilate while finishing.
- For general guidance, see USFA battery fire safety.
When to Call an Electrician
- You want an outlet or USB receptacle inside the cabinet: that is electrical work under local code, and many areas require a permit and inspection.
- The nearest outlet is on a circuit you are unsure about, or outlets feel warm or trip often.
- You are tempted to run an extension cord or power strip into the cabinet: do not; ask an electrician for a proper solution instead.
- Your cabinet doors are heavy, tall or already sagging: a cabinet installer can fit the right hinges.
Maintenance
- Check the hinges and door reveal every few months and tighten hinge screws if the door drifts.
- Inspect cables for kinks or frayed ends where they enter the pockets.
- Wipe the felt with a lint roller; replace pieces that peel.
- Look at the power bank whenever you recharge it: any swelling, heat or damage means it is time to recycle it at a battery drop-off point, not in the trash.
- Refresh the oak with a light coat of finish once a year if it looks dry.
Want more ideas for using the backs of doors and dead space? See our over-the-door storage shelf, the pull-out tilt-down spice rack and the hidden cutting board drawer insert. And if you need a full family charging and homework corner, our homework station with a fold-down desk and charging spot covers that bigger build.
Frequently Asked Questions
How deep can a cabinet door organizer be?
Only as deep as the closed-door gap minus about 1/4 in. On most kitchen uppers that means about 1 to 1-1/4 in. total, unless you move the shelves back. Measure with the door closed.
Is it safe to charge phones inside a closed cabinet?
Charging inside a closed cabinet traps heat, and fire services advise against charging lithium-ion devices unattended or where heat builds up. Use open or vented pockets, keep the covers open while charging and recharge the power bank outside the cabinet.
Can I run a charger cable through the cabinet door gap?
No. The cable gets pinched every time the door closes and the insulation can fail. Use a power bank, or have an electrician install a USB receptacle inside the cabinet with the cord routed on the hinge side.
Will the extra weight damage my cabinet hinges?
It can if the organizer is heavy or the door is already near its hinge rating. Keep the organizer light, weigh it loaded, check the hinge maker’s chart and add a hinge if the door sags.
How do I attach an organizer to a shaker cabinet door?
Screw only into the frame (stiles and rails) with screws shorter than the frame thickness, or fasten a thin backer board across the stiles and mount to that. Never screw through the thin center panel.
What power bank should I use?
A 10,000mAh USB-C bank from a known brand, listed to UL 2056, is plenty for two phones. Check its thickness before designing the pocket.
Can I use this on a lower cabinet?
Yes, but keep small children in mind, and expect less clearance if the lower cabinet has pull-outs or deep items near the door.
Clearing a counter of chargers is a small change you notice every single day. Measure the gap, keep it light, fasten it into the door frame and keep the power safe, and your cabinet door charging station will work as well as it looks.
Sources: U.S. Fire Administration lithium-ion battery safety handout; USFA battery fire safety; NFPA lithium-ion battery safety; CPSC battery charging safety; UL 2056, the safety standard for power banks; NFPA 70 (National Electrical Code). Product details (dimensions, finish dry times) from the linked product listings, checked November 2026.