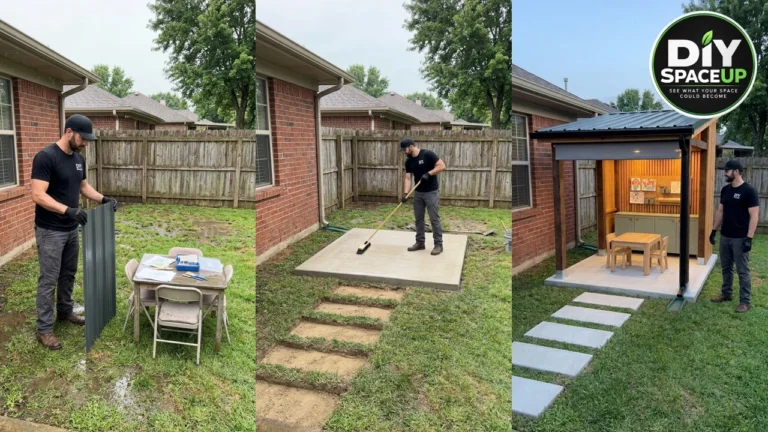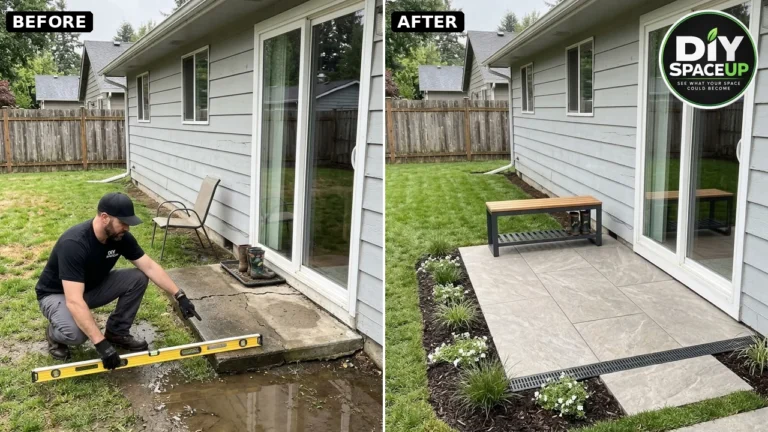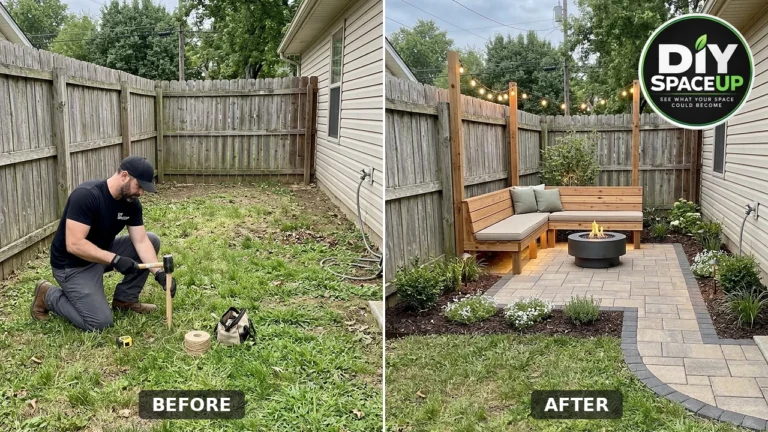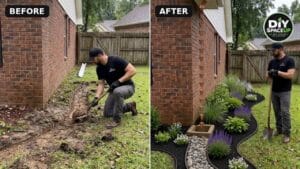

Every time it rained, this back corner of the house turned into a muddy mess. A plain white downspout dumped roof water right at the brick, the soil washed out, and leaves and mud piled up against the foundation. The fix in the original video looks simple: swap the downspout for a copper rain chain, add a stone splash basin, run a winding river-stone channel, and plant a lush bed of ornamental grasses and flowers. It is a great idea. But the video skips the parts that decide whether the water actually leaves the house, so this guide rebuilds the project in the right order and fixes the one big mistake.
Important: AI-generated concept. The original social post is an AI-generated renovation concept, and the images in this article are AI illustrations too. They show the look and the sequence, not a tested installation. The method below follows the International Residential Code grading rule, rain chain makers’ installation guidance, and state rain garden guidance (all linked). Costs, sizes and times are estimates for planning, not quotes. Real rainwater systems need proper grading, drainage planning and a suitable place for the runoff to go.
Affiliate Disclosure: As an Amazon Associate I earn from qualifying purchases. Product links in this article may earn a commission at no additional cost to you. Use tools you already own when they suit the work.
Contents
- Copper Rain Chain Corner Overview
- The Fix the Video Skips: Send Water Away From the House
- What a Rain Chain Can and Can’t Do
- Materials and Tools
- Step-by-Step: Build It in the Right Order
- Plants That Handle Wet and Dry
- Estimated Cost and Time
- Common Mistakes to Avoid
- Safety Checklist
- Project Checklist
- Seasonal Maintenance
- Frequently Asked Questions
Copper Rain Chain Corner Overview
A rain chain replaces a closed downspout with a string of open cups or links. Water clings to the chain and drops from cup to cup, so you see and hear the rain instead of hiding it in a pipe. At the bottom, the water still has to go somewhere. In this makeover it lands in a stone basin, follows a river-stone channel out into the yard, and soaks into a rock-topped dry well in the lawn. The planted bed around it hides the stone work and handles the splash.
| Component | What it does | Key detail |
|---|---|---|
| Gutter adapter (installer) | Connects the chain to the gutter outlet and funnels water onto it | Sturdier than a loose hook; matters most where ice can load the chain |
| Copper cup rain chain | Carries roof water from the gutter to the ground | Cup styles handle more water than open links |
| Anchor stake | Holds the bottom of the chain in place | Keeps wind from swinging the chain into the wall; never stretch the chain |
| Square stone splash basin | Catches the falling water and splash | Set level on a compacted gravel base, with river rock inside |
| River-stone channel | Carries water from the basin away from the house | Sloped away from the foundation and lined with non-woven geotextile |
| Dry well or rain garden pocket | The runoff destination where water soaks in | At least 10 ft from the foundation, with an overflow path onto lawn |
| Black landscape edging | Keeps mulch, rock and lawn separate | Spiked every few feet so it doesn’t heave or wander |
| Planted bed | Holds soil, takes up water, softens the stone | Wet-tolerant plants near the channel, drought-tolerant plants on the edges |
| Black mulch and solar lights | Finish the bed and light the path at night | Mulch stays out of the channel; solar lights need no wiring |
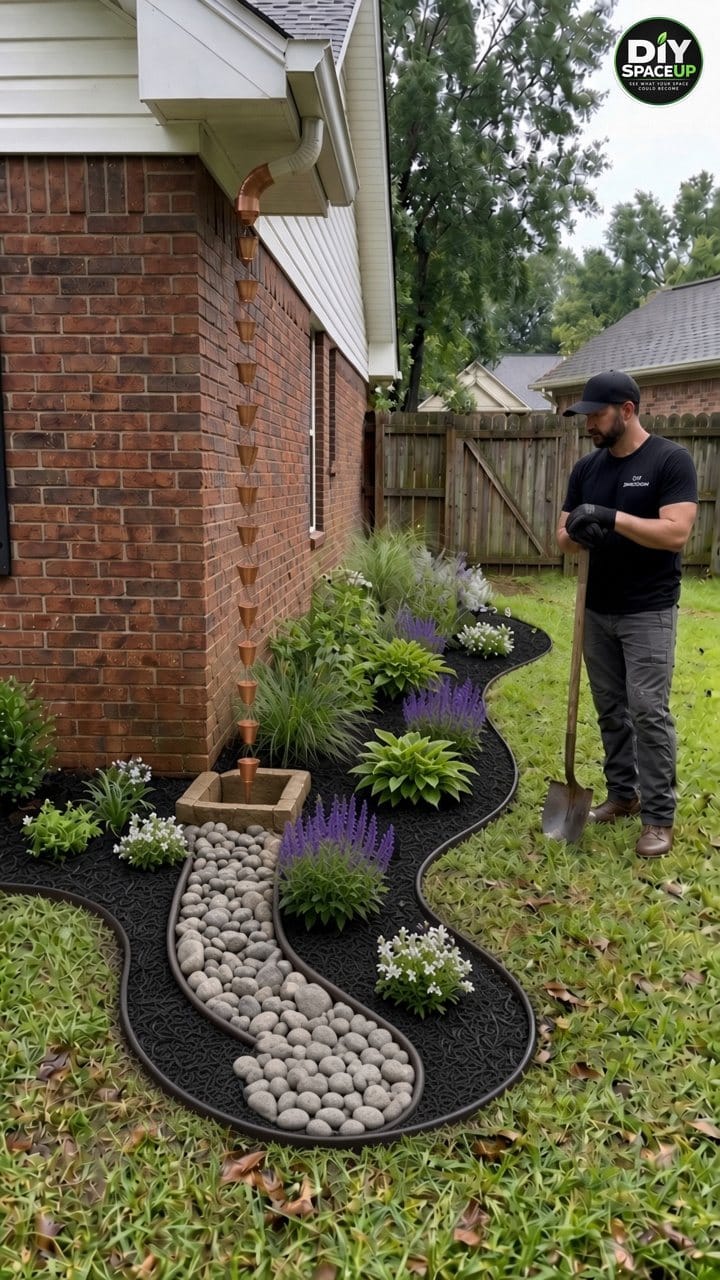
The Fix the Video Skips: Send Water Away From the House
Look closely at the reel: the trench is dug right along the foundation, the channel runs parallel to the brick toward the fence, and it simply ends at the lawn edge. That layout keeps water next to the house for the whole length of the channel and leaves it with nowhere to go. It is the opposite of what the corner needs.
The International Residential Code (section R401.3) says lots should be graded so surface water drains away from foundation walls, with a fall of at least 6 inches within the first 10 feet. Where a lot line, wall or other barrier makes that impossible, the code allows drains or swales to carry the water away, and impervious surfaces within 10 feet of the building should slope at least 2% away. It also says the water has to go to an approved collection point without creating a hazard. Your local code may add to this, so check with your building department.
So in this guide the layout changes in three ways:
- The channel leaves the corner and heads out into the yard, away from both walls, instead of hugging the brick.
- The whole bed is graded to fall away from the foundation, so the soil and mulch never trap water against the house.
- The channel ends at a real destination: a rock-topped dry well (or a small rain garden pocket) at least 10 feet from the foundation, with a planned overflow onto lawn that slopes away. It never points toward a neighbor’s yard or the fence line.
The 10-foot distance matches the Minnesota DNR rain garden manual rule for infiltration areas near a house. On a small lot where you can’t get that distance, don’t sink water closer to the house. Daylight the channel onto lawn that slopes away, or carry the water underground in solid pipe the way our underground downspout drainage guide shows. If your yard has room for something bigger, our muddy backyard rain garden guide walks through sizing a full rain garden.
What a Rain Chain Can and Can’t Do
Rain chains are beautiful, but be honest with yourself about what they do:
- They carry less water than a closed downspout. In a heavy downpour, expect some water to jump off the cups and splash, and the gutter may overflow if it collects a big roof area. Cup-style chains handle flow better than open links. Some owners report splash reaching about 2 feet from the chain, which is why the basin and the rock around it matter.
- Splash is normal. Keep the basin and the first stretch of the channel covered in stone, not bare soil or light mulch that washes out.
- Ice is heavy. In freezing climates, ice can build up on the chain and pull on the gutter. Makers recommend a secure gutter adapter, and many owners take the chain down for the winter and refit a downspout or extension so meltwater still goes out to the channel.
- The gutter still has to work. A clogged gutter or one that doesn’t slope toward the outlet will spill over long before the chain is the problem.
If this corner collects runoff from a large roof section, keep the rain chain as a feature on a smaller section and route the big downspout underground, or pair the chain with a larger drainage system like a French drain.
Materials and Tools
| Item | Notes |
|---|---|
| Copper cup rain chain | Measure from the gutter to the basin before buying |
| Gutter adapter (installer) | Check the outlet hole size against the product listing |
| Rain chain anchor stake | Or a weighted basin; the anchor goes inside the stone basin |
| Four stone blocks | Square splash basin, as in the reel |
| Non-woven geotextile fabric | Under all the stone in the basin, channel and dry well |
| Washed angular gravel (about 3/4 in.) | Basin base and dry well fill |
| River rock, mixed 1–3 in. | Top layer of the basin, channel and dry well |
| Black no-dig landscape edging | With plenty of spikes; buy extra |
| Plants | Grasses, hostas, purple and white perennials (see plant list) |
| Shredded black mulch | 2–3 in. deep after planting |
| Solar path lights | No wiring; set after mulching |
For tools you’ll want a round-point shovel, a flat spade, a wheelbarrow, a garden rake, stakes and string with a line level, a tape measure, a 4-ft level, a stepladder, gutter sealant, utility knife or heavy scissors for the fabric, a BlumeTrec 10 x 10 in. Steel Tamper for the basin base, and an Estwing 18 oz Deadhead Rubber Mallet for setting blocks and driving edging spikes. Wear work gloves and eye protection when you handle stone and cut fabric.
Step-by-Step: Build It in the Right Order
Step 1: Call 811, check the slope, and plan the route
Contact 811 a few business days before you dig, even for a shallow trench and a stake. Wait until every utility has responded and marked its lines. Private lines like irrigation, landscape wiring or a line to a shed or grill usually aren’t marked by the free service, so find those yourself. Near any mark, hand-dig carefully and follow your state’s tolerance-zone rules.
Next, read the ground. Drive a stake at the corner and another about 10 feet out into the yard, run a string between them, level it with a line level, and measure from the string down to the ground at each stake. The ground should drop at least 6 inches over those 10 feet. If it doesn’t, you’ll regrade the bed and shape the channel to create that fall. Then pick the route: from the corner, out into the yard, away from both walls, to a spot at least 10 feet from the foundation that isn’t over a septic field or utility line and doesn’t drain toward a neighbor. That spot is your dry well.
Before you build the dry well, do a quick drainage test there: dig a hole about a foot deep, fill it with water, and see how fast it empties. Rain garden guides look for the water to drain within about 24 hours. If it sits longer, the soil won’t absorb much, and you should daylight the channel onto lawn that slopes away instead of relying on a pit.
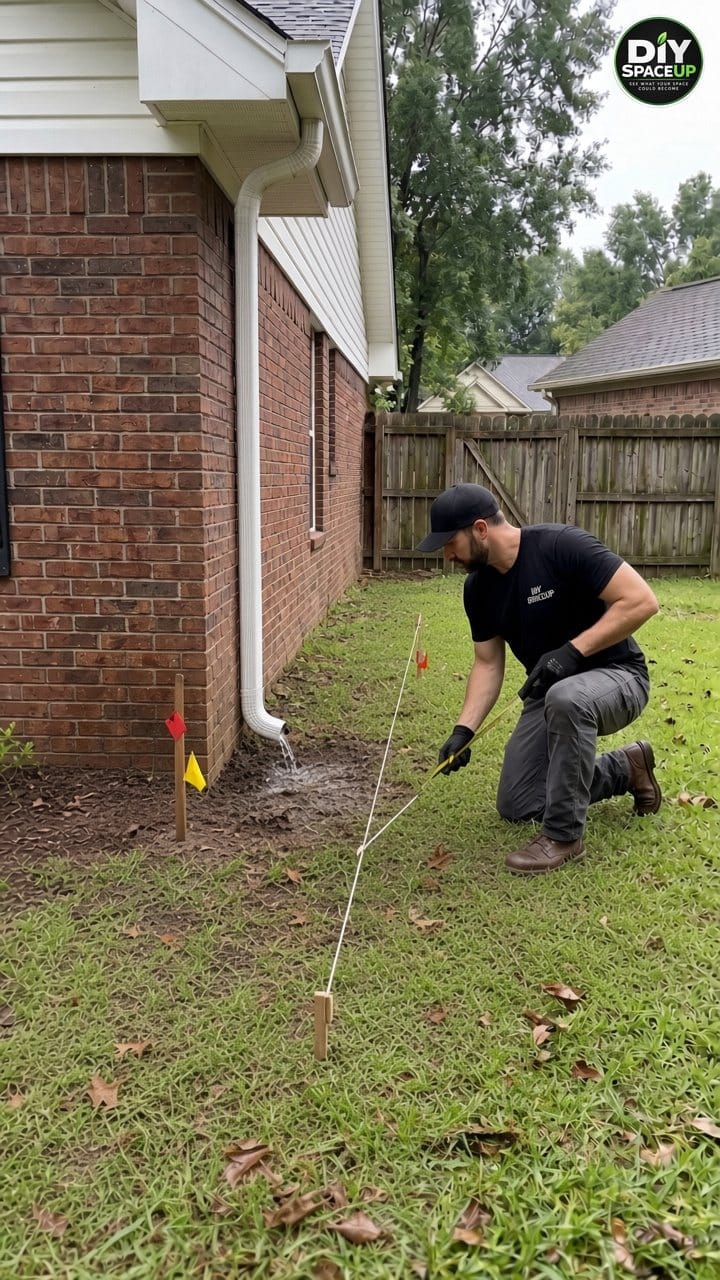
Step 2: Remove the downspout and install the gutter adapter
Unscrew the downspout and its elbow from the outlet and the wall straps. Clean the gutter and check that it slopes toward the outlet; makers commonly suggest about 1/4 inch of fall per 10 feet. Work from a stepladder set on firm, level ground, stay below the top steps, and have a helper hold the ladder.
Skip the loose hook the video uses. Fit a gutter adapter into the outlet, like the Rain Chains Direct Rain Chain Gutter Adapter/Installer. Its listing says it fits a standard gutter with a hole of about 2.25 inches in diameter. Measure your outlet first, because outlets vary and some reviewers had to trim adapters to fit. A crossbar or bolt across the adapter carries the chain’s weight, and a bead of gutter sealant around the flange stops leaks. The adapter also aims the water onto the chain, which cuts down on splash.
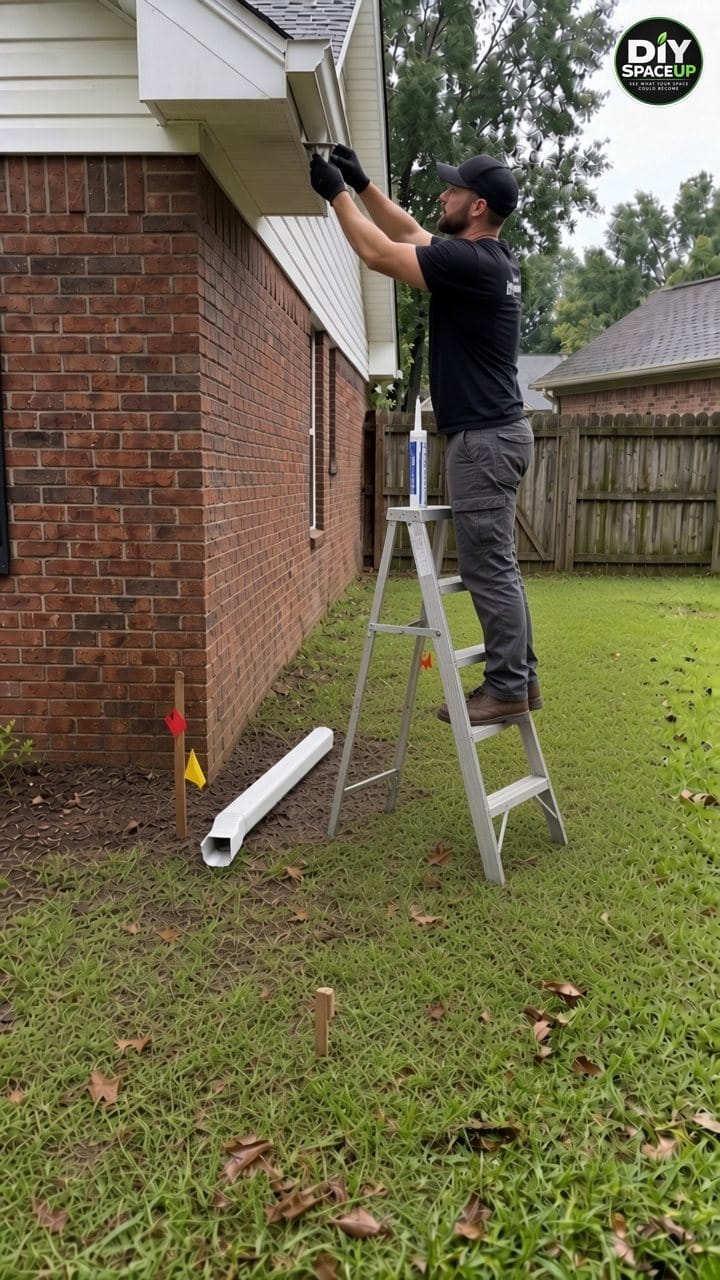
Step 3: Regrade the bed and dig the channel away from the house
Wait until the soil is damp, not soupy, so you don’t smear and seal it. Clear the leaves and mud at the corner and rebuild the bed so it falls away from the brick. Then dig three things:
- A basin pad at the corner, about 2 feet square and 4 inches deep, under where the chain will hang.
- The channel, about 18 inches wide and 6–8 inches deep, leaving the basin and curving out into the yard. Keep the bottom falling steadily all the way, with no low spots. Aim for at least a 2% fall (about 1/4 inch per foot) and check it with a level and your string line as you go.
- The dry well pit at the end, at least 10 feet from the foundation. A typical DIY pit is about 3 feet across and 2–3 feet deep. Go no deeper than your soil and local rules allow.
Here is a reality check on size. One inch of rain on 300 square feet of roof is roughly 187 gallons (300 × 1/12 × 7.48). A 3-foot-wide, 3-foot-deep pit full of stone holds only about 60 gallons in the gaps between the stones (assuming about 40% void space). So the pit doesn’t store a storm. It slows the water and lets it soak in while it fills. Shape a shallow overflow from the pit onto lawn that slopes away, so big storms spill safely. Our drainage channel guide covers shaping a swale like this.
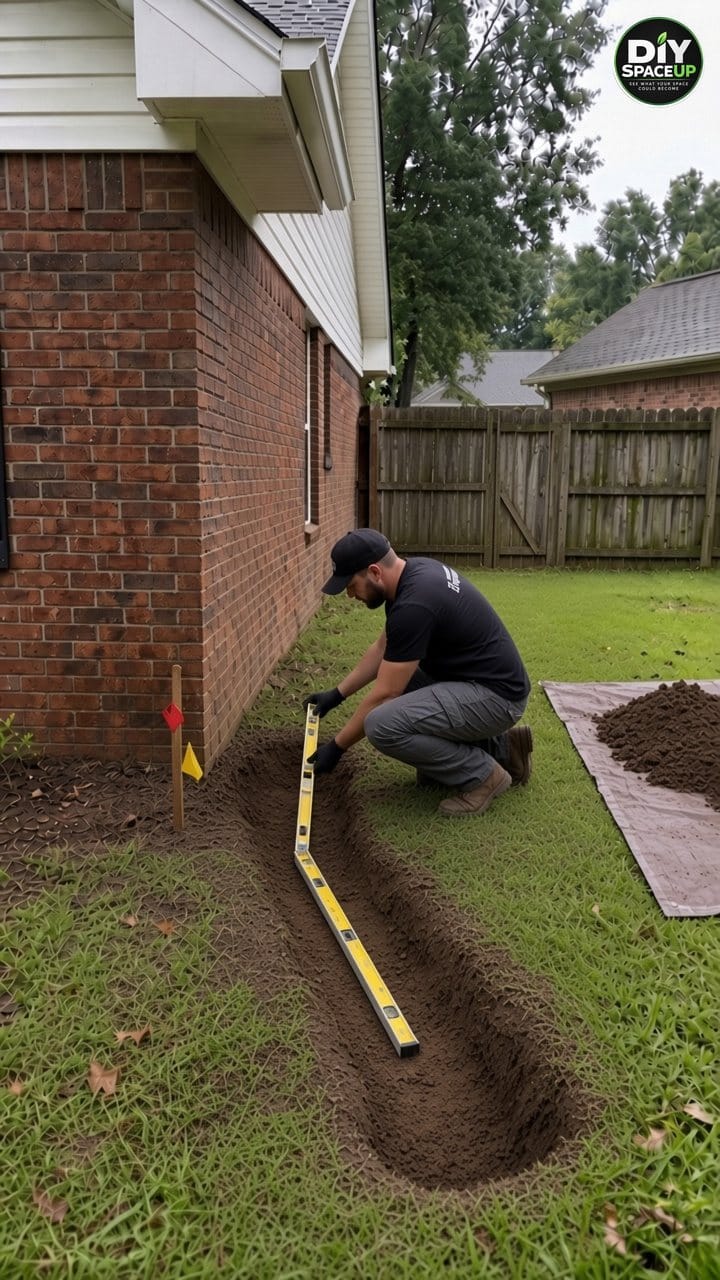
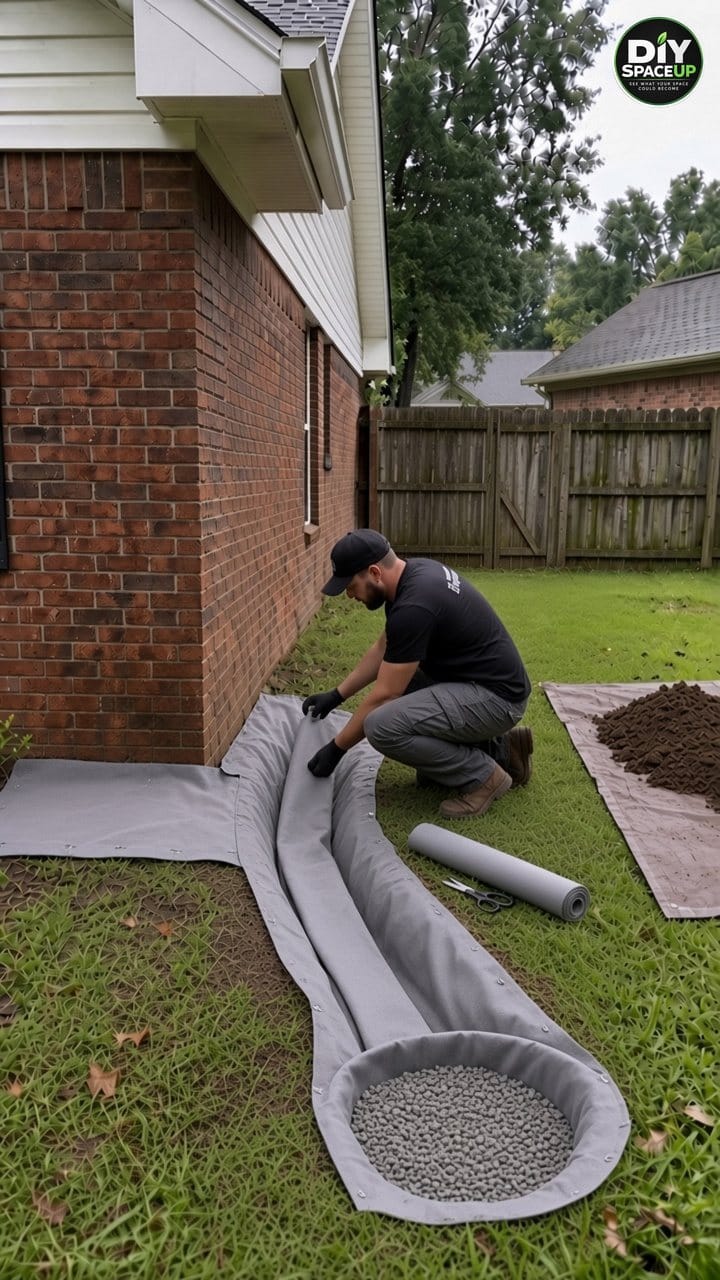
Step 4: Line the channel and dry well with geotextile
Line the basin pad, the channel and the dry well with non-woven geotextile so soil can’t migrate into the stone and clog it. Non-woven fabric lets water pass while filtering out fine soil, which is why it’s the usual choice for drains. The Super Geotextile 4 oz Non-Woven Geotextile Fabric (3 x 50 ft) is sized for a job like this one. Overlap seams by about a foot, pin them with landscape staples, and leave enough extra at the edges to tuck under the edging later. Fill the dry well with washed, angular 3/4-inch gravel up to a few inches below grade, then fold the fabric over the top of the gravel before you add the river rock cap.
Step 5: Build the splash basin on a compacted base
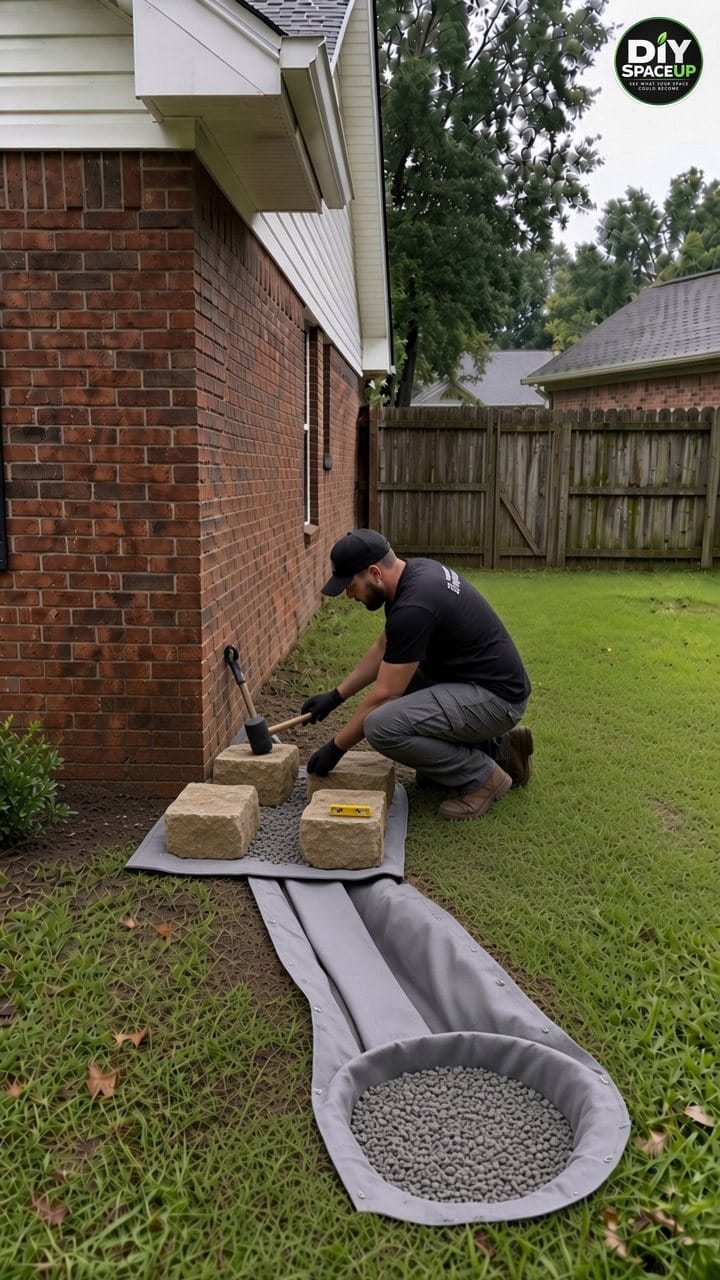
Spread about 4 inches of gravel on the fabric in the basin pad and compact it with the tamper until it stops settling. Set the four stone blocks in a square, tap each one with the rubber mallet, and check it with a level so the basin doesn’t rock. Make the outlet side, the side facing the channel, slightly lower so the water leaves toward the yard. Keep the basin a few inches out from the brick so splash and debris don’t pile up against the wall, and keep all soil and stone below any weep holes in the brick.
Step 6: Install the black landscape edging
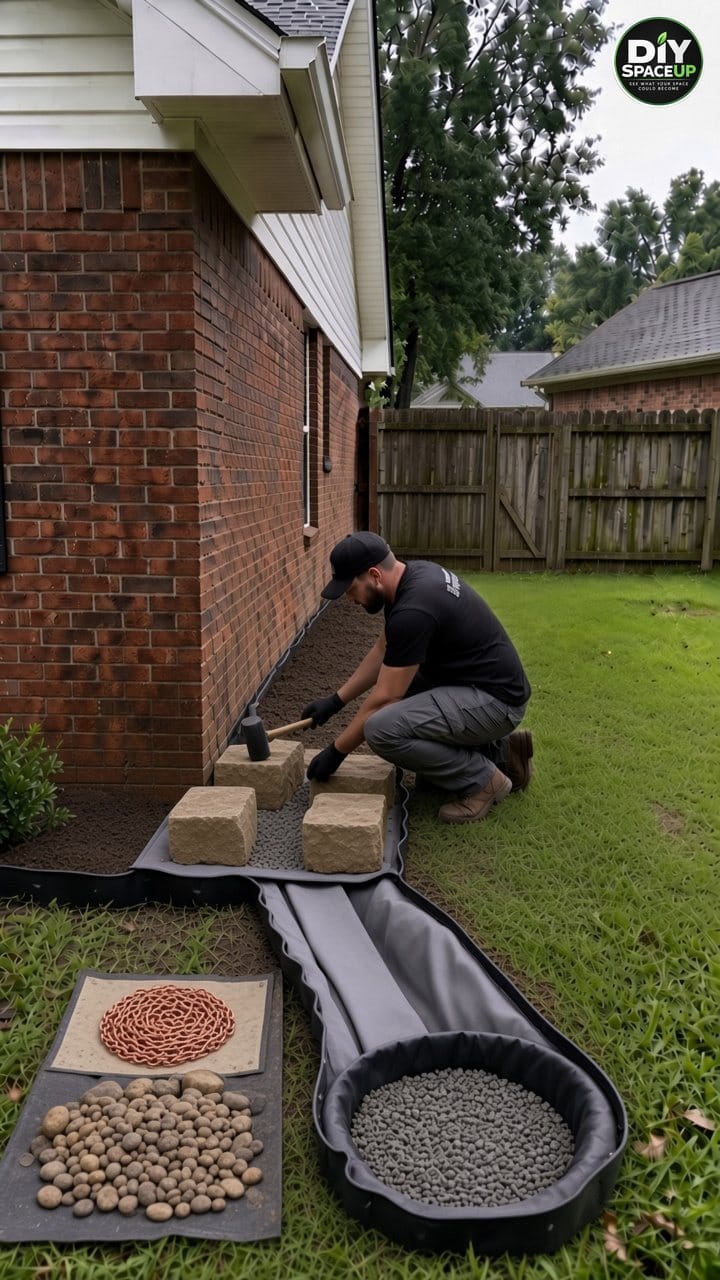
Lay the edging around the outside of the bed and along both sides of the channel and dry well, matching the wavy line from the video. A no-dig kit like EasyFlex No-Dig Landscape Edging, 40 ft Kit (Black) comes with 16 spikes. The maker says to place spikes no more than 40 inches apart, and many reviewers buy extra spikes so curves don’t lift or wave. Tuck the fabric edges under the edging tabs before you drive the spikes. Keep the channel edging a little below the bed edging so water can’t be trapped between them.
Step 7: Hang the copper rain chain and anchor it
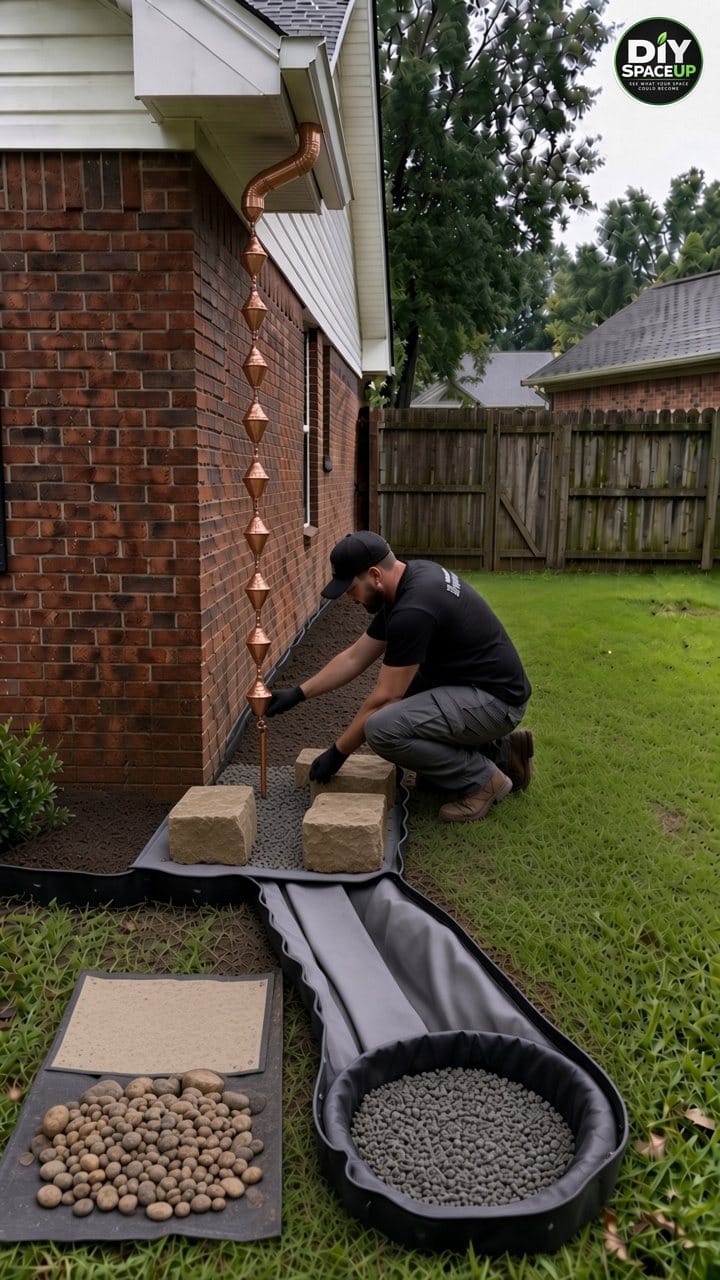
Measure from the adapter to the bottom of the basin before you buy. The Monarch Eastern Hammered Copper Cup Rain Chain (8.5 ft) uses cups, which handle more water than open links. Shorten a chain by opening the link between two cups, and add an extension chain if you’re short, rather than stretching it.
Hang the chain from the adapter’s crossbar so it falls straight to the center of the basin. Then anchor the bottom. The Monarch Rain Chain Anchor Stake (12 in.) pushes into the gravel and attaches to the chain with its own short chain. Its listing warns not to stretch the chain and not to push the stake in where underground utilities run, which is one more reason Step 1 comes first. Leave the chain hanging plumb with a little slack. An anchored chain won’t swing into the brick or the window in the wind.
Step 8: Fill with river rock and plant the bed
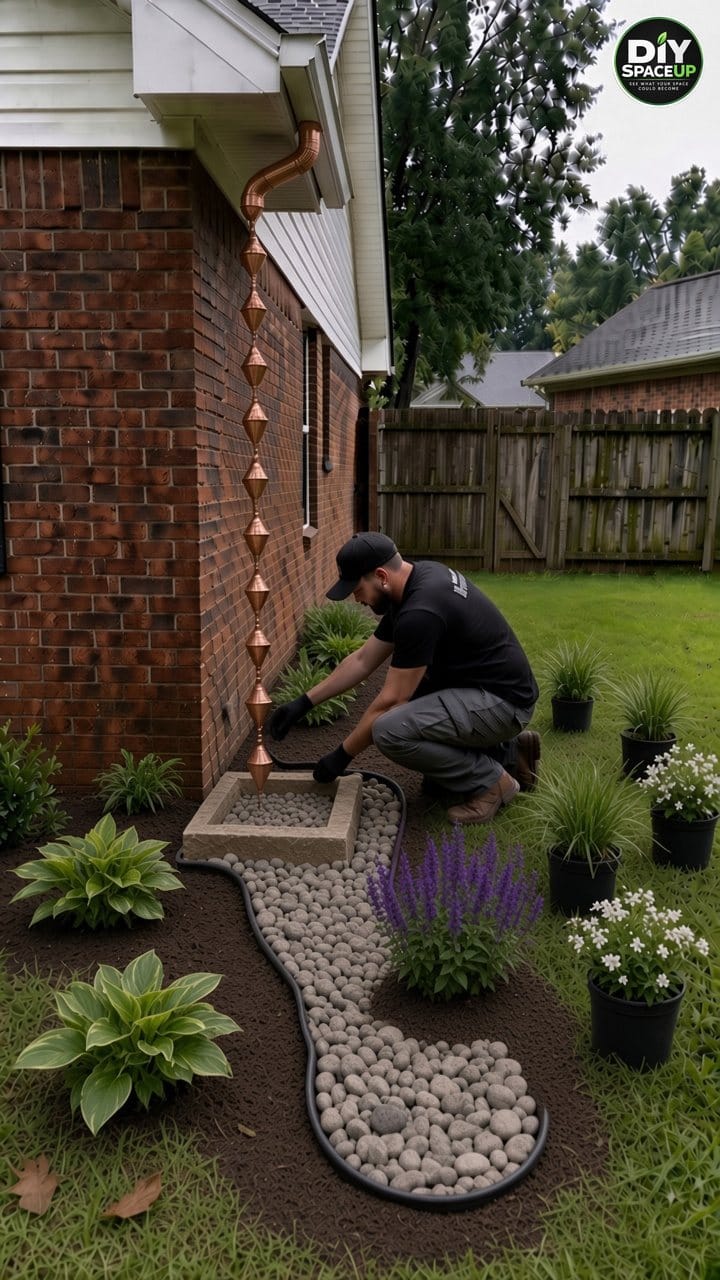
Fill the basin around the stake and cover the channel with mixed 1–3 inch river rock over the fabric. Use bigger stones under the chain and on the curves, where water hits hardest. Cap the dry well with the same rock so it reads as part of the stream. Pour a few buckets of water down the chain, or run a hose into the gutter, and watch the path. Water should leave the basin, follow the channel and disappear into the dry well without standing anywhere near the house. Fix any low spots now.
Plant from the wettest zone outward: water-tolerant plants along the channel and around the dry well, then grasses and hostas in the middle of the bed, and drought-tolerant flowers on the outer edges (see the plant list below). Set root balls level with the surrounding soil, keep plants a foot or more off the brick for air flow, and water each one in well.
Step 9: Mulch, then add the solar lights
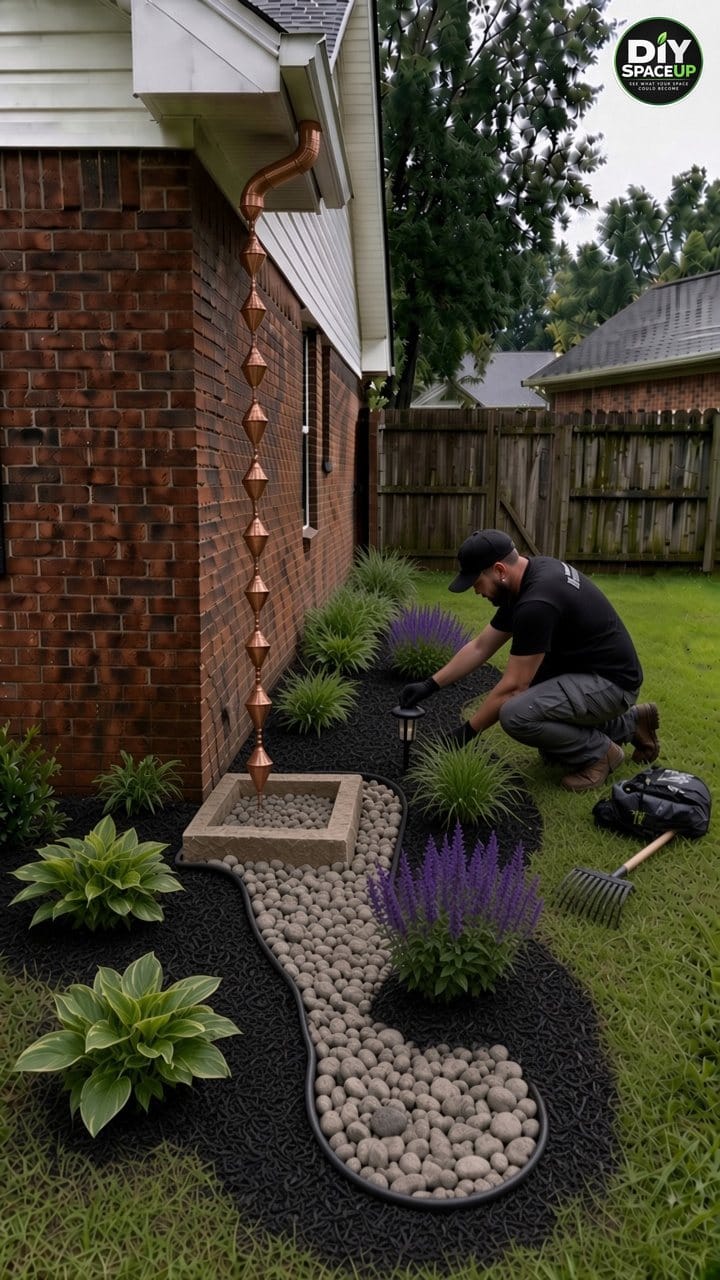
Spread 2–3 inches of shredded black mulch between the plants. Keep it out of the channel and away from plant crowns, and keep both mulch and soil below the brick weep holes and siding. Shredded mulch knits together and resists washing better than light nuggets, but the stone is what protects the splash zone. Set the solar path lights last, along the edging where they get sun during the day and won’t be hit by the mower.
Step 10: Test it in the first real storm
Go out during the first good rain (with a jacket, not a ladder). Watch where the water lands, where it splashes and where it ends up. Add stones where splash bares the soil, raise or lower a section of channel if water pools, and confirm the dry well empties within about a day. If the gutter overflows at the corner during heavy rain, clean it, add a gutter guard, or move the big flow to a downspout and keep the chain for a smaller section.
Plants That Handle Wet and Dry
A rain chain bed swings between soaked and dry, so pick plants that tolerate both. Choose varieties that are native to or proven in your region; your local extension office or a native plant nursery can confirm what thrives where you live.
| Zone | Plant ideas | Why |
|---|---|---|
| Channel edges and dry well rim (wettest) | Sedges (Carex), switchgrass (Panicum virgatum), blue flag or Louisiana iris | Tolerate brief flooding and hold soil at the stone edges |
| Middle of the bed | Hostas (in part shade), daylilies, fountain or feather reed grass | Fill space and handle average moisture |
| Outer edges (driest) | Little bluestem, catmint (Nepeta), purple salvia, white tall garden phlox | Handle drier spells and give the purple and white color from the reel |
Estimated Cost and Time
These are planning estimates for a DIY corner roughly like the one in the photos, checked against Amazon listing prices on November 10, 2026 where an item is linked. Local stone and plant prices vary a lot.
| Item | Estimated cost |
|---|---|
| Copper cup rain chain (8.5 ft) | About $120 |
| Gutter adapter | About $10–$40 |
| Anchor stake | About $18 |
| Geotextile fabric (3 x 50 ft roll) | About $60 |
| Edging kit (40 ft) | About $30 |
| Stone blocks, gravel and river rock | About $150–$400 |
| Plants (10–20 perennials and grasses) | About $100–$350 |
| Mulch and solar lights | About $60–$150 |
| Estimated total | About $550–$1,170 (plus tools you don’t own) |
Time estimate: about two weekends for one or two people, longer if you’re moving a lot of soil or the ground needs regrading. Add the 811 wait before you start.
Common Mistakes to Avoid
| Mistake | Why it’s a problem | Do this instead |
|---|---|---|
| Running the channel along the foundation | Keeps water against the house | Route it out into the yard, away from the walls |
| Channel that just ends at the lawn | Water pools or flows somewhere you didn’t plan | End at a dry well or rain garden 10+ ft away, with an overflow path |
| Hanging the chain from a bare hook | Weak connection; more splash; ice can pull it loose | Use a gutter adapter and seal the flange |
| Leaving the bottom loose | Chain swings into the wall in the wind | Anchor it in the basin with light slack |
| Stretching the chain to the stake | Strains the gutter and the links | Shorten or extend the chain instead |
| Skipping fabric under the rock | Soil clogs the stone and the channel silts up | Line everything with non-woven geotextile |
| Mulch piled against the brick | Traps moisture, can cover weep holes, invites pests | Keep soil and mulch below the weep holes and siding |
| Pointing runoff at the neighbor or fence | Creates a new problem and possible disputes | Keep the water on your lot and moving away from buildings |
| Digging before 811 | Risk of hitting a line | Call first and wait for all responses |
Safety Checklist
- 811 called and all responses received before digging or driving stakes
- Ladder on firm, level ground, a helper holding it, you below the top steps
- Gloves and eye protection for stone, fabric cutting and gutter work
- Lift stone with your legs, or use a wheelbarrow and a helper
- Stay off the roof edge and away from overhead power lines
- No ladder work during storms; do your storm testing from the ground
Project Checklist
- Ground falls at least 6 in. in the first 10 ft away from the foundation
- Route goes away from both walls, not toward a neighbor or the fence line
- Dry well spot is at least 10 ft from the foundation, drains within about a day, and has an overflow path
- Gutter cleaned and sloping toward the outlet
- Adapter fits the outlet hole and is sealed
- Chain length measured; chain hangs plumb into the basin
- Bottom anchored with light slack
- Basin level on compacted gravel, outlet side slightly lower
- Fabric under all stone; seams overlapped and pinned
- Edging spiked no more than 40 in. apart, extra spikes on curves
- Wet-tolerant plants at the channel, drought-tolerant plants on the edges
- Mulch 2–3 in. deep, out of the channel and below the weep holes
- Hose test passed before the first storm
Seasonal Maintenance
- Spring and fall: clean the gutter and the adapter screen, rinse leaves out of the basin, and lift out silt that collects in the channel.
- After big storms: reset any stones that moved, top up rock where splash bared the soil, and check that the dry well emptied.
- Before freezing weather: in cold climates, consider taking the chain down and fitting a temporary downspout or extension that sends meltwater into the channel.
- Each year: refresh the mulch lightly, divide grasses and hostas as they fill in, and check that the edging spikes are still holding.
- Copper: the bright copper will darken and, over time, develop a natural patina. That’s normal; you don’t need to polish it.
Frequently Asked Questions
Can a copper rain chain replace a downspout completely?
On a small roof section in a moderate climate, often yes. On a large roof, or where downpours are common, a rain chain will splash and the gutter may overflow, so many homeowners use one on a smaller section and keep a downspout where the flow is heavy.
Do I need a gutter adapter for a rain chain?
It’s strongly recommended. An adapter makes a stronger connection than a hook, aims the water onto the chain, and reduces splash. That matters most in cold climates, where ice adds weight.
How far from the house should the water go?
Grade the ground so it falls at least 6 inches in the first 10 feet away from the foundation (IRC R401.3), and put any dry well or rain garden at least 10 feet from the foundation. Check your local code too.
Is it okay to run a river rock channel along the foundation?
Not as the main drainage path. A channel along the wall keeps water next to the house. Route the channel out into the yard to a dry well, a rain garden or lawn that slopes away.
What goes under the river rock?
Non-woven geotextile fabric, plus washed angular gravel in the basin and dry well. The fabric keeps soil out of the stone so it keeps draining.
Should I anchor the bottom of a rain chain?
Yes. Anchor it in the basin with a stake or a weighted basin so wind can’t swing it into the wall. Leave a little slack; don’t stretch it.
What if my dry well doesn’t drain?
If a test hole still holds water after about a day, your soil absorbs slowly. Daylight the channel onto lawn that slopes away, build a larger shallow rain garden, or ask a drainage professional about other options.
A copper rain chain can turn the ugliest, muddiest corner of the house into the spot everyone notices first, as long as the water leaves the house and has somewhere to go. Build the basin, send the channel out into the yard, give it a real destination, and the next storm becomes something you actually want to watch. For another approach to a soggy yard, see our dry creek bed with a bridge.