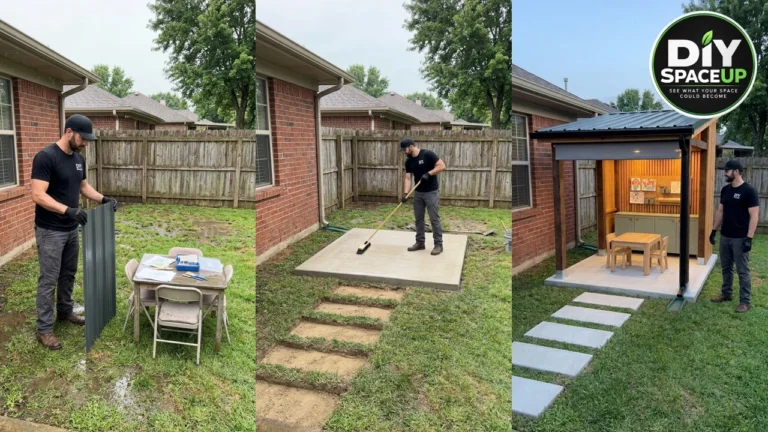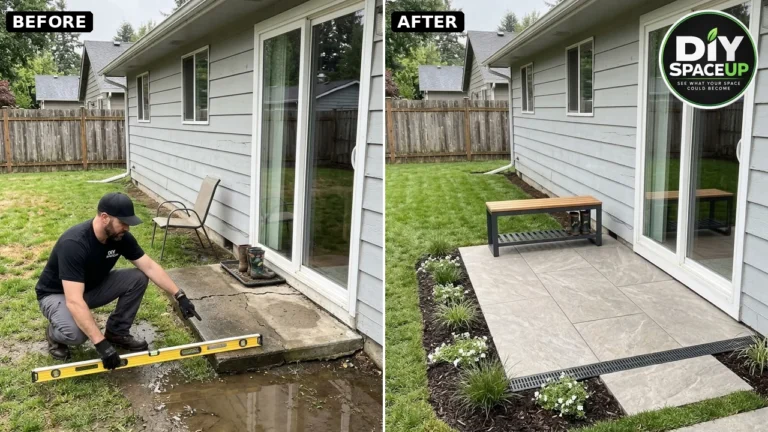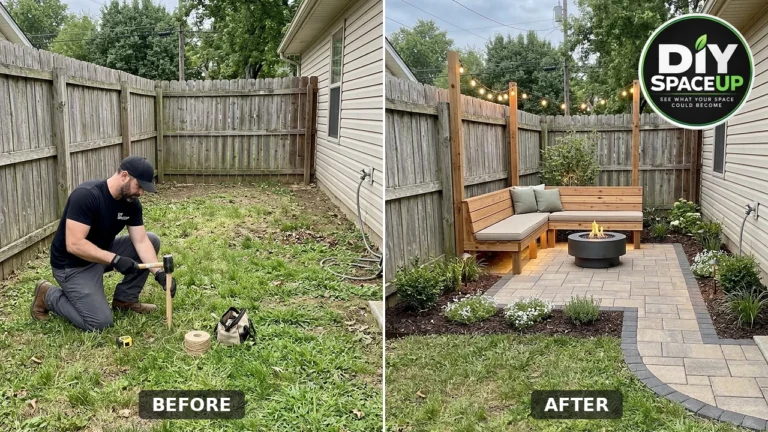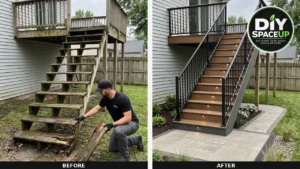

These backyard deck stairs had reached the point where every trip down felt like a gamble. The treads were soft and splitting, the stringers had rotted where they met the ground, and the bottom step landed in a puddle of mud after every rain. If you need to rebuild deck stairs that look like this, the boards are only the visible part of the problem.
The DIY SpaceUp project shown here started from that exact spot: an elevated deck on the side of a gray-sided house, a wood privacy fence behind it, and an open wood staircase coming straight down into the lawn. The opportunity was simple. The stairs were already in the right place; what they lacked was solid footing, a dry landing, and a structure that would not rot again in a few seasons.
The transformation replaces the old stairs with new pressure-treated stringers on a stable base, warm wood-look composite treads, dark gray riser and fascia cladding, a black metal railing that continues around the deck, small recessed riser lights, a large gray paver landing, a paver path into the yard, and a channel drain that carries water away to the side yard. The look is the fun part. The structural rebuild, stable footing, and drainage planning underneath are what make it last.
This guide follows that build in order and adds the professional steps a short video cannot show. Related reading on the site: how to decide whether to repair or replace a deck and how to fix a muddy backyard with a drainage channel.
Affiliate Disclosure: As an Amazon Associate I earn from qualifying purchases. Product links in this article may earn a commission at no additional cost to you.
What’s in This Post
- What We’re Building
- Before You Start: Is This a Repair or a Rebuild?
- Plan the Stairs and the Landing
- Safety and Code Checklist
- Materials and Tools
- Step 1: Remove the Old Stairs and Railing
- Step 2: Lay Out and Excavate the Landing
- Step 3: Build the Base and Install the Channel Drain
- Step 4: Set the New Stringers
- Step 5: Treads, Risers, and Fascia Cladding
- Step 6: Install the Black Metal Railing
- Step 7: Add Low-Voltage Riser Lights
- Step 8: Pave the Landing and the Path
- Step 9: Mulch, Plants, and River Rock
- Estimated Project Cost
- Common Mistakes and Better Approaches
- Maintenance and Seasonal Checks
- FAQ
What We’re Building
Everything in this table is visible in the project photos. Hidden details, such as how the stringers are fastened to the deck or what the base slab is made of and how thick it is, depend on your site and your local code.
| Component | Function |
|---|---|
| Existing elevated deck, kept in place | The stairs are rebuilt in the same location; the deck’s posts, beam, and ledger must be inspected before new stairs are attached |
| New pressure-treated stair stringers (three visible in the build photos) | Carry the treads from the deck down to the landing |
| Bottom box frame on a flat pad over compacted crushed stone | Gives the stringers a level, stable bearing point instead of soft soil |
| Compacted crushed stone base (compacted with a gas plate compactor) | Supports the landing and lets water drain instead of pooling |
| Black plastic channel drain with a slotted grate, tied to corrugated pipe | Catches surface water at the edge of the landing and carries it to the side yard |
| Wood-look composite treads | Walking surface with a warm wood tone |
| Dark gray riser boards and fascia cladding, including the bottom frame | Finishes the stair sides, risers, and deck rim in one color |
| Black metal railing with square balusters on the stairs and the deck | Replaces the old wood guards and handrails |
| Small round warm-white recessed riser lights | Light the steps at night |
| Large light gray square pavers at the landing, plus a rectangular paver path with a dark border | A firm, dry place to step off the stairs and walk into the yard |
| Dark mulch beds, plants with white flowers, edging, and a river rock strip along the drain | Finishes the edges and keeps soil from washing onto the pavers |
Before You Start: Is This a Repair or a Rebuild?
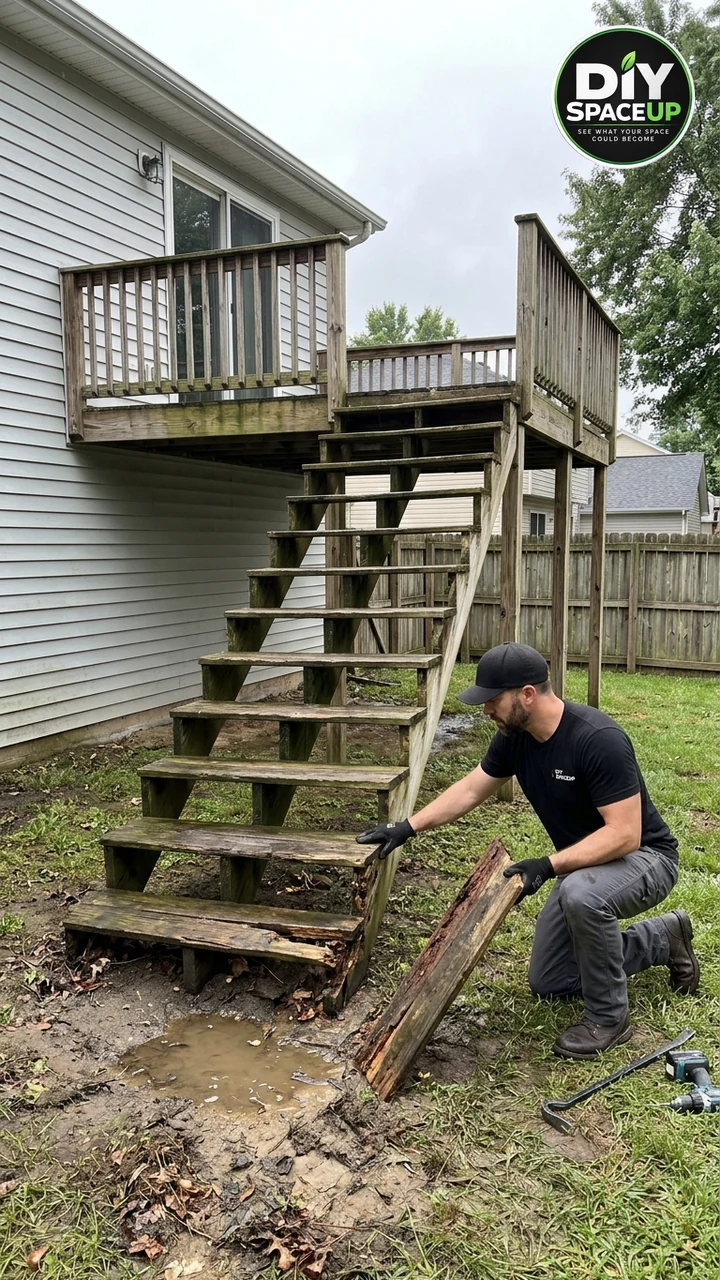
Look closely at what has failed. In the before photo, the treads are weathered and broken, the stringers are dark and soft at the bottom, and the first step sits in standing water. When rot reaches the stringers, replacing treads alone is not enough; the whole stair needs to come out.
The same check applies to the deck itself. The new stairs hang from the deck, so the deck has to be sound. Probe the posts near grade, the beam, the rim joist where the stringers will attach, and the ledger where the deck meets the house. If you find soft wood, missing flashing, or loose connections, fix the deck first or bring in a qualified deck builder or engineer. Our guide to repairing or replacing a deck walks through that inspection.
Plan the Stairs and the Landing
When you rebuild deck stairs, layout starts with one measurement: the total rise, from the top of the finished deck surface down to the top of the finished landing. Measure it at the landing location, not on the old sloped mud, because the new landing will change the grade. Divide the total rise into equal risers, then choose a tread depth that keeps the run comfortable. Equal steps matter more than almost anything else in stair safety; a single riser that is taller or shorter than the rest is what trips people.
Your local code sets the maximum riser height, the minimum tread depth, how much the steps may vary from one another, and the minimum stair width. Many U.S. jurisdictions base these on the International Residential Code, but local amendments are common, so check with your building department before you cut stringers. The American Wood Council’s DCA 6 prescriptive deck construction guide is a useful reference for stair and deck details.
Plan the landing at the same time. In this project, the landing was laid out with stakes and string as a larger rectangle than the old mud patch, so you step off onto pavers in every direction. Decide where water will go before you dig: the photos show a channel drain along one edge of the landing and corrugated pipe running toward the side yard. Confirm that the outlet can discharge somewhere legal and safe, away from your foundation and not onto a neighbor’s property.
Any sizes you choose here are planning decisions for your own site. The project photos do not provide measured dimensions, so measure your deck height and yard rather than copying the look by eye.
Safety and Code Checklist
- Permit. Rebuilding stairs that serve a deck often needs a permit. Ask your building department, and HOA if you have one, before demolition.
- Call 811 before you dig. The landing excavation and drain trench can cross buried utility lines. Request a locate a few working days ahead.
- Deck attachment. Have the ledger, rim joist, posts, and footings inspected before you hang new stringers from the deck. Use connectors and fasteners approved for the application and installed per the manufacturer’s instructions.
- Stair geometry. Check local code for riser height, tread depth, allowed variation, width, and headroom.
- Handrail and guards. Local code sets when a handrail is required, its height and graspability, and the guard height and baluster spacing on the stairs and deck. Use a railing system tested and rated for stair and guard use, installed to its instructions.
- Footing at the bottom. The stringers need a stable, non-settling bearing point. Follow local code and the deck guide for what that pad must be in your climate.
- Drainage. Slope the landing so water moves toward the drain and away from the house and the stair base.
- Lighting. Use a listed low-voltage kit made for outdoor use and plug its transformer into a GFCI-protected outdoor receptacle. Any new line-voltage outlet or hardwired circuit is work for a licensed electrician.
- Personal protection. Gloves, eye protection, and hearing protection for demolition, cutting, and the plate compactor. Dust mask when cutting treated lumber or composite.
- Temporary guard. When the old stairs come off, block the deck opening. The project shows orange safety mesh across the opening at the top.
Materials and Tools
Lumber, composite decking, railing kits, crushed stone, pavers, and corrugated pipe are best bought from a lumberyard, home center, or landscape supplier, and they are not linked here. Rent the plate compactor for the day. The items below are sold on Amazon and were checked before publishing.
| Item | Notes |
|---|---|
| Swanson Solid Brass Stair Gauges (SG0020) | Clamp to a framing square at your chosen rise and run so every stringer cut is identical. |
| Simpson Strong-Tie LSCZ Adjustable Stair-Stringer Connector | One option for connecting stringers to the deck’s rim or header. Check that it suits your stringer and rim size, and install only with the fasteners listed by the manufacturer. Buy one per stringer. |
| NDS Pro Series 5-Inch Channel Drain Kit with Galvanized Steel Grates | A similar option to the black channel drain at the landing edge. Sections connect for longer runs; choose fittings that match your outlet pipe. |
| Sunmerit Low-Voltage Recessed Deck Stair Lights, 16-Pack, Warm White | Small round 12-volt riser lights with a plug-in transformer, photocell, and timer. Install the transformer at a GFCI-protected outdoor outlet. |
| STANLEY FATMAX 25-Foot Tape Measure (33-725) | For total rise, landing layout, and stringer marks. |
| Pressure-treated lumber rated for ground contact where needed | Stringers and the bottom box frame. Ask the supplier for the treatment level your use requires. |
| Composite treads, riser and fascia boards, and hidden fasteners | Follow the manufacturer’s joist and stringer spacing for stair use. |
| Black metal stair and deck railing system | Choose a system rated for stair and guard use. |
| Crushed stone, paver base, bedding sand, pavers, edging, geotextile, corrugated pipe | From a landscape supplier, sized to your landing. |
| Rental plate compactor, circular saw, drill/driver, level, framing square, shovel, wheelbarrow | Rent the compactor; the rest are standard tools. |
Step 1: Remove the Old Stairs and Railing
Remove the old railing, then the treads, then the stringers, working from the top down so nothing drops on you. Keep the deck opening blocked as soon as the stairs are gone. Once the stringers are off, inspect the rim joist where they attached; this is where water often sits and rot begins. Replace or reinforce any damaged framing before you build anything new on it. In this project, the old deck railing was also removed so a new metal system could run around the deck and down the stairs.
Step 2: Lay Out and Excavate the Landing
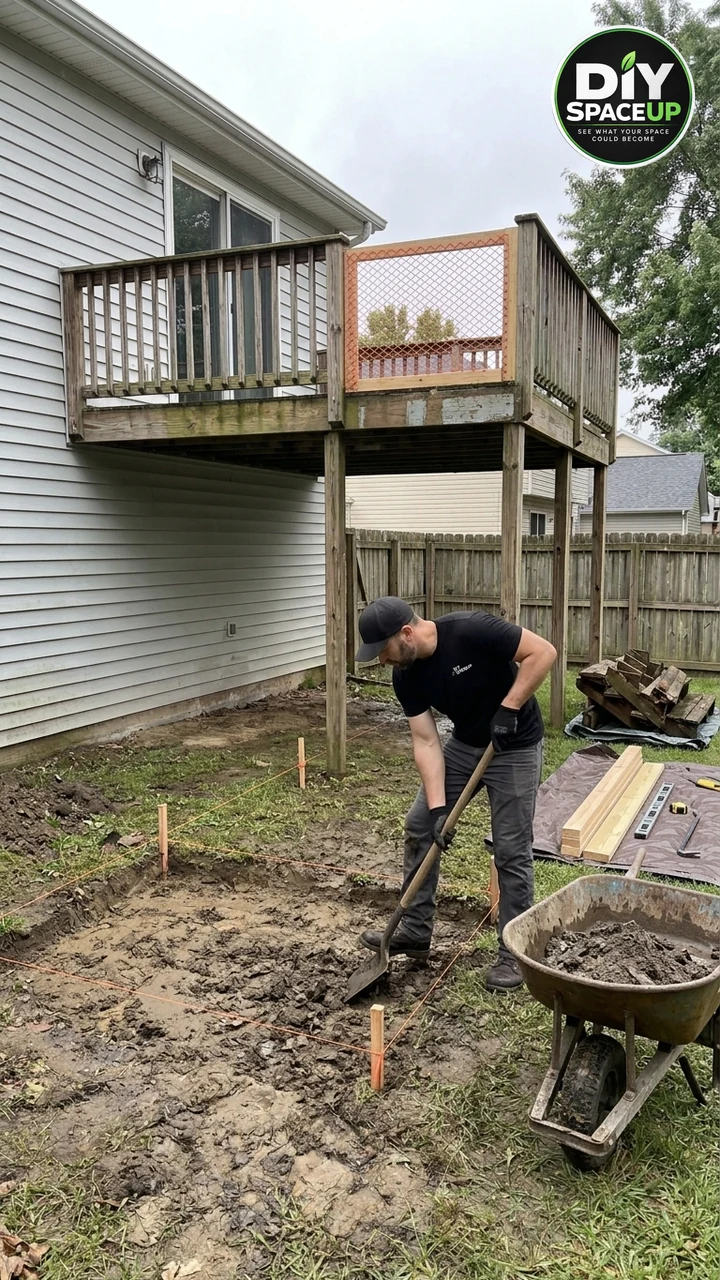
Mark the landing with stakes and a string line, then dig out the mud, topsoil, and roots inside it. Excavate deep enough for the base your pavers and climate call for, and keep the bottom of the excavation firm and evenly sloped toward the planned drain. If the subsoil is soft clay, a geotextile layer under the stone helps keep the base from mixing into the soil.
Dig the drain trench now, too, so the pipe can run from the landing edge to its outlet at a steady downward slope. For more on planning a walkway base, see how to build a paver walkway.
Step 3: Build the Base and Install the Channel Drain
Spread crushed stone in layers and compact each one with a plate compactor. Layering matters: one thick pour will compact only at the top. Check the slope as you go so the finished surface sheds water toward the drain.
Set the channel drain along the landing edge so its grate will finish flush with, or just below, the pavers. Connect its outlet to the corrugated pipe and run the pipe to its discharge point. Test it with a hose before you cover the trench. The pad at the bottom of the stairs, where the box frame sits, needs to be flat, level, and stable; what it must be made of depends on your local code and frost conditions.
Step 4: Set the New Stringers
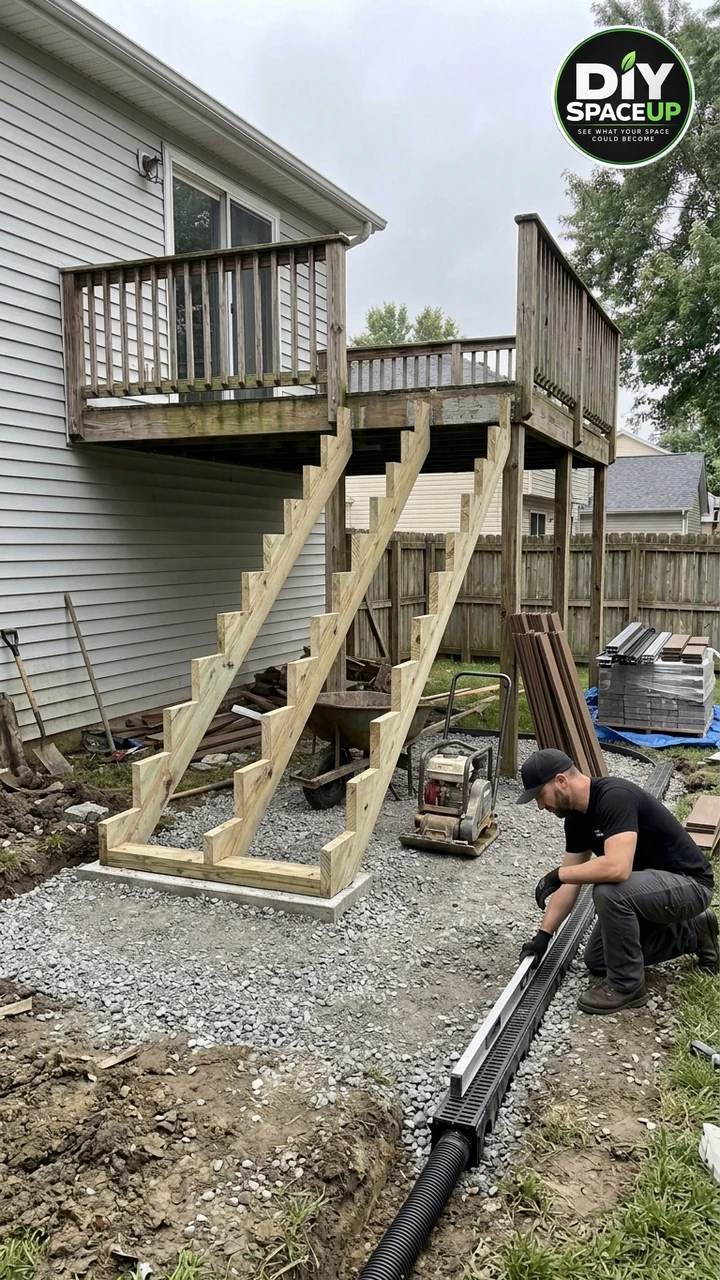
Lay out the stringers with a framing square and stair gauges, cut one, and test it in place before cutting the rest. The build photos show three new pressure-treated stringers. The number you need depends on stair width and the tread manufacturer’s maximum spacing for stairs, so confirm that before you buy lumber.
At the top, attach the stringers to the deck framing with approved connectors and fasteners. At the bottom, the stringers rest on a box frame that sits on the pad over the compacted stone, which keeps them level and out of the mud. Secure the stringers to that frame and the frame to the pad as your local code and the manufacturer require. Treat any field cuts on pressure-treated lumber with an end-cut preservative.
Step 5: Treads, Risers, and Fascia Cladding
Install the composite treads with the fastening system recommended by the decking maker, keeping the overhang and gapping within its stair instructions. Then clad the risers, stringer sides, deck rim, and the bottom box frame with dark gray fascia boards. Composite expands and contracts with temperature, so follow the maker’s spacing and fastener pattern for fascia. If you plan riser lights, decide where they go before you fasten the riser boards so you can drill clean holes and route the cable behind them.
Step 6: Install the Black Metal Railing
The project replaces the old wood guards with a black metal railing system with square balusters, both on the stairs and around the deck. Use a system the manufacturer rates for stair and guard use, and mount its posts exactly as instructed; post connections are where railings fail. Check handrail height, continuity, and graspability, plus guard height and baluster spacing, against your local code.
Step 7: Add Low-Voltage Riser Lights
The finished stairs have small round warm-white lights recessed into the risers. A plug-in low-voltage kit keeps this a DIY-friendly step: drill the riser holes to the kit’s specified size, push the lights in, connect the cables behind the risers, and keep the transformer and connections protected from standing water. Plug the transformer into a GFCI-protected outdoor outlet. If you need a new outdoor receptacle, have a licensed electrician install it. This article does not cover any line-voltage wiring.
Step 8: Pave the Landing and the Path
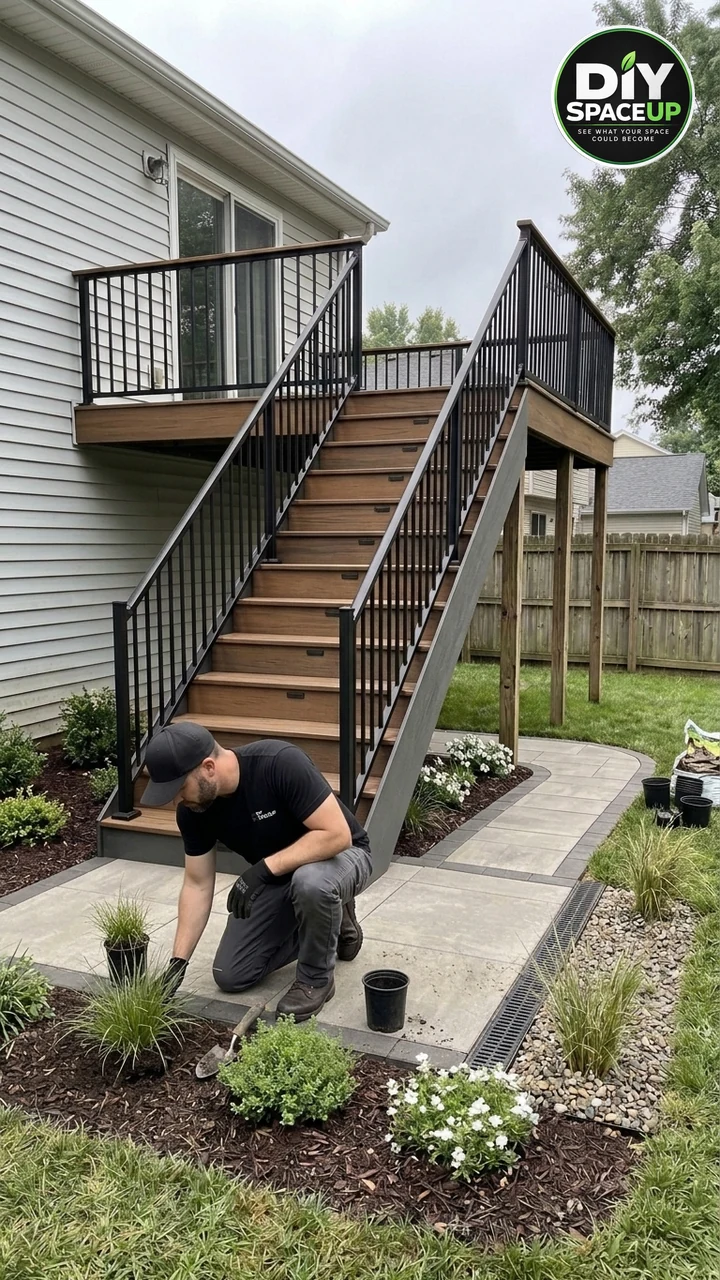
Screed the bedding layer over the compacted base, then lay the large light gray square pavers at the landing and the rectangular pavers for the path, with the dark border along the edges. Keep joints consistent, set edge restraint so the border cannot creep, and compact the pavers once they are down. Fill the joints according to the paver maker’s directions. The surface should still slope gently toward the channel drain. For a curved option, see our curved paver walkway with drainage.
Step 9: Mulch, Plants, and River Rock
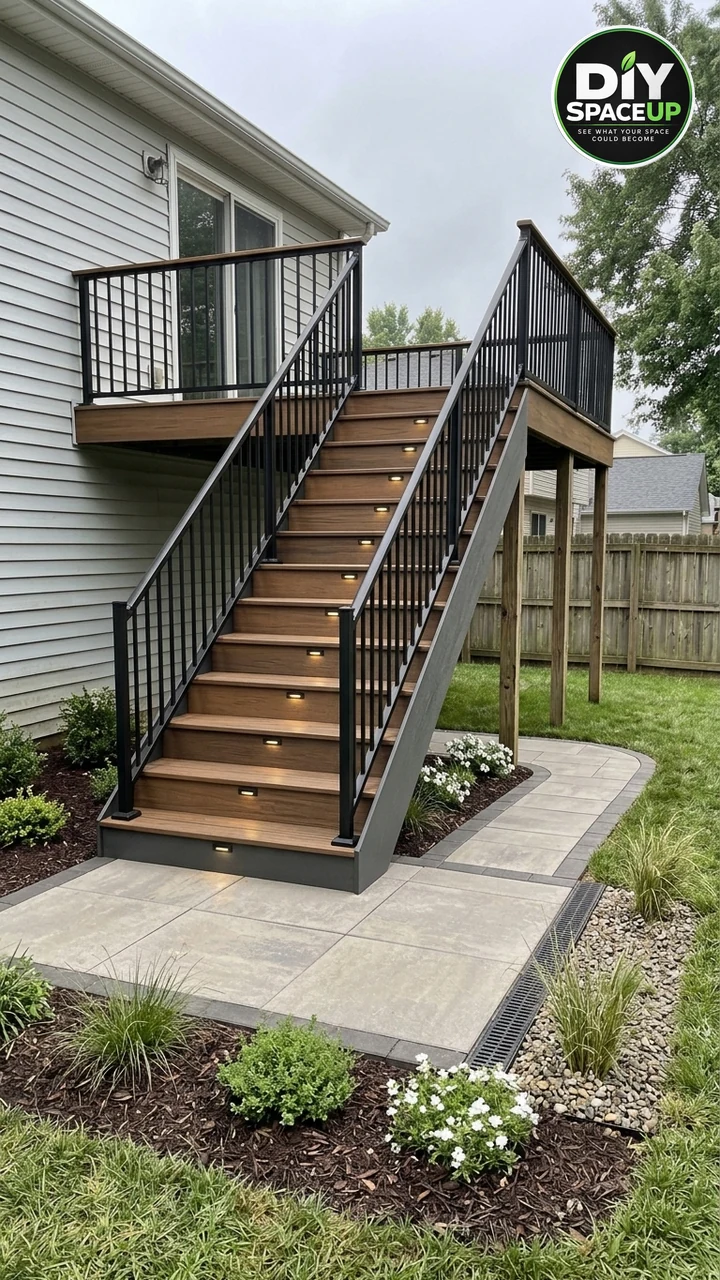
Finish the edges with landscape edging, dark mulch, low plants with white flowers, and a strip of decorative river rock along the drain. Keep mulch and soil slightly below the paver surface so rain does not wash them across the landing or into the grate. Leave the drain grate accessible for cleaning.
Estimated Project Cost
These are broad planning ranges, not quotes. Prices vary by region, stair height, and product line.
| Category | Typical planning range | Notes |
|---|---|---|
| Stringers, bottom frame, connectors, fasteners | $150 to $500 | Depends on stair height and number of stringers |
| Composite treads, risers, fascia | $400 to $1,500 | Premium lines and wider stairs cost more |
| Metal railing for stairs and deck | $800 to $3,000+ | The largest variable; depends on length and system |
| Base stone, sand, pavers, edging, geotextile | $500 to $2,000 | Depends on landing and path size |
| Channel drain, pipe, fittings | $100 to $400 | More if the outlet run is long |
| Riser light kit | $40 to $150 | Electrician extra if you need a new outdoor outlet |
| Plate compactor rental, permit, disposal | $150 to $500 | Permit fees vary widely |
Not included: deck repairs found during inspection, professional engineering, an electrician, plants, and tools you do not already own.
Common Mistakes and Better Approaches
| Mistake | Better approach |
|---|---|
| Replacing only the treads on rotten stringers | Replace stringers when rot reaches them, and inspect the deck framing they hang from |
| Setting the bottom of the stairs on soil or loose pavers | Bear the stringers on a stable, level pad over a compacted base, per local code |
| Measuring total rise to the old muddy grade | Measure to the finished landing height |
| Uneven riser heights | Lay out equal risers with stair gauges and test-fit one stringer first |
| One thick layer of stone, compacted once | Compact the base in layers |
| Draining water toward the house or a neighbor | Slope to a drain and discharge to a safe, legal outlet |
| Decorative railing not rated for guard use | Use a tested railing system and follow its post-mounting instructions |
| Plugging lights into an unprotected outlet | Use a listed low-voltage kit on a GFCI-protected outdoor receptacle |
Maintenance and Seasonal Checks
Clear leaves and grit from the channel drain grate a few times a year, and flush the pipe if water starts to back up. Check that railing posts are still tight, that the treads have not loosened, and that the pavers have not settled near the stair base. Wash composite surfaces with the maker’s recommended cleaner, and top up joint sand or mulch as needed.
FAQ
Do I need a permit to rebuild deck stairs?
Often, yes, especially when you replace stringers or railings. Rules vary by city and county, so call your building department before you start.
Can I reuse the old stringers?
Not if they are rotten, cracked, or soft. In this project, the old stringers were removed and replaced.
How many stringers do I need?
It depends on stair width and the tread maker’s maximum span for stairs. The build photos show three; confirm your count with your decking instructions and local code.
What should the bottom of the stairs sit on?
A stable, level bearing point that will not settle or sit in water. The project uses a box frame on a pad over compacted crushed stone. What that pad must be in your area depends on local code and frost depth.
Is a channel drain necessary?
Not every yard needs one, but if water pools at the bottom of your stairs, a drain at the landing edge tied to a pipe outlet keeps the base dry. Fix the water first, then build.
Can I install riser lights myself?
A listed plug-in low-voltage kit is generally a DIY task. A new outdoor outlet or any hardwired work should be done by a licensed electrician.
Rotten stairs and a muddy landing are easy to cover up and hard to fix for good. Rebuild the structure, give it solid footing, and send the water somewhere else first, and the warm treads, black railing, and soft lights will still look this good years from now.