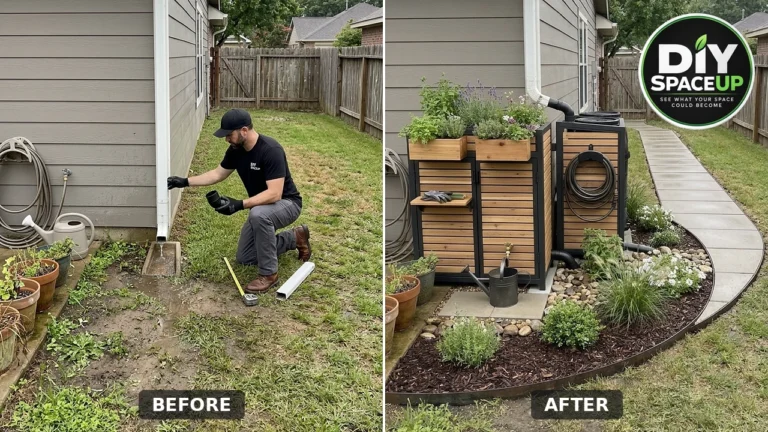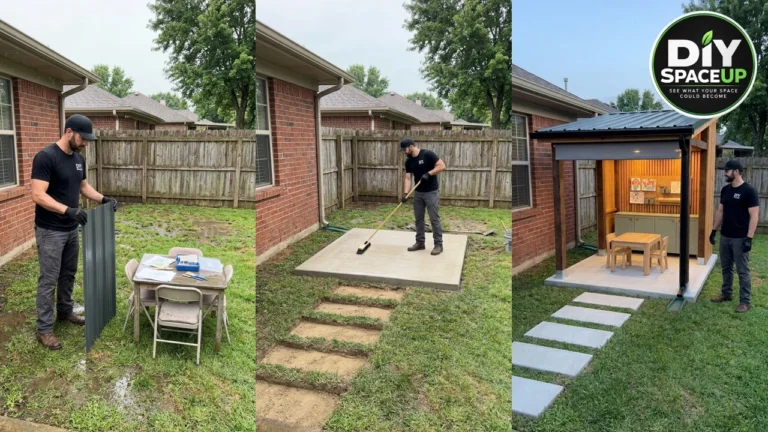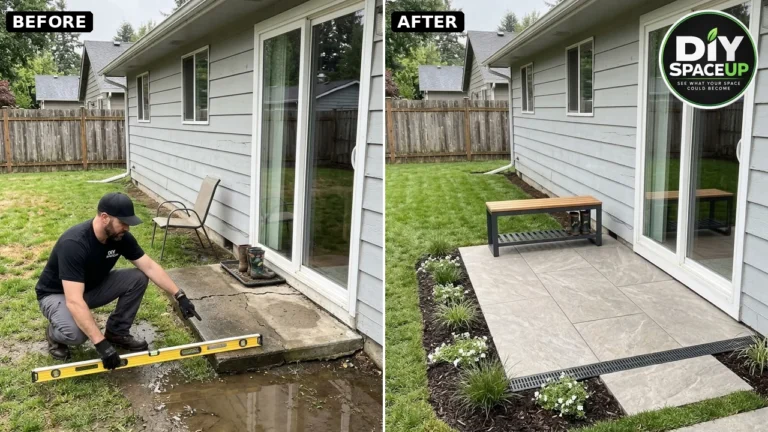

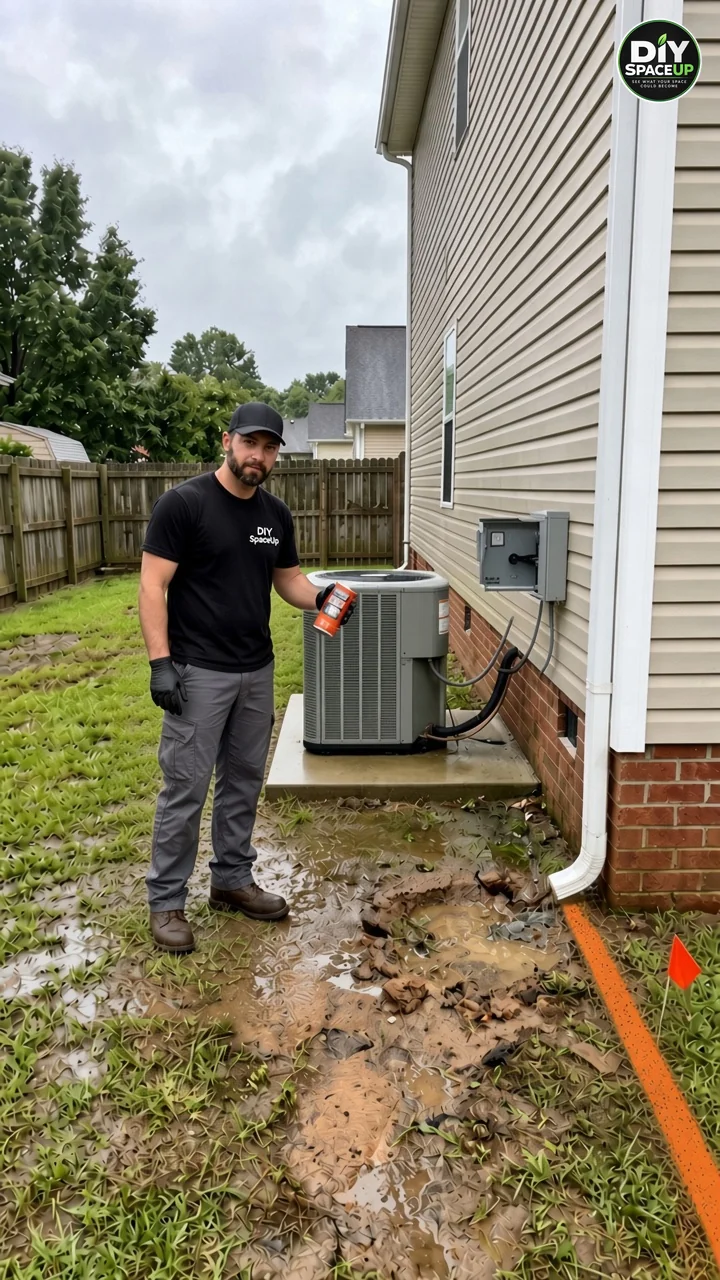
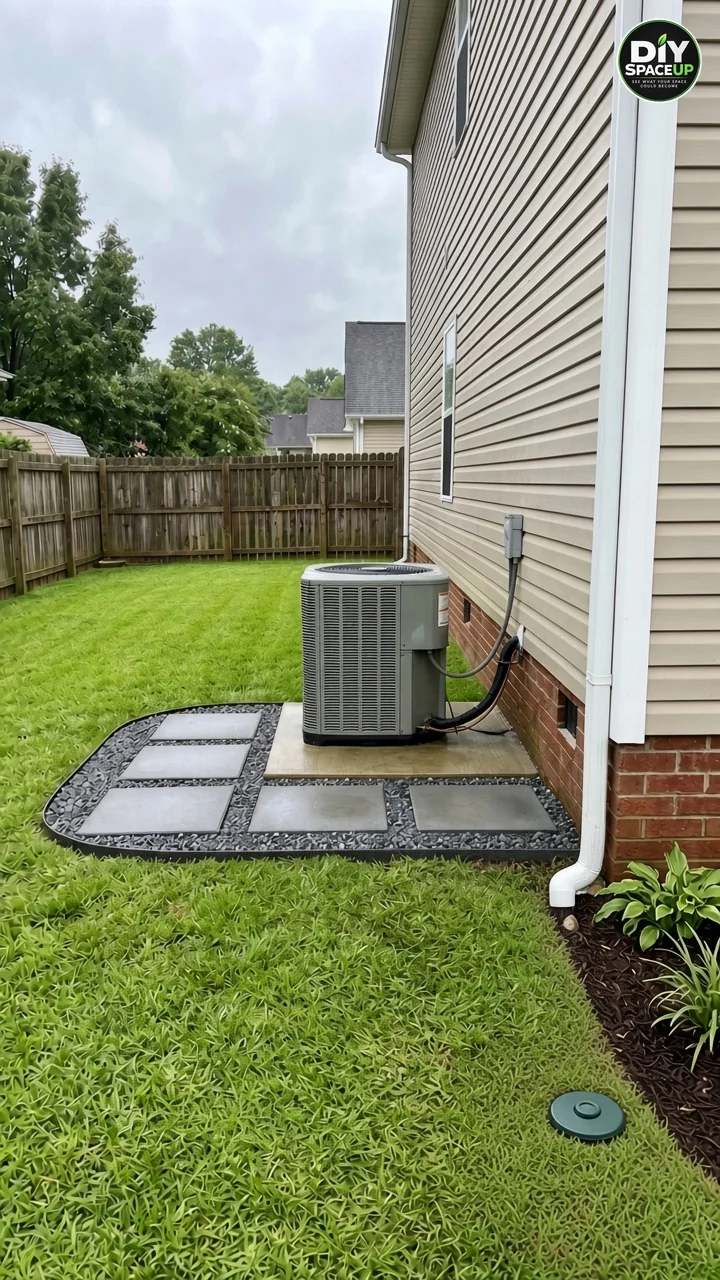
The side of this house had the classic problem: the AC condenser sat on its pad in a strip of mud, and the downspout right beside it dumped the whole roof’s water at the foundation. Every storm left puddles around the unit, the service tech walked through muck, and water sat against the brick. The reel fixes it with a curved gravel bed, five stepping pavers, black edging and a little foundation planting. This guide keeps that exact look and footprint, but does the parts the video skipped: power off, 811, a real grade away from the house, a buried solid downspout pipe to a pop-up emitter, a compacted base, and the HVAC clearances that keep the unit easy to service and running efficiently. This is landscaping around AC unit corners done so it still works in five years.
Important: The original reel is an AI-generated renovation concept, and the step photos here are AI illustrations of the same side yard. They show the look and a realistic build order, not a tested design. We corrected the reel using the IRC, the US DOE’s air-conditioner maintenance guidance, NDS drainage instructions and interlocking-paver base practice (see Sources). Your AC manufacturer’s installation manual, your local code and a licensed HVAC contractor always win over a general guide. Costs and times are estimates.
Affiliate Disclosure: As an Amazon Associate I earn from qualifying purchases. Product links in this article may earn a commission at no additional cost to you. Stone, pavers, pipe and rentals are bought locally, so they are not linked.
Contents
- Landscaping Around AC Unit: Project Overview
- What the Reel Got Wrong
- AC Clearances to Design Around
- Materials and Tools
- Step 1: Power Off, Call 811 and Mark Out
- Step 2: Excavate and Regrade Away From the House
- Step 3: Bury the Downspout in Solid Pipe
- Step 4: Fabric and Edging
- Step 5: Build the Compacted Stone Base
- Step 6: Set the Stepping Pavers
- Step 7: Foundation Bed and Final Checks
- Cost and Time
- Common Mistakes to Avoid
- Frequently Asked Questions
- Sources
Landscaping Around AC Unit: Project Overview
For this landscaping around AC unit makeover, the finished area is a kidney-shaped gravel bed that wraps the front and left of the condenser pad, about 4 feet deep at its widest, with five 16–24 in square pavers as a dry path to the unit and its service panel. The downspout no longer splashes onto the lawn by the house: it enters a buried solid pipe that runs about 10 feet out into the lawn and surfaces through a pop-up emitter. A small mulch bed with shade plants softens the foundation to the right, kept well away from the coil.
| Part | Job | Key detail |
|---|---|---|
| Regraded soil | Moves water away from the foundation | 6 in of fall in the first 10 ft (IRC R401.3) |
| Solid downspout pipe | Carries roof water away | Smooth-wall solid pipe, 1/8–1/4 in fall per foot, cleanout, pop-up emitter ~10 ft out |
| Geotextile | Keeps stone out of the mud | Nonwoven fabric under the whole bed |
| Crushed stone base | A firm, draining surface | 3–4 in angular stone compacted in lifts |
| Edging | Holds the shape, acts as a mower strip | Heavy-duty, staked every 12–18 in, top just above the lawn |
| Pavers | Dry, stable service path | Bedded on the compacted base, level or falling away from the house |
| Foundation bed | Looks finished | Soil/mulch at least 6 in below siding; plants 2 ft+ from the coil |
Related builds: if the whole side yard needs a path, see our DIY side yard gravel walkway; for more downspout detail, our underground downspout drainage guide covers the pipe in depth.
What the Reel Got Wrong
| In the reel | Why it’s a problem | What we do instead |
|---|---|---|
| Digs straight in | Shallow gas, electric and irrigation lines run along houses | Call 811 a few days ahead; find private lines too |
| Works around a live unit | Shovels, tampers and hoses near the coil and wiring | Shut off the outdoor disconnect (and the thermostat) first |
| Scrapes the mud flat | Water still flows back to the foundation | Regrade for 6 in of fall in the first 10 ft |
| Tosses the corrugated pipe, then runs a surface extension 3 ft out | Water still soaks in near the house; trip hazard | Buried solid smooth-wall pipe with steady fall to a pop-up emitter ~10 ft out (4–6 ft absolute minimum), with a cleanout |
| Gravel on bare dirt, edging pushed in | Stone sinks into mud; edging heaves | Nonwoven geotextile, compacted angular base in lifts, staked heavy-duty edging |
| Pavers dropped on loose gravel | They rock and settle | Pavers bedded on the compacted base, checked with a level |
| Mulch bed up against the siding | Rot and termite path | Soil and mulch 6 in below the siding |
| Stone and plants tight to the unit | Blocks airflow and service | Plants and mulch 2 ft from the coil; keep the service side and disconnect open |
AC Clearances to Design Around
Before you draw the bed, read the clearance section of your condenser’s installation manual (the model number is on the data plate). Typical numbers:
- Sides with coil: 12–24 in of open air; the DOE recommends keeping at least 2 ft clear around the unit.
- Service side: 24–36 in in front of the access panel and the electrical disconnect.
- Above: about 5 ft, so no shrubs or trellises over the fan outlet.
- The pad: don’t raise soil or stone against or over it; the top of the pad stays above the finished grade so water drains off, not under.
- Line set and condensate: leave them accessible; route the condensate line onto the gravel, not into the foundation bed.
Check the pad with a level now. If it has sunk, tilts more than about 1/4 in across, or the line set insulation is crushed or the copper kinked, stop and call an HVAC pro before you build around it. Re-leveling a pad means disconnecting and supporting the unit; it isn’t a landscaping task.
Materials and Tools
| Item | Use | Where to buy |
|---|---|---|
| NDS 9P06 downspout adapter (3×4 in to 4 in) | Connects the rectangular downspout to 4 in sewer-and-drain pipe | Amazon |
| 4 in solid smooth-wall PVC sewer-and-drain pipe (ASTM D2729/D3034), elbows | The buried run; match the adapter, not Sch 40 | Home center |
| 4 in cleanout adapter and plug (e.g. NDS 4P11 + 41P8) | Access to flush the line | Home center |
| NDS 430 pop-up drainage emitter | Outlet in the lawn; check the fit to your 4 in pipe or use the matching adapter | Amazon (long lead time when we checked) |
| Super Geotextile 4 oz nonwoven fabric | Under the stone and around the pipe bedding (smaller sizes on the same listing) | Amazon |
| EasyFlex Snip-to-Flex paver edging, 60 ft | Kidney-shaped edge restraint; stakes sold separately | Amazon |
| 8 in spiral landscape spikes, 50-pack | Stake the edging every 12–18 in | Amazon |
| 3/4 in angular crushed stone (clean) and 3/8 in angular decorative stone | Base and top layer | Landscape yard |
| Five 16–24 in square concrete pavers | Stepping path | Home center |
| Truper 8×8 in steel hand tamper | Compact the trench backfill and base in lifts | Amazon |
| STABILA 48 in level | Grade, pavers and checking the AC pad | Amazon |
| Stanley line levels, 3-pack + CMI braided mason line | Set the 6 in fall and the pipe slope | Amazon |
| Rust-Oleum inverted marking paint | Mark the bed and trench | Amazon |
| Stanley FatMax 25 ft tape | Layout and clearances | Amazon |
| Wells Lamont nitrile work gloves, 10 pairs | Digging and stone | Amazon |
| DEWALT anti-fog safety goggles | Cutting edging, tamping, stone | Amazon |
| Trenching shovel, flat spade, wheelbarrow, sod knife | Dig and re-sod the trench | Local / any hardware store |
Step 1: Power Off, Call 811 and Mark Out
Call 811 (or submit online) at least a few business days before you dig, and wait for the marks. Gas, electric and cable often run right along this wall. Then turn the system off at the thermostat and pull the outdoor disconnect next to the unit; it stays off whenever you work within arm’s reach of the condenser.
Mark the kidney outline with paint, keeping the bed’s edge at least 2 ft off the coil sides and leaving a full paver landing in front of the service panel. Paint the pipe route straight out from the downspout to a spot about 10 ft away that is lower than the house, still on your property, and not toward a neighbor, a walkway or a septic field.
Step 2: Excavate and Regrade Away From the House
Strip the mud inside the outline about 4–5 in deep. Set a string from a stake at the foundation to a stake 10 ft out, level it with a line level, then drop the outer end 6 in: that is the fall the soil needs (IRC R401.3). Shave or fill the subgrade to follow that slope and compact it with the tamper. Don’t dig under the AC pad or let soil slump against it, and keep the finished stone top below the pad’s top edge.
Step 3: Bury the Downspout in Solid Pipe
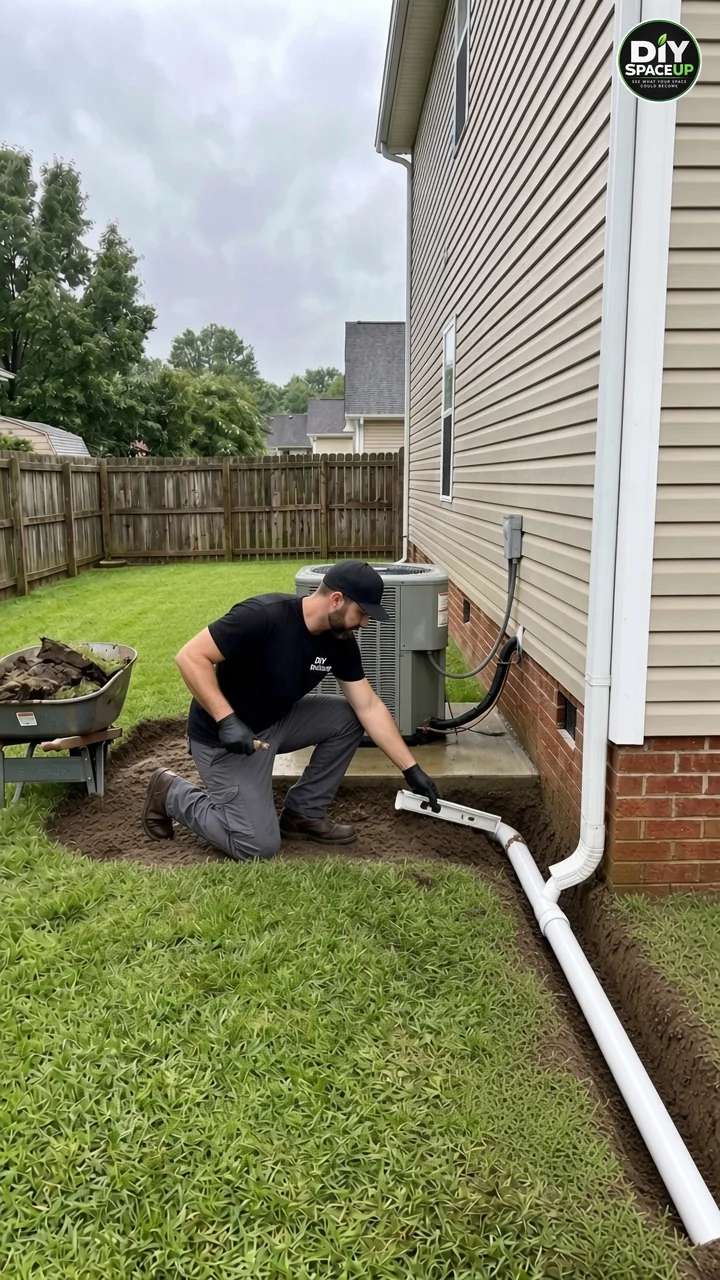
Cut a narrow trench along the paint line, about 6 in wide, starting 8–10 in deep at the house and getting deeper toward the outlet so the pipe falls 1/8–1/4 in per foot the whole way. Save the sod in strips. Fit the downspout adapter to the downspout, then use solid, smooth-wall 4 in pipe (not perforated, not corrugated: corrugated pipe traps debris and is the pipe the reel rightly threw away). Add a cleanout tee or wye near the house so you can flush it.
At the end, an elbow brings the pipe up to the pop-up emitter, set flush with the lawn on a small pocket of gravel. Run a hose down the downspout before backfilling: water should come out of the emitter with nothing standing in the pipe. If your lot is flat, a dry well can replace the emitter, but do a perc test first (a 1 ft hole filled with water should drain at least an inch an hour); our French drain guide covers that. Backfill in 4 in lifts, tamp, and relay the sod.
Step 4: Fabric and Edging
Roll nonwoven geotextile over the whole bed and a few inches up the sides, overlapping seams 12 in. Set the edging on the fabric along the kidney line, top about 1/2 in above the lawn so a mower wheel can ride it, and drive a spike every 12–18 in, closer on tight curves. Butt the edging to the pad corners without lifting or cracking the pad.
Step 5: Build the Compacted Stone Base
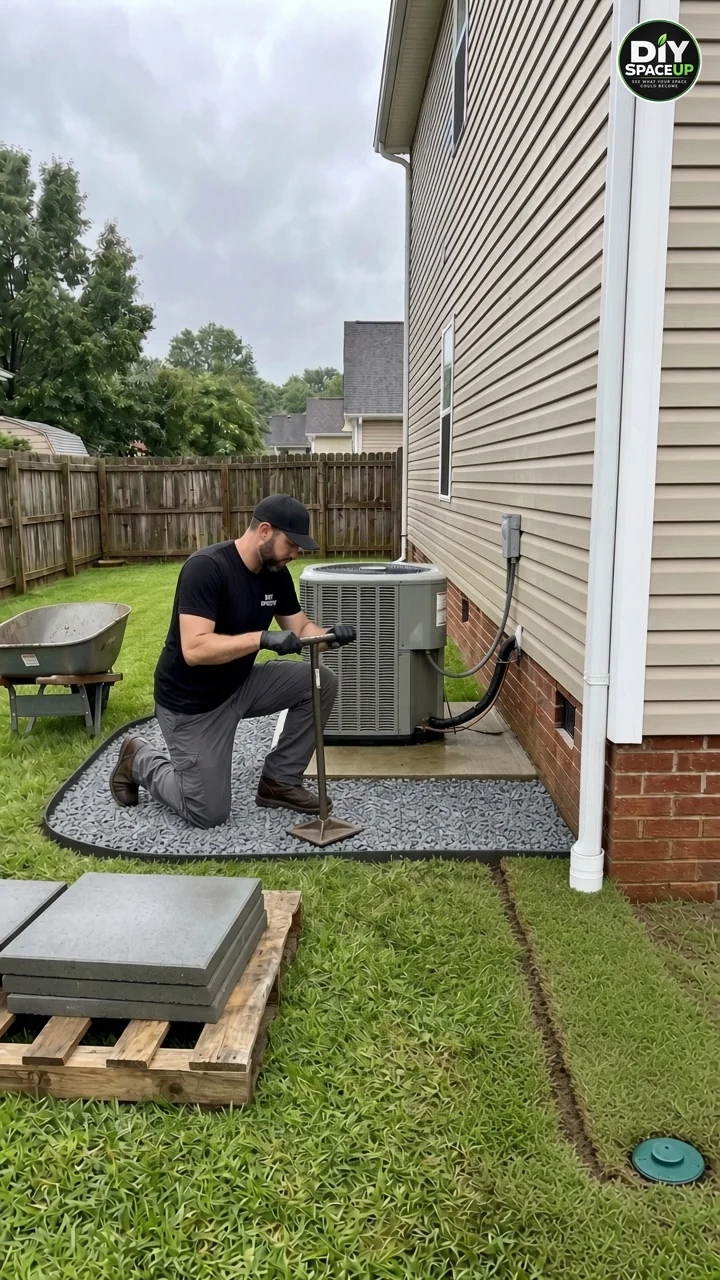
Spread clean 3/4 in angular crushed stone in two lifts of about 2 in, tamping each lift until the tamper bounces instead of sinking. Rounded pea gravel or river rock rolls underfoot and won’t lock up; angular stone does. Keep the stone sloping with the subgrade, away from the house, and no higher than the pad.
Step 6: Set the Stepping Pavers
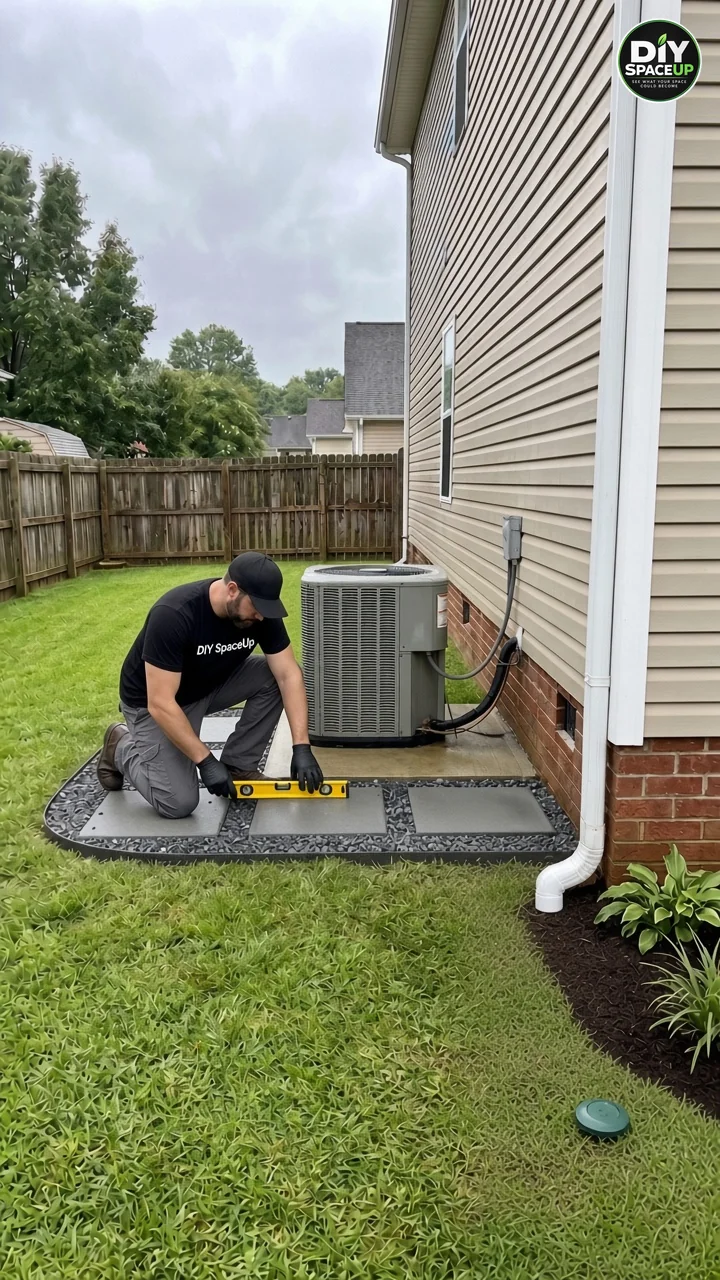
Lay the five pavers in the reel’s pattern: two down the left side and three across the front, the front-right one landing at the service panel. Bed each on the compacted base, twisting it down and adding or scraping stone until the 48 in level shows it flat or falling slightly away from the house, with no rocking. Then fill around them with 3/8 in angular decorative stone, sweep it into the joints and tamp lightly. Keep every stone out of the coil fins and fan; no hosing stone dust toward the unit.
Step 7: Foundation Bed and Final Checks
For the planting by the downspout, loosen the soil, keep its surface and the mulch at least 6 in below the bottom of the siding, and slope it away like the rest of the grade. Choose low plants such as hostas or small ferns, set 2 ft or more from the coil, and keep them out of the downspout path. If you want more planting or the emitter area stays soggy, a small rain garden or a side yard dry creek bed at the outlet works well.
- Reinstall the disconnect and restore power at the thermostat; let the unit run and listen for normal fan sound.
- Recheck the pad level and the line-set insulation.
- Run a hose down the downspout and confirm the emitter pops up.
- Measure: 2 ft clear at the coil sides, open access to the panel and disconnect, nothing over the fan.
Twice a year, rinse the coil from the inside out with a gentle hose stream (power off), pick leaves off the gravel, and open the cleanout to flush the pipe if the emitter stops popping.
Cost and Time
| Item | Estimated range |
|---|---|
| Downspout adapter, 10–15 ft solid pipe, fittings, cleanout, emitter | $90–$170 |
| Geotextile and edging with spikes | $80–$330 (depends on roll size) |
| Crushed base and decorative stone (about 1 cu yd) | $80–$200 |
| Five pavers | $40–$120 |
| Plants and mulch | $30–$80 |
| Tools if you own none (tamper, level, line, paint) | $120–$190 |
| Total DIY | About $320–$900 |
Time: one weekend for one or two people, plus the 811 wait. Re-leveling a sunken pad is extra and is an HVAC contractor’s job. If you ever see paver settling elsewhere, our sinking paver fix explains why.
Common Mistakes to Avoid
| Mistake | Better approach |
|---|---|
| Piling stone or soil up the pad | Finished grade stays below the pad top |
| Shrubs hugging the condenser | 2 ft clear at the coil, 5 ft above, open service side |
| Short surface extension to a splash rock | Buried solid pipe ~10 ft out to a pop-up emitter |
| Corrugated or perforated pipe for the downspout | Solid smooth-wall pipe with a cleanout |
| Gravel straight on mud | Fabric plus compacted angular base |
| Mulch up to the siding | 6 in of exposed foundation |
| Working with the unit powered | Disconnect pulled until you’re done |
Frequently Asked Questions
What is the best landscaping around AC unit pads?
A gravel pad of angular stone with a firm base and a few stepping pavers, edged to keep the lawn out, with plants set back at least 2 ft from the coil. It drains, doesn’t feed weeds, and leaves the service side open.
Is gravel or mulch better around an AC unit?
Gravel. Mulch holds moisture, can blow into the coil and breaks down; angular stone stays put and drains. Keep the stone below the pad and out of the fins.
How far should plants be from an AC unit?
Generally at least 2 ft from the coil sides, about 5 ft of open space above, and 2–3 ft clear in front of the service panel. Your unit’s manual has the exact numbers.
Where should a downspout drain near an AC unit?
Away from both the foundation and the pad, through a buried solid pipe to a pop-up emitter, daylight outlet or dry well about 10 ft out (at minimum 4–6 ft), on your own property.
Can I level a sinking AC pad myself?
It’s best not to. The unit has to be disconnected and supported, and the refrigerant lines can kink. Call an HVAC pro, then build the gravel bed around the corrected pad.
Do I need landscape fabric under gravel around an AC unit?
Yes, a nonwoven geotextile keeps the stone from sinking into the soil and slows weeds, so the pad stays firm and drains.
Sources
- Call 811: Know what’s below
- International Code Council: IRC Chapter 4 (R401.3 drainage, R404.1.6 height above grade)
- US Department of Energy: Maintaining your air conditioner
- NDS: downspout adapters, pop-up emitters and installation guides
- NCMA / ICPI: interlocking concrete pavement base practice
- US EPA: Soak Up the Rain