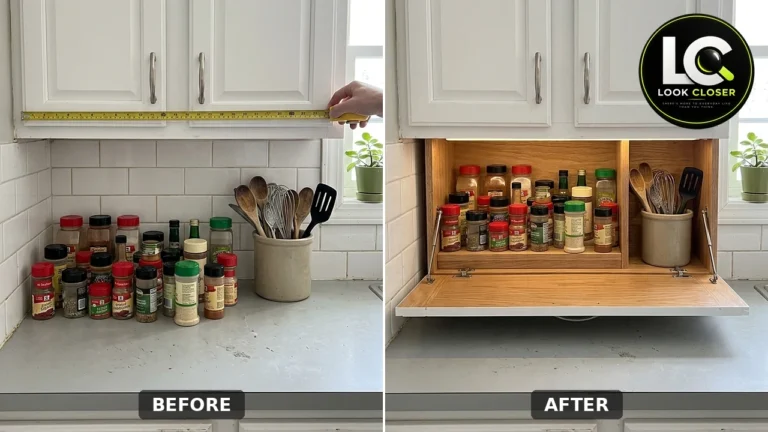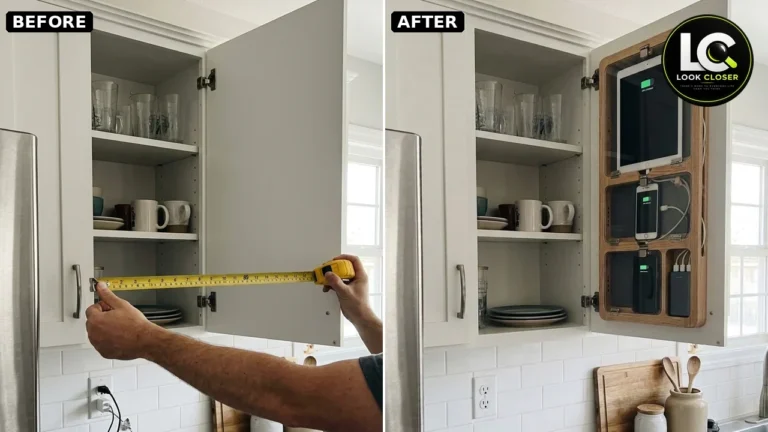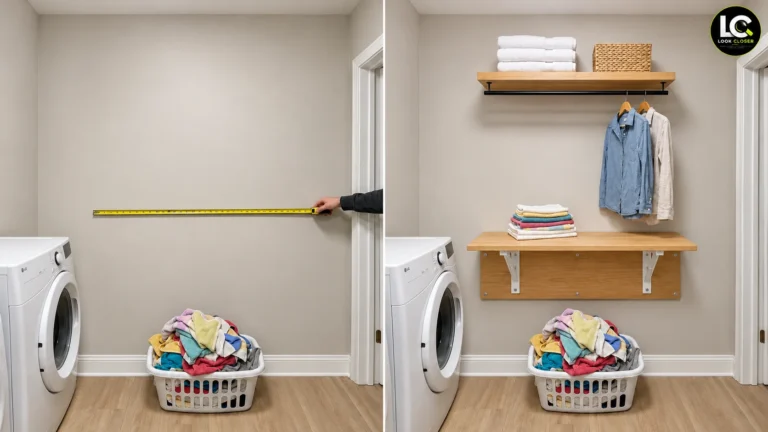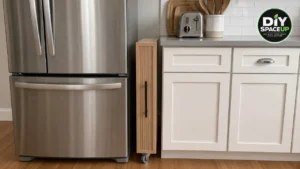

That skinny void beside the fridge usually collects crumbs, a broom, or nothing at all. Once you stop seeing dead space and start seeing rolling pantry beside fridge storage, the opportunity is obvious: a slim freestanding cart on locking casters, three lipped shelves, and a fluted face that tucks flush while still leaving room to breathe. The useful result is a measured cabinet carcass that respects refrigerator ventilation, rolls without scraping stainless and keeps heavy cans low so a tall narrow unit stays planted.
Important: The source post and video are AI-assisted DIY design visualizations, not an installation specification or proof of a completed build. Our article images are AI illustrations too. Real kitchens need the fridge maker’s side, rear, and top clearances; multi-point measurements; joinery and caster ratings for your load; and local tip-risk judgment. This guide covers planning order and cabinetmaking logic for a freestanding slim cart—not a universal code claim, engineered design, measured takeoff, load rating, or tested report.
Affiliate Disclosure: As an Amazon Associate I earn from qualifying purchases. Product links in this article may earn a commission at no additional cost to you. Use tools you already own when they fit.
Contents
- Rolling Pantry Beside Fridge Overview
- Fridge Clearance and Kitchen Checks
- Measure, Materials, and Planning Examples
- Tools and Equipment
- Build in the Right Order
- Estimated Project Cost
- Common Mistakes and Safety
- Frequently Asked Questions
Rolling Pantry Beside Fridge Overview
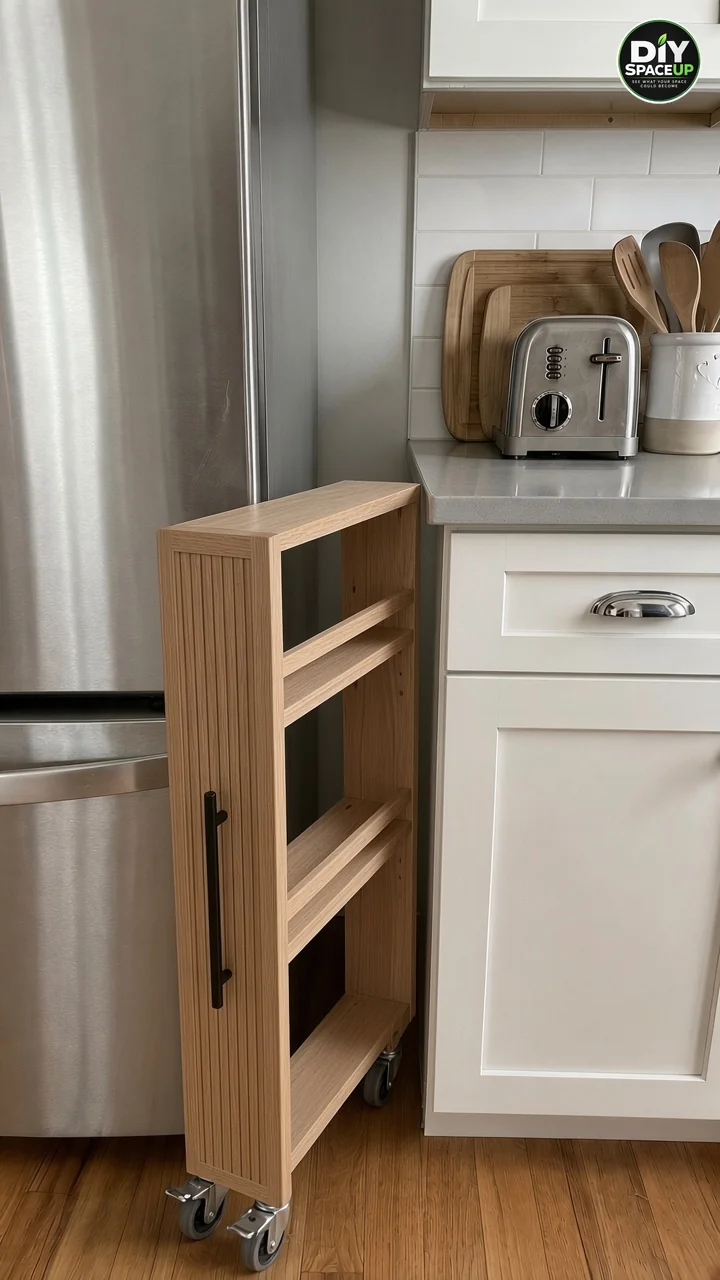
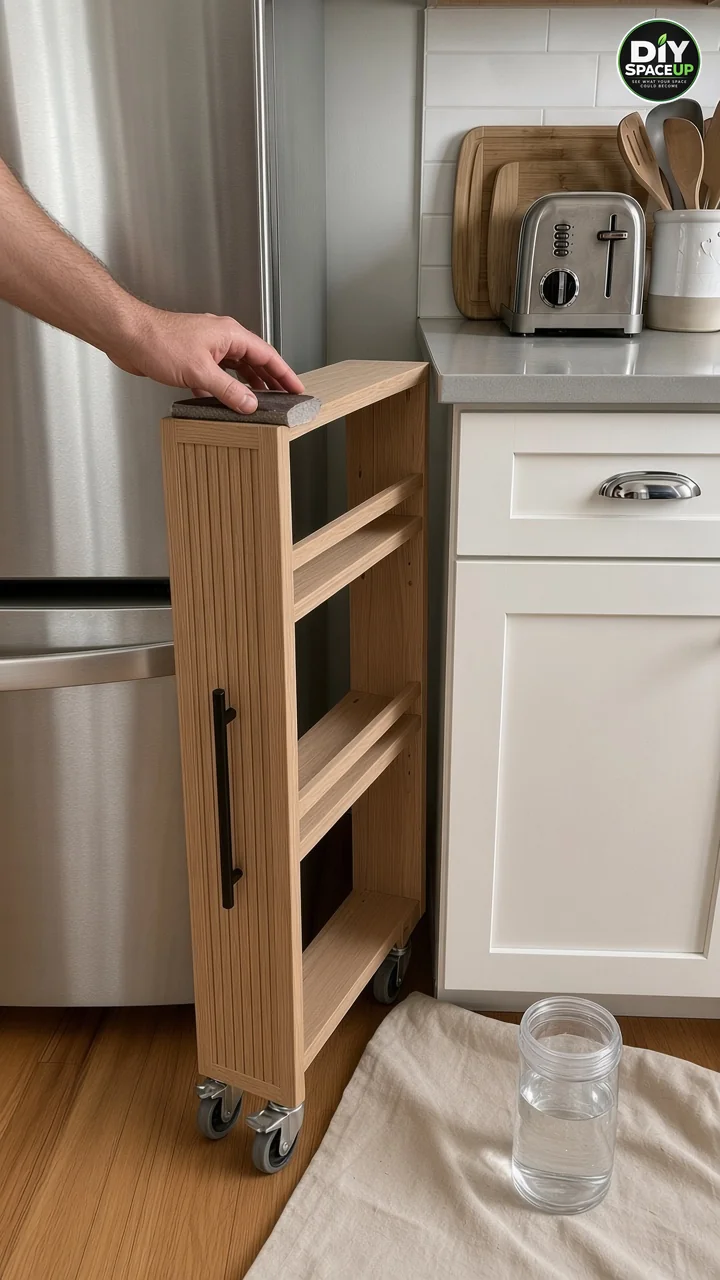
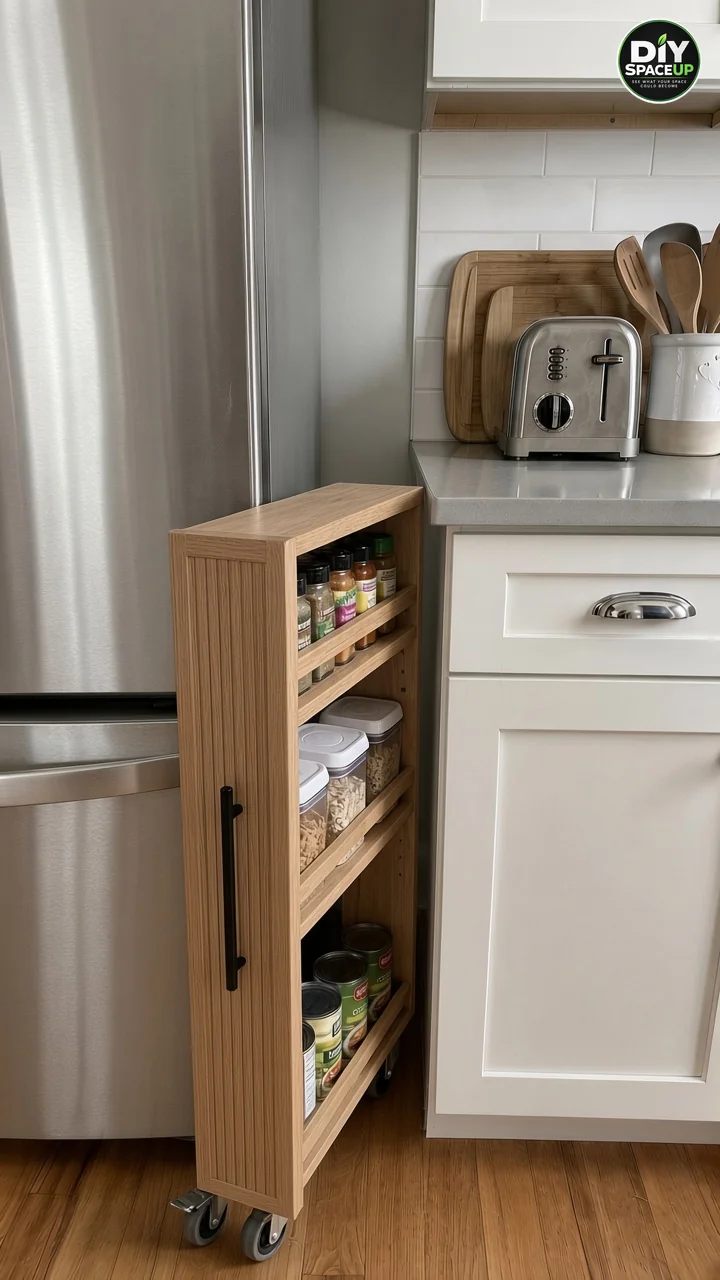
This slim rolling cart concept fills the overlooked strip between a bottom-freezer refrigerator and a base cabinet with a freestanding light-oak cart. Three shelves with front lips hold spices up top, dry goods in the middle, and cans at the bottom. A fluted front panel and matte black bar handle finish the face so the unit looks intentional when tucked in. Soft-tread swivel casters—with locks on at least the front pair—carry the load without a floating drawer slide.
| Component | Job and important limitation |
|---|---|
| Measured clearance gap | Lets the cart roll without rubbing the fridge finish or blocking vents; width is site-specific—never invent a universal clearance as code. |
| Cabinet-grade plywood / hardwood carcass | Structural box; use glue plus screws or pocket screws, and prefer dados/rabbets for shelves when you can. |
| Three shelves with front lips | Store items and stop spills during rolling; install lips on every shelf from the start, not only after cans appear. |
| Shelf-pin holes (optional adjustability) | Useful for spacing changes; still size shelves so heavy goods stay low. |
| Fluted / reeded front panel | Decorative face only—it does not brace a weak carcass. |
| Matte black vertical bar pull | Ergonomic pull point; mount with proper screws into solid material. |
| Four plate-mount swivel casters (front locks) | Mobility and parking; use manufacturer-rated capacity and mount into solid blocking—never invent load numbers. |
| Water-based interior finish | Protects wood after full cure per label; keep food packaging off wet finish. |
Fridge Clearance and Kitchen Checks
Open your refrigerator’s installation manual before you cut a single board. Side, rear, and top ventilation clearances are model-specific. Some consumer manuals call for only a fraction of an inch at the sides plus larger rear or top gaps; others ask for more beside walls or handles so doors can open fully. Never block vents, grille openings, or condenser airflow with a cart jammed tight against the cabinet. Leave a deliberate clearance gap so the wood never rubs or scratches the stainless finish.
Trace the fridge power cord path and any ice-maker water line at the rear. Do not trap cords under casters or pinch tubing when the cart rolls in. Confirm door and freezer-drawer swing still clears the parked handle. Our refrigerator side storage rack uses different attachment logic; this project stays freestanding on wheels.
Measure, Materials, and Planning Examples
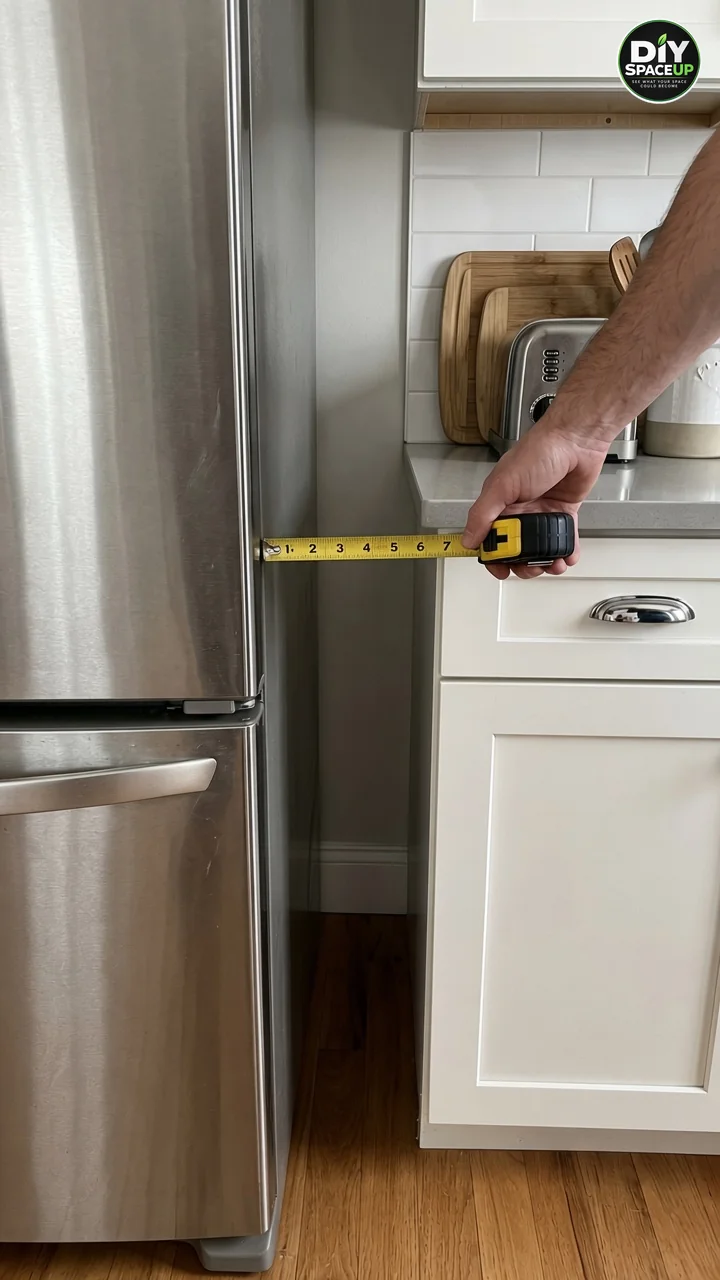
Measure width, depth, and height at the top, middle, and bottom of the gap, then again at the front and back. Walls, floors, and cabinet sides are rarely square. The reel’s “only seven inches” line is a planning example only—not a verified field measurement. Subtract the clearance you need for ventilation and smooth rolling on both sides, plus caster overall height when you set finished cart height under the counter nose. A STANLEY FATMAX 25-Foot Tape Measure captures those multi-point readings; pair it with a reliable square and level so the carcass stays true.
Choose cabinet-grade plywood or solid hardwood thick enough for pocket screws or dados without blowout—commonly 3/4-inch stock for sides, top, bottom, and shelves is a planning example, not a required takeoff. Add a thin back panel when racking resistance matters. Soft non-marking plate casters protect honey-oak floors; pick a manufacturer-rated set whose combined capacity comfortably exceeds your expected loaded weight, then derate for uneven floors and dynamic rolling. Mount caster plates into solid blocking or a thicker base plate, not into thin face veneer alone.
| Material / part | Planning notes |
|---|---|
| Carcass plywood / hardwood | Flat, cabinet-grade stock; label any cut list as a planning example until you measure the gap. |
| Shelf lips / rails | Low front strips on every shelf so jars and cans stay put while rolling. |
| Joinery | Glue + pocket screws and/or dados/rabbets; clamps keep assemblies square while curing. |
| Locking plate casters | Four swivels; locks on the front pair at minimum; soft tread for finished floors; follow printed load ratings. |
| Bar pull | Matte black vertical pull sized to the fluted face; screws into solid wood. |
| Finish | Interior water-based topcoat cured fully before food packaging goes on the shelves. |
Tools and Equipment
Essential capabilities
You need accurate measuring and layout tools, a square, a saw suited to plywood (table saw or carefully guided circular saw), clamps, a drill/driver, and sanding supplies. A Kreg Pocket-Hole Jig 720PRO speeds carcass joinery in 1/2-inch to 1-1/2-inch material when you prefer pocket screws. Titebond III Ultimate Wood Glue, 16-Ounces bonds joints and is noted by the manufacturer for indirect food contact when fully cured—still read the label for kitchen projects. A DEWALT 20V MAX Compact Drill/Driver Kit (DCD771C2) drives pocket screws, caster screws, and handle hardware with the correct bits. Wear eye and hearing protection when cutting.
Optional and local purchases
Buy locking soft-tread plate casters, a matching matte black bar pull, sandpaper grits, and cabinet plywood from suppliers after you measure. A sanding sponge handles edges and lips; an orbital sander is optional for large faces. Related ideas: pull-out tilt-down spice rack and kitchen corner shelf.
Build in the Right Order
1. Measure the gap and map fridge clearances
Sketch the minimum width after clearance, the usable depth in front of cords and water lines, and the maximum height under the counter. Photograph the empty gap. Confirm the fridge manual’s ventilation notes. Do not treat a seven-inch voiceover as a cut list.
2. Cut and assemble the carcass
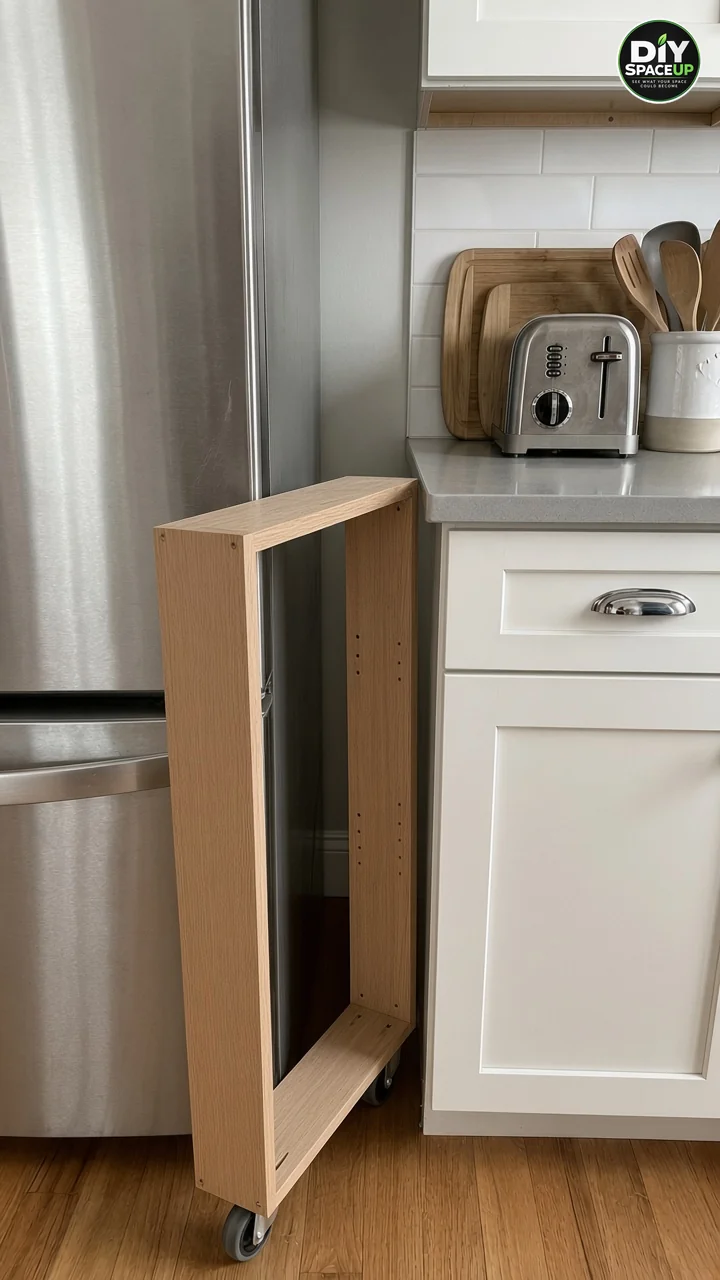
Cut sides, top, and bottom square. Dry-fit, then glue and fasten with pocket screws or equivalent joinery. Keep the box square with clamps while the glue sets. Drill shelf-pin rows now if you want adjustability. This is the step the reel skips when the cart “morphs” into place.
3. Install shelves with front lips on every level
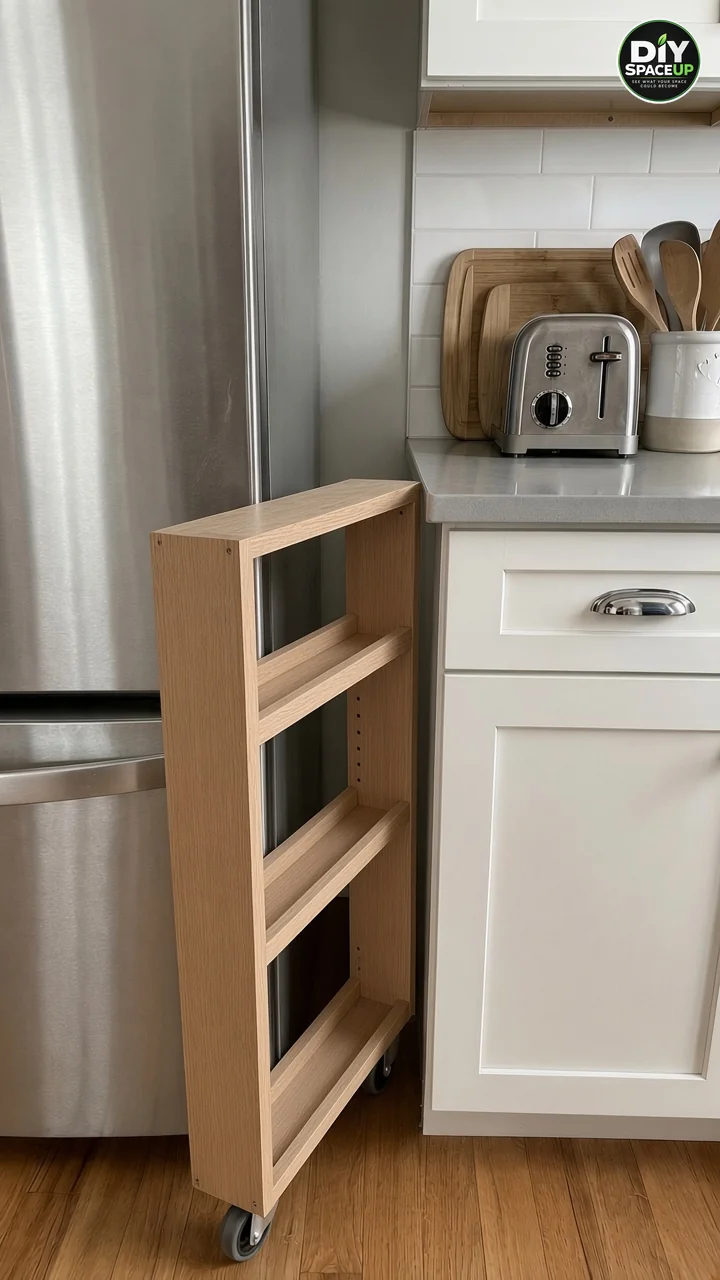
Fit three shelves and glue or screw a low front lip on each one—including the bottom—before any food goes in. Lips keep jars and cans from walking off the edge when you roll. Dados or cleats improve shelf support; if you use shelf pins alone, choose stout pins and confirm the shelves cannot tip forward under load.
4. Add the fluted face, handle, and locking casters
Attach the fluted or reeded front panel so it stays decorative, not a substitute for a stiff carcass. Mount the matte black vertical bar pull on the lower half of that face into solid material. Flip the unit carefully and fasten four plate-mount swivel casters near the corners of a solid base—locks on the front pair so you can park the cart while loading. Soft treads protect finished floors. Skip any metal drawer slide that has nothing structural to screw into; this design rolls free on casters.
5. Sand, ease edges, and finish
Sand faces and thoroughly ease sharp edges that hands will meet in a tight gap. Apply an interior water-based topcoat such as General Finishes High Performance Water Based Topcoat, Quart, Satin, following the can for coats, sanding between coats, and full cure before kitchen use. Keep the wet cart off the fridge side and protect the floor. More indoor carcass practice appears in our homework station fold-down desk.
6. Load heavy items low, test roll, and park with clearance
After the finish cures, load cans on the bottom shelf, canisters in the middle, and spice jars on top so the center of gravity stays low. Lock the front casters while you arrange items. Unlock, pull the cart slowly in a straight path, and confirm it rolls on the casters without scraping the fridge or cabinet. Park it with the planned clearance gaps still visible on both sides. Never climb the unit, and do not treat it as a step stool.
Estimated Project Cost
Costs for this slim fridge-gap cart vary with plywood grade, caster quality, hardware, and whether you already own a pocket-hole jig. Use category ranges from local suppliers—not a fake total from a reel.
| Category | Planning range notes |
|---|---|
| Cabinet plywood / hardwood | Often the largest material line; price after measuring the real gap. |
| Casters + bar pull | Wide range; soft locking plate casters cost more than toy wheels. |
| Glue, screws, shelf pins | Small but essential; match screw length to thickness. |
| Finish / sandpaper | Follow label coverage; allow cure time before loading. |
| Tools you may already own | Saw, drill, clamps, tape, square—rent or borrow before buying duplicates. |
Common Mistakes and Safety
| Mistake | Better approach |
|---|---|
| Copying the reel’s morph with no assembly sequence | Measure, cut, join, shelf with lips, face/handle, casters, finish, then load. |
| Zero clearance rubbing the fridge | Leave a deliberate gap; protect finish; follow the fridge manual’s ventilation notes. |
| Adding a metal slide with nothing to attach to | Keep the unit freestanding on casters, or use a rated anti-tip/guide system fixed to real structure per instructions. |
| Treating “seven inches” as a measured cut list | Multi-point measure your gap; label video numbers as planning examples. |
| Missing shelf lips until cans appear | Install lips on every shelf before the first roll. |
| Heavy items on the top shelf | Keep cans and dense goods at the bottom for a lower center of gravity. |
| Casters screwed into thin material | Mount plates into solid blocking; respect manufacturer load ratings. |
| Loading before the finish cures | Follow the topcoat label; keep food packaging off wet coatings. |
| Safety check | Why it matters |
|---|---|
| Fridge ventilation and cord/water-line clearance | Overheating, energy waste, pinched tubing, or damaged finishes. |
| Lock casters while loading | Tall narrow carts roll unexpectedly when bumped. |
| Tip awareness | Pull slowly; do not climb; consider rated anti-tip guidance for taller towers. |
| Floor protection | Soft treads and clean wheels reduce scratches on hardwood. |
| Sharp edges in a tight gap | Ease edges so hands are not cut when retrieving items. |
| PPE when cutting plywood | Dust and kickback risks; use eye/hearing protection. |
Frequently Asked Questions
How wide should the cart be?
As wide as your measured gap allows after ventilation and rolling clearances—not whatever a seven-inch voiceover claims. Measure at several heights and depths first.
Will this block my refrigerator vents?
It can if you jam it tight. Read your model’s installation clearances, leave a real air gap, and never cover grille openings.
Do I need a drawer slide?
Not for this freestanding caster design. A slide only helps when both sides of the hardware attach to suitable structure. The reel’s floating slide is a glitch to ignore.
How do I keep a tall narrow cart from tipping?
Keep heavy cans low, lock casters when loading, pull out slowly, mount casters at the corners of a solid base, and follow any anti-tip product instructions if you add a rated guide. Do not invent a load rating from a photo.
When can I put food on the shelves?
After the finish has cured per the manufacturer’s label—not as soon as it feels dry to the touch.
Built carefully, this slim fridge-gap pantry turns a forgotten strip into daily storage—if you respect ventilation clearances, honest measurements, solid joinery, locking casters, and a low center of gravity instead of copying a stop-motion reel.