
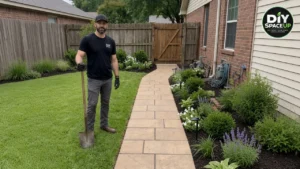

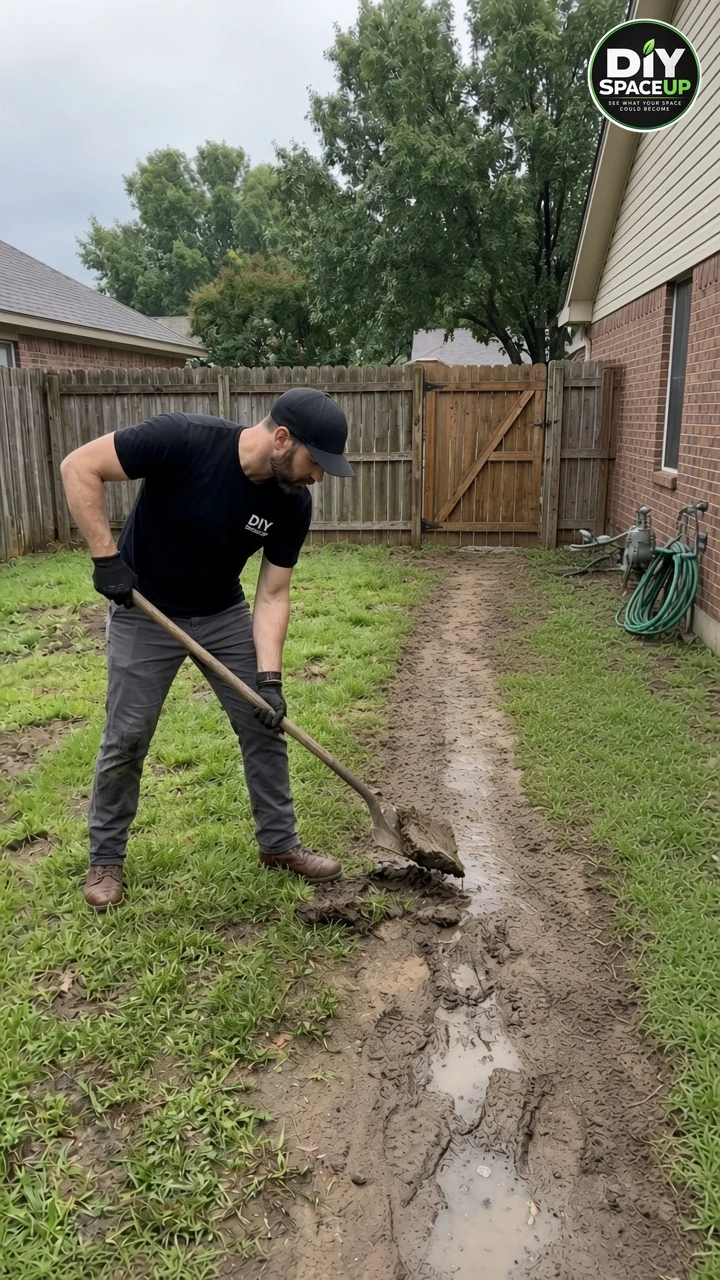
Every time it rained, the worn route to the garden gate turned into a muddy strip of footprints and puddles. The opportunity was simple: build a garden gate paver walkway with durable tan modular pavers, keep access to the gate open in wet weather, and finish the house side with a narrow planting bed and a few path lights. The useful result is not just a cleaner photo. It is a footpath that can shed water, stay walkable, and leave room for utilities, gate swing, and foundation drainage.
Important: The source reel is an AI-generated renovation concept, not an installation specification or proof of a completed build. Our article images are AI illustrations too. Real projects need site-specific grading, drainage assessment, paver-system selection, and local requirement checks. This guide explains planning order and professional construction logic; it is not a universal code claim, engineered design, measured takeoff, or tested renovation report.
Affiliate Disclosure: As an Amazon Associate I earn from qualifying purchases. Product links in this article may earn a commission at no additional cost to you. Use tools you already own when they suit the work.
Contents
- Garden Gate Paver Walkway Overview
- Site Checks Before Digging
- Measure, Drainage, and Materials
- Tools and Equipment
- Build in the Right Order
- Estimated Project Cost
- Common Mistakes and Safety
- Frequently Asked Questions
Garden Gate Paver Walkway Overview
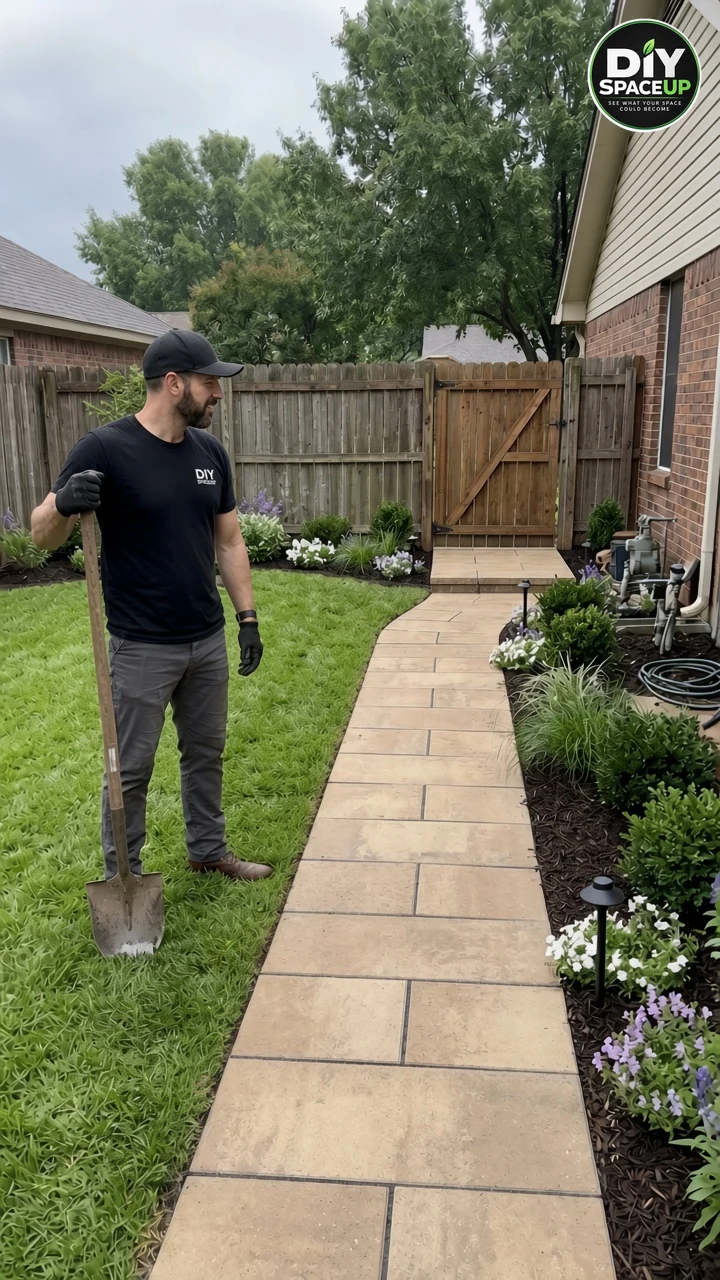
This garden gate paver walkway converts a muddy route into a pedestrian path of large tan rectangular and square modular concrete pavers. The path runs from the yard toward a weathered wood gate with a diagonal brace, with the brick house and utilities on the right and lawn on the left. Greenery, flowers, mulch, and a few small path lights finish the house-side edge after the hardscape is stable.
| Component | Job and important limitation |
|---|---|
| Compacted soil subgrade | Receives the pavement structure only after standing water and soft spots are corrected; thickness and density targets are site-specific. |
| Geotextile (optional) | May separate weak/saturated soils from aggregate when the selected system calls for it; not a substitute for drainage or compaction. |
| Compacted granular base | Structural support under the walkway; placed and compacted in manufacturer- or agency-appropriate lifts with suitable equipment. |
| Thin bedding layer | Uniform screeded setting bed over an accepted base—not a way to fill low spots in a poor base. |
| Modular concrete pavers | Finished walking surface; product type controls joint width, cutting, and whether plate compaction over the field is allowed. |
| Edge restraints | Hold the field against spreading; mount to the compacted base, never to loose bedding sand alone. |
| Joint material | Locks the surface according to the selected sand or polymeric product rules and joint width/depth. |
| Planting bed and path lights | Finish only; do not trap water against the foundation or block weeps, meters, or gate swing. |
Site Checks Before Digging
Contact 811 and follow your state’s notice period, positive-response rules, and tolerance-zone practices before any excavation. Colorado 811’s residential digging guidance is a clear example of the public-versus-private split: the free public locate covers member-owned utilities, while irrigation, private laterals, landscape lighting circuits, and similar owner-installed lines are typically the homeowner’s responsibility to locate. Notice periods and hand-dig zones vary by jurisdiction, so use your local one-call rules rather than copying another state’s timing.
Watch the route after rain. Identify whether mud comes from a low spot, roof discharge, runoff along the house, clay soil, or several causes. Fix standing water and unlawful grading before paving. Finished elevations should move water away from the foundation and should not trap runoff against the house wall, downspout area, or gate threshold. Our backyard drainage-channel guide explains why collecting water without a working outlet is incomplete.
Preserve clearances around brick weeps or vents at the wall base, utility meters and pipes, hose bibs, and the gate’s full swing arc. Do not bury or pinch those features under raised soil or oversized planting. Tree roots that conflict with the trench may need arborist or local-rule guidance before cutting.
Measure, Drainage, and Materials
Measure your actual route: usable length, desired finished width, gate clearances, elevations relative to the house and threshold, and distances to meters and planting. The reel supplies no verified dimensions. A STANLEY FATMAX 25-Foot Tape Measure helps capture length, width, and diagonals for a site sketch. An IRWIN STRAIT-LINE Speedline Pro Chalk Reel, 100 ft. is useful for snapping layout lines once grades are decided. Neither tool replaces a survey or a drainage design.
Choose a modular concrete paver system intended for pedestrian walkways and compatible with your climate. Large-format slabs and smaller interlocking units are not identical products. Follow the manufacturer for handling, joint width, edge restraint, bedding, and whether a plate compactor may run over the finished field. Do not assume the same compaction method used for classic interlocking pavers automatically applies to every large slab.
CMHA Tech Note PAV-TEC-002 outlines the interlocking-concrete construction sequence that DIY walkways commonly adapt: subgrade preparation, compacted aggregate base, edge restraints, a thin screeded bedding sand, paver placement, and joint filling. CMHA’s consumer guide also notes a common pedestrian planning minimum of about 4 in. of compacted base in suitable conditions, while soils, frost, and traffic can require more. Treat those figures as industry guidance to discuss with local suppliers—not a universal thickness for every clay or frost site.
Buy base aggregate, bedding material, edge restraint, and joint product as a matched system. Do not use masonry mortar sand as bedding, and do not treat random sand as structural base. Local bulk yards are usually the practical source for base stone; pavers and restraints often come from masonry or landscape suppliers. Compare our earlier side-yard walkway article, How to Build a Paver Walkway Along the Side of a House, for related sequencing—but this garden-gate project still needs its own drainage and clearance checks.
Tools and Equipment
Essential capabilities
You need layout tools, a reliable level capability, digging and raking tools, a wheelbarrow or material mover, a plate compactor suited to the selected aggregate and access path, a rubber mallet for seating compatible units, cutting equipment with effective silica dust control if cuts are required, and PPE. An ESTWING 18 oz Deadhead Rubber Mallet helps seat pavers without steel-hammer marks. A Swanson 7-Inch Speed Square is handy for checking square cuts and small layout marks at edges or restraint corners. Mechanix Wear Original Work Gloves, Large, Black are a practical hand-protection option for handling aggregate and pavers; choose the size that fits and upgrade protection when cutting or using powered equipment.
Optional, rental, and local-bulk items
Rent a plate compactor sized for the trench rather than buying for one short walkway unless you will reuse it. Wet-cutting or other manufacturer-approved dust-controlled cutting methods matter whenever concrete is cut; dry cutting that creates respirable crystalline silica dust is a serious health risk. Path lights in the concept can be straightforward solar units positioned after hardscape work, or low-voltage systems installed by someone qualified for the wiring method. Line-voltage work belongs with a licensed electrician.
Build in the Right Order
1. Solve water, then open the route
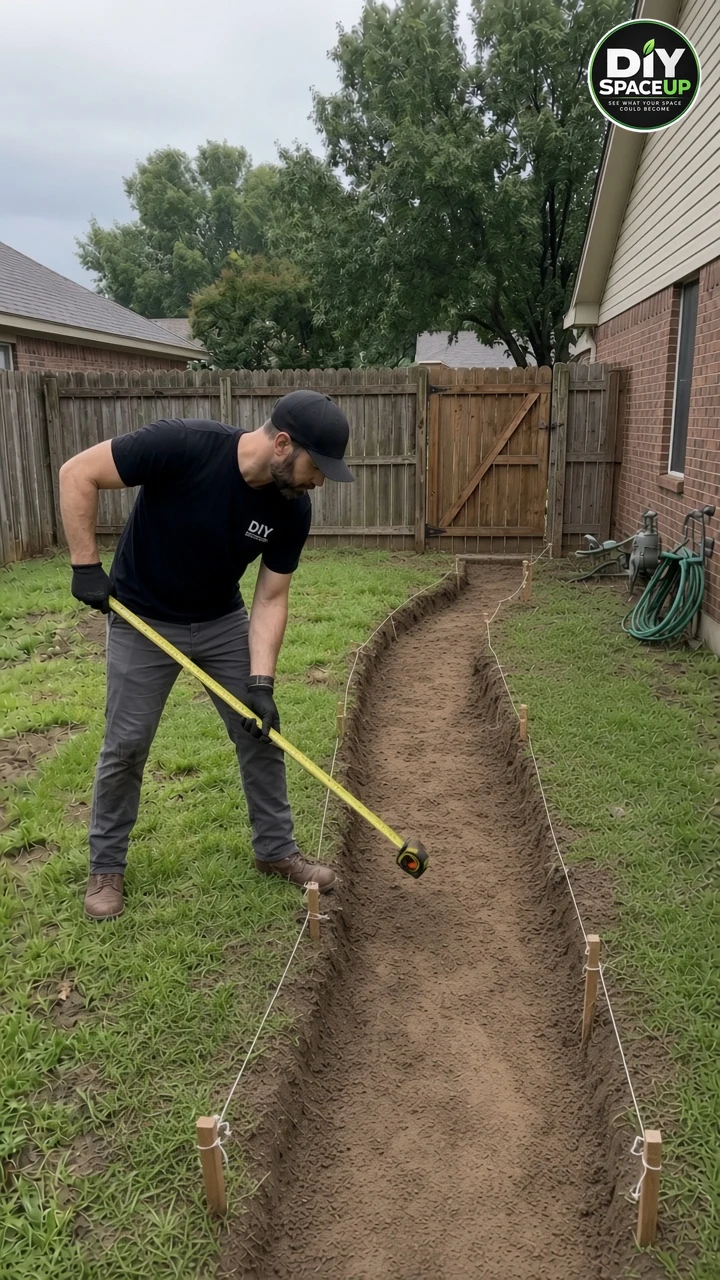
After utilities are marked and permissions are clear, establish finished grades that drain lawfully. Excavate the marked route, remove organics and unsuitable mud, and stop if you expose unknown lines, unstable soil, major roots, or foundation conflicts. Do not compact or pave directly on saturated mud. If the trench is holding water, correct drainage and moisture first.
2. Compact the granular base in controlled lifts
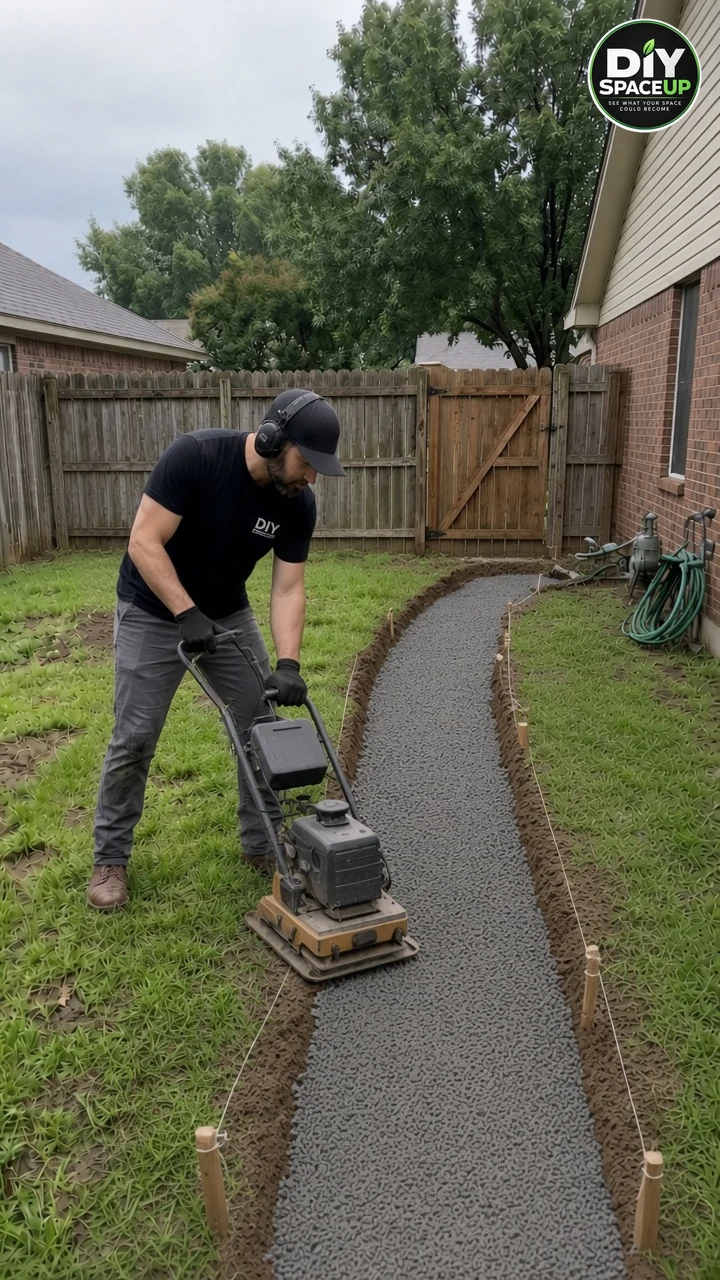
Place the specified dense-graded aggregate and compact it in lifts with appropriate moisture and equipment. CMHA guidance emphasizes that base surface tolerance—not a thick bedding layer—sets the finished plane, and that bedding sand must not be used to hide an uneven base. Keep the compacted base distinct from the later thin screeded bedding course.
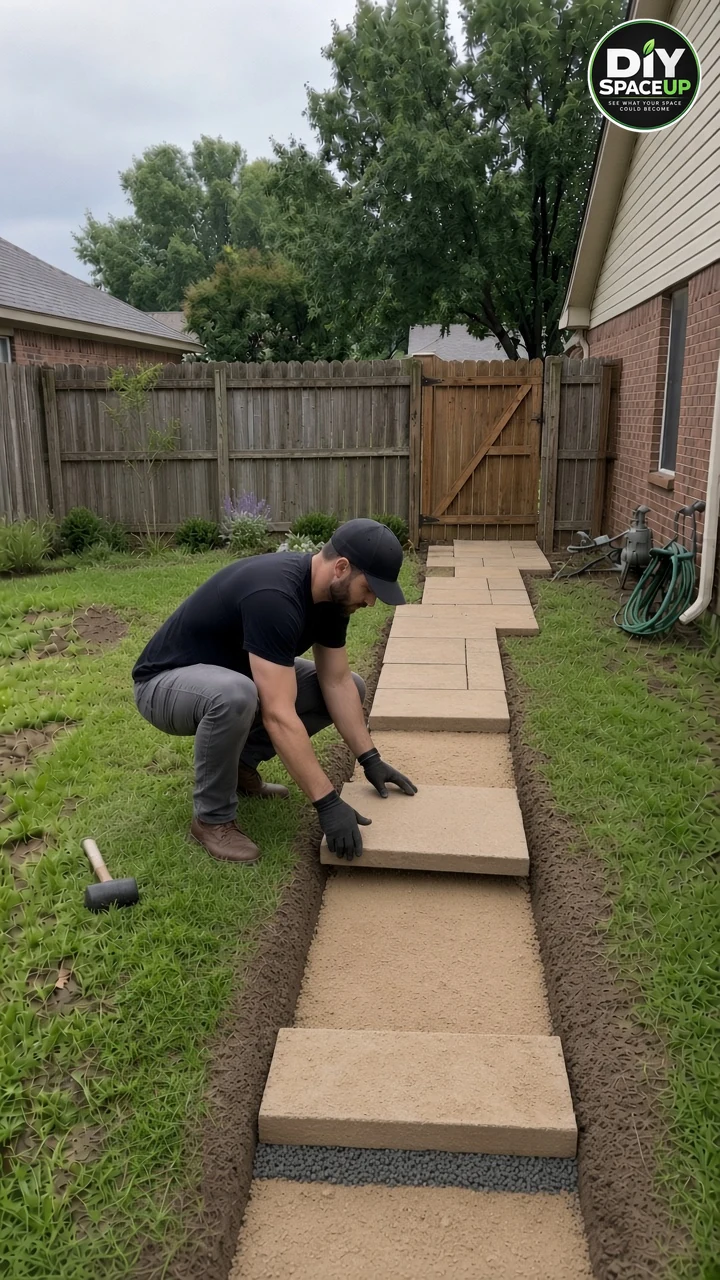
3. Install edge restraints, bedding, and pavers
Install edge restraints on the finished compacted base according to the restraint manufacturer and CMHA edge-restraint guidance: soil backfill alone is not a restraint, and restraints should not sit on bedding sand. For spiked systems, the base typically needs to extend beyond the spikes by about the base thickness. Screed a thin, uniform bedding layer only over an accepted base, then lay the tan modular pavers to the planned pattern while protecting gate swing and utility access.
4. Fill joints, then landscape
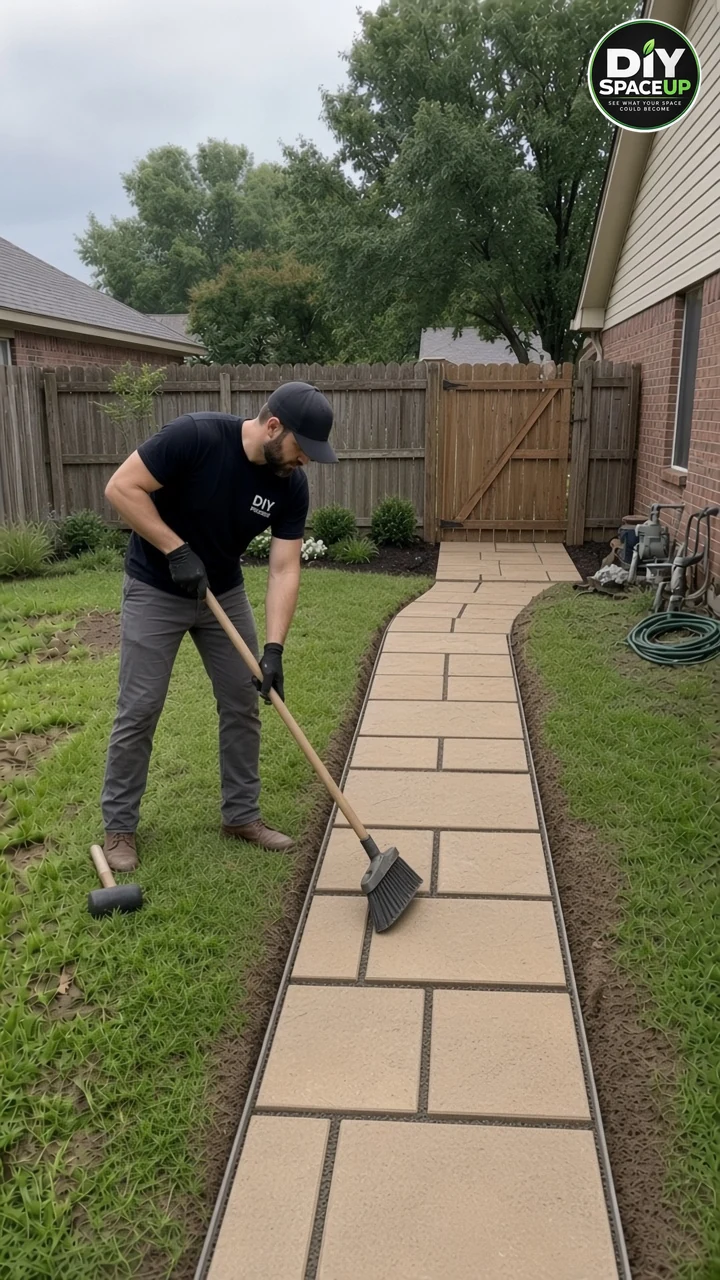
Fill joints with the product selected for the paver system. If you use polymeric sand, follow that product’s dry-surface, temperature, and no-rain window rules; Techniseal-style instructions commonly require dry joints, dry weather, mechanical compaction where specified, full-depth filling, careful watering, and protection from rain while the polymer sets. Final compaction over the field is allowed only when the paver manufacturer permits it and surface protection is used. After the hardscape is stable, add mulch, plants, and path lights without blocking drainage or utilities.
Estimated Project Cost
No measured takeoff, labor quote, or total project price can be read from the reel. Use the categories below as planning examples, then price materials locally and measure your route.
| Category | Planning example | What changes the number |
|---|---|---|
| Concrete pavers | Often several dollars per square foot at retail; pallet pricing varies widely | Format, thickness, color, delivery, waste/cuts |
| Base aggregate | Local bulk pricing by ton or cubic yard | Depth required by soil/frost, haul distance, compaction loss |
| Bedding and joint materials | Bags or bulk for the selected system | Product type, joint width, polymeric vs conventional sand |
| Edge restraint | Priced per linear foot plus spikes/fasteners | Plastic, metal, or concrete systems |
| Equipment | Plate-compactor and saw rental for a short project | Rental duration, delivery, fuel, wet-kit needs |
| Planting and lighting | Optional finish budget | Plant sizes, mulch volume, solar vs wired lighting |
| Private locating / permits | Jurisdiction-dependent | Private utility locate fees, drainage or HOA rules |
Common Mistakes and Safety
| Common mistake | Better approach |
|---|---|
| Paving over a muddy, water-holding route | Correct grade and standing water first; compact only workable soil/aggregate |
| Using thick bedding sand to hide a bad base | Repair and compact the base; keep bedding thin and uniform |
| Skipping edge restraints or setting them on sand | Mount a compatible restraint to the compacted base |
| Copying a universal base thickness from a photo | Follow the selected system and local soil/frost conditions |
| Running a plate compactor over slabs the maker forbids | Use only the manufacturer’s approved seating/compaction method |
| Installing polymeric sand on damp joints before rain | Wait for dry conditions and follow the product’s cure window |
| Blocking weeps, meters, or gate swing with soil or plants | Keep service and swing clearances open |
| Dry-cutting concrete without dust controls | Use approved wet or dust-controlled methods and PPE |
Safety checklist: complete 811 and private locating; wear eye, hand, hearing, and dust protection appropriate to each task; use GFCI protection on outdoor power tools; lift pavers with care; keep people and pets out of open trenches; and hire licensed help for line-voltage lighting or unresolved drainage against the foundation.
Frequently Asked Questions
Can I set pavers directly on the muddy path?
No. Standing water and soft organic soil have to be corrected first. A walkway needs a prepared subgrade and a compacted granular base before any thin bedding layer and pavers.
Is the gray material in the reel a verified base specification?
No. The reel jumps from excavation to a gray surface without showing delivery, lift thickness, moisture conditioning, or compaction testing. Choose aggregate and procedures from the paver manufacturer and local practice.
Do I need polymeric sand?
Only if your selected system calls for it and the joint width/depth match that product. Conventional joint sand remains common; polymeric products add installation weather limits and cleanup discipline.
How does this differ from other DIY SpaceUp walkway articles?
This project is specifically the muddy route to a garden gate beside a brick house with visible utilities and a finished planting edge. Related reading includes the side-yard walkway guide and broader patio/walkway builds, but none of those pages was edited for this draft.
Built carefully, a garden gate paver walkway becomes a walkable tan path instead of a rainy-day mud track—provided drainage, base compaction, restraints, and clearances are treated as seriously as the finished photo.
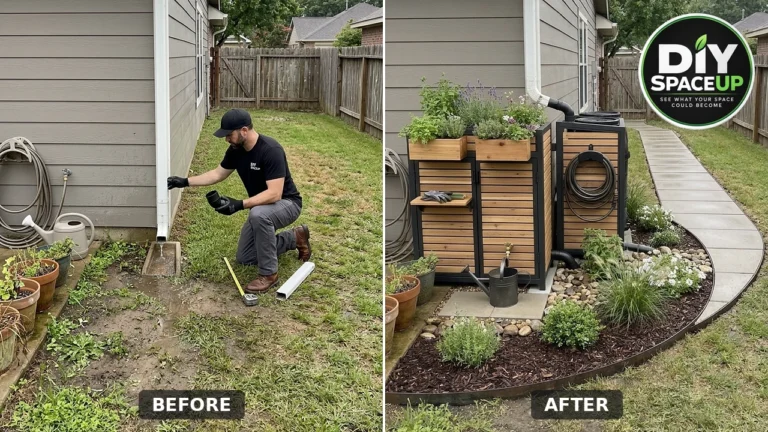
[…] a different garden-gate layout, compare our modular garden gate paver walkway. This project specifically adds a gate-side drain and a sweeping curve; its elevations and outlet […]