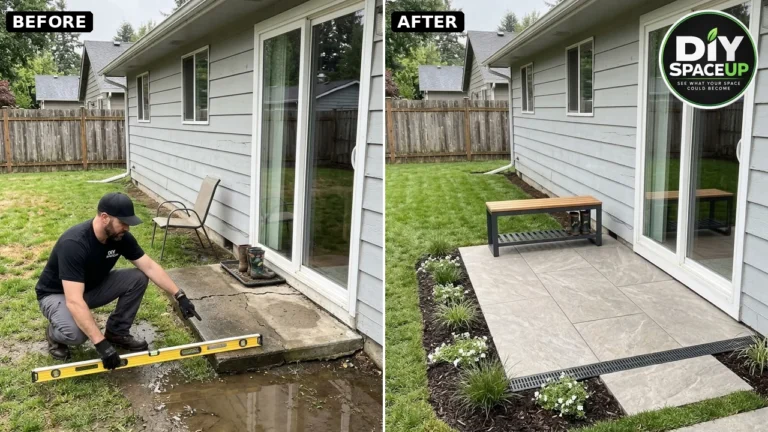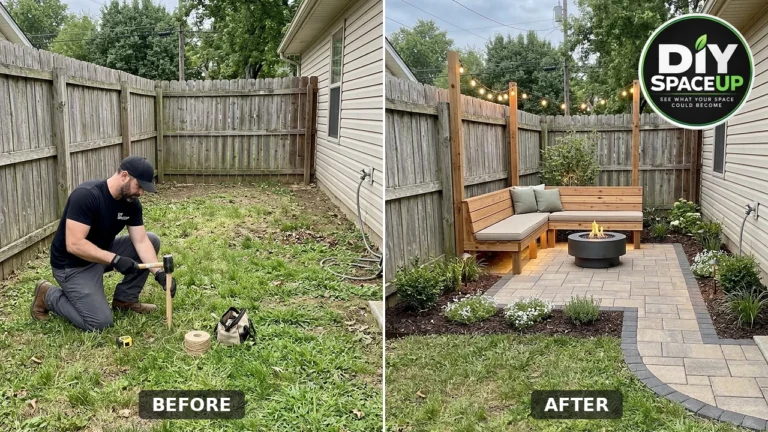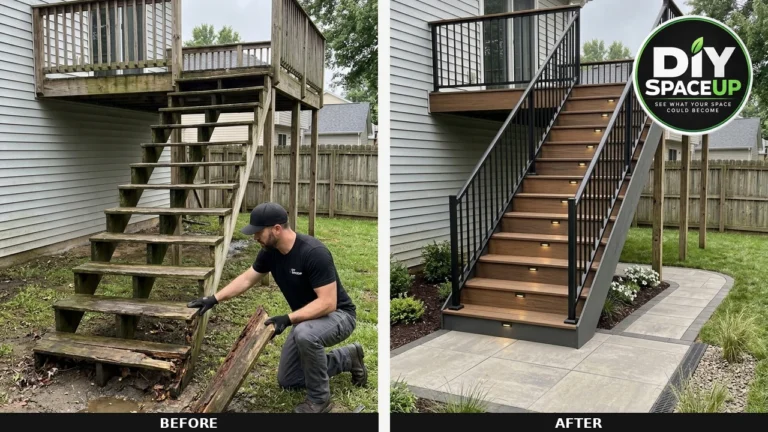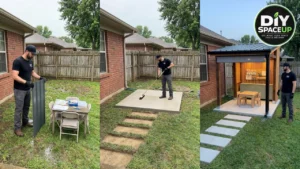

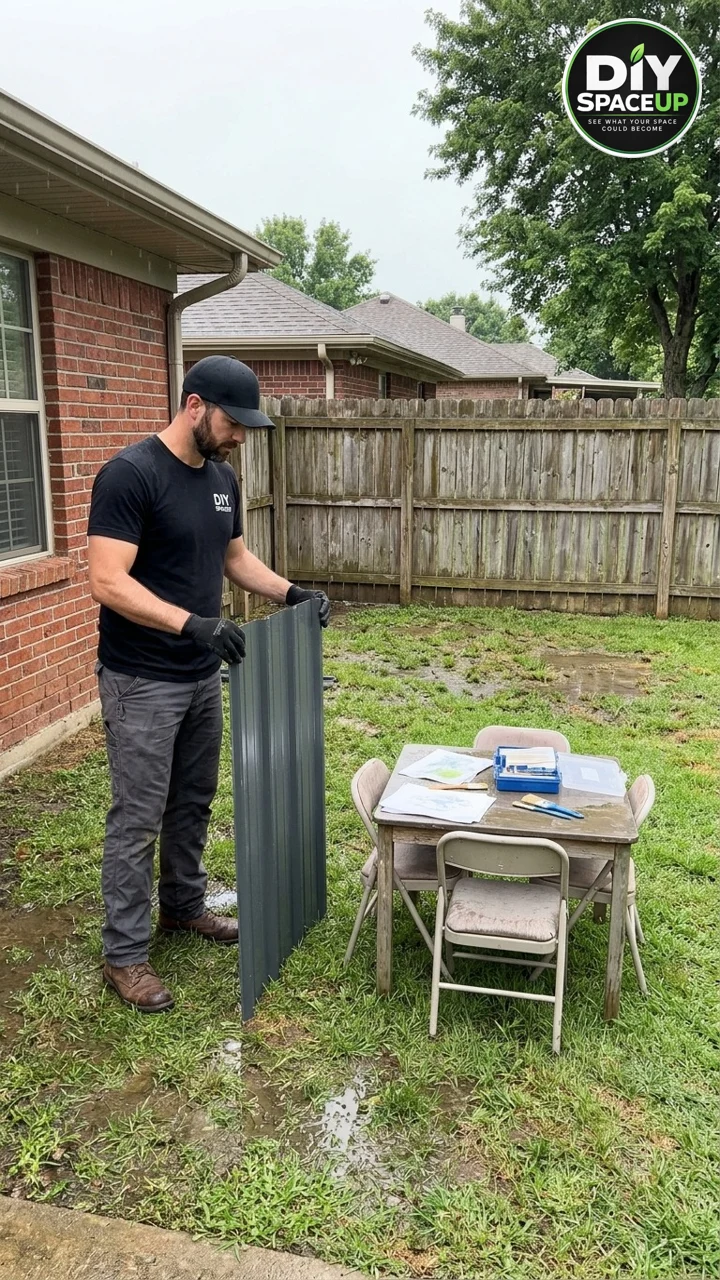
A covered backyard kids studio gives a small outdoor corner a purpose: a sturdy table for drawing, a cabinet for everyday supplies, and a roof overhead when a light shower interrupts the afternoon. This DIY SpaceUp concept replaces a folding table on wet grass with a compact wood-framed shelter, a concrete floor, sage-green storage, and a short stepping-stone approach.
The warm wood slats and little chairs make the transformation inviting. The work that makes it last starts below them: drainage, suitable foundations, and a frame designed for local weather. Before any excavation, follow the 811 before-you-dig process, including the required wait and confirmation that utilities have responded. Arrange separate locating for private lines where needed.
About this guide: The supplied photos and Reel are AI-generated design inspiration, not documentation of a tested building. This guide explains the construction sequence and decisions needed to develop that idea into a real project. Footing sizes, lumber sizes, connections, roof pitch, and exact dimensions must come from a site-specific plan. The open sides do not make this a rainproof room.
Plan a Covered Backyard Kids Studio That Fits the Yard
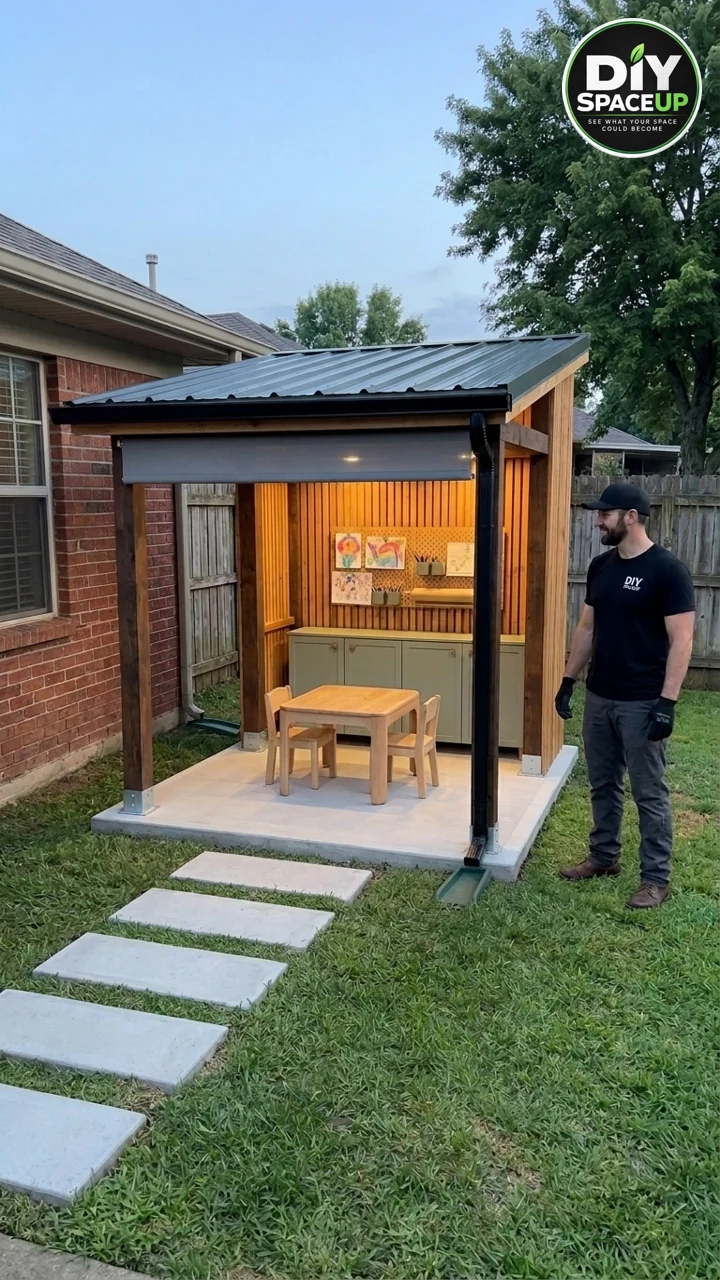
The reference keeps the brick house on the left, the wooden fence behind the shelter, and the lawn open in front. Four posts support a single-slope metal roof. A gutter runs along the lower front edge, with a downspout at the front-right corner. The back and right side have vertical wood cladding; a low cabinet sits against the rear wall below a pegboard. A child-size table stays near the open front.
Keep those relationships when planning your version. Leave access for cleaning behind the cabinet, operating its doors, pulling out chairs, and maintaining the house wall. Do not block a window, required exit, utility service, or existing downspout. Leave room outside the footprint for roof overhangs and gutter maintenance.
Measure the children’s actual furniture before choosing the shelter footprint. Put the table and chairs on a temporary outline on the lawn. Open the cabinet doors and have an adult walk around the arrangement. If a chair backs into a post or the table prevents an easy exit, enlarge or simplify the layout before buying lumber.
| Measurement | What to record |
|---|---|
| Usable floor | Table, chairs pulled out, cabinet depth, and a clear walking route |
| Overall roof | Overhangs, gutter, height at both ends, and approved roof slope |
| Site clearances | House, fence, property lines, easements, trees, windows, and services |
| Finished elevations | Slab, surrounding lawn, path, and the drainage outlet |
| Ground conditions | Soft soil, roots, existing fill, slope, and standing-water locations |
No reliable scale is provided in the images, so there is no exact cut list for this design. A furniture layout is a planning tool, not a structural plan. Have the roofed structure checked for your location’s wind, snow, frost depth, soil, and required setbacks. A permit exemption, where one applies, does not establish that a particular frame is safe.
Affiliate Disclosure: As an Amazon Associate I earn from qualifying purchases. Product links below may earn a commission at no additional cost to you. These are similar tool options for the tasks described, not verified equipment from the AI illustrations. Check the exact model, fit, and manufacturer instructions before ordering.
Materials and Tools
Choose the structural system first, then order matching components. A post base, anchor, beam connector, and screw must work together with the specified wood and concrete. Decorative appearance is not a substitute for a load rating.
| Materials | Selection notes |
|---|---|
| Footing concrete, reinforcement, and anchors | Quantities, depth, dimensions, and embedment from the approved foundation plan; source locally. |
| Slab materials and compacted granular base | Concrete finish, reinforcement, joints, base, and moisture provisions appropriate to the site. |
| Exterior structural lumber and rated connectors | Posts, beams, rafters, blocking, bracing, and fasteners specified for the actual spans and exposure. |
| Metal roofing system | Panels, compatible substrate, underlayment where required, closures, trim, sealants, and specified fasteners from one documented system. |
| Gutter and downspout components | Size for the roof and rainfall; include a lawful discharge route away from the foundations. |
| Exterior wood slats, battens, and finish | Weather-suitable material, exterior coating, and compatible corrosion-resistant fasteners. |
| Outdoor cabinet, pegboard, and lidded bins | Weather-resistant products with suitable mounting and child-safe hardware. |
| Child-size outdoor furniture | Stable, rounded edges, appropriate seat height, and a surface that is easy to clean. |
| Optional outdoor screen and lighting | Cordless screen; listed fixtures rated for the actual wet or damp exposure. |
| Stepping pavers and their base | Outdoor slip-resistant units and manufacturer-compatible base and setting materials. |
| Tools and equipment | Use |
|---|---|
| STANLEY PowerLock 25-foot tape measure (33-425), Swanson 7-inch Speed Square (S0101), stakes, and string | Layout, diagonals, and repeatable reference lines. |
| Long level or appropriate site laser | Grade checks, post plumb, and frame alignment. |
| DEWALT DCD771C2 cordless drill/driver kit and specified bits | Approved connections and predrilling; use an anchor installer’s required equipment for concrete. |
| Suitable saw, DEWALT 6-inch trigger clamps (DWHT83139), and work supports | Controlled lumber cuts at ground level. The 6-inch clamps are a similar option for small parts and slats; choose larger clamps when the workpiece requires them. Clamps are not a substitute for structural bracing. |
| Gloves, DEWALT DPG82 clear safety goggles, hearing protection, and suitable dust control | Protection appropriate to each operation and the tool manufacturer’s instructions. |
| Compaction and concrete equipment | Rent appropriate equipment or include it in the concrete contractor’s scope. |
| Roof access equipment | Stable ladder or work platform selected for the task, with a competent helper. |
Buying a heavy compactor or concrete equipment for one small project rarely makes sense. Compare local rental and contractor options. Select connectors and anchors from the structural specification rather than a generic online shopping list.
How to Build the Covered Backyard Kids Studio
Step 1: Check Approvals and Fix the Water Plan
Confirm zoning, permits, HOA requirements where applicable, property boundaries, and access before committing to the footprint. Locate underground utilities and check overhead lines. If work approaches a tree’s major roots or the house foundation, get appropriate advice before digging.
Visit the corner after rain. Identify whether water comes from the house downspout, an uphill part of the lawn, poorly draining soil, or several sources. Set the slab elevation and surrounding grades so water has a planned route. Do not solve one puddle by sending runoff toward a neighbor.
The short green splash block in the reference does not prove that the downspout has an adequate outlet. Plan the entire route before pouring concrete. Our underground downspout drainage guide explains the difference between carrying roof runoff in solid pipe and collecting groundwater in a perforated drain.
Step 2: Establish Structural Footings Before the Floor
Mark the post centers from the structural plan. Excavate and form the specified footings or piers, keeping the required bearing conditions and frost protection. Complete any required inspection before concrete conceals the work. Provide approved reinforcement and anchor locations as detailed.
A patio slab is not automatically a foundation for a roof. The real design may use independent piers under each post or a specifically engineered thickened foundation integrated with the slab. Its capacity cannot be established by looking at the smooth floor in an illustration. Do not choose footing size, anchor embedment, or concrete edge distance by copying the picture.
If an existing slab is being considered, have its condition, thickness, reinforcement, support, and anchor capacity verified first. Avoid drilling into concrete that may contain post-tensioning or concealed services without the appropriate assessment.
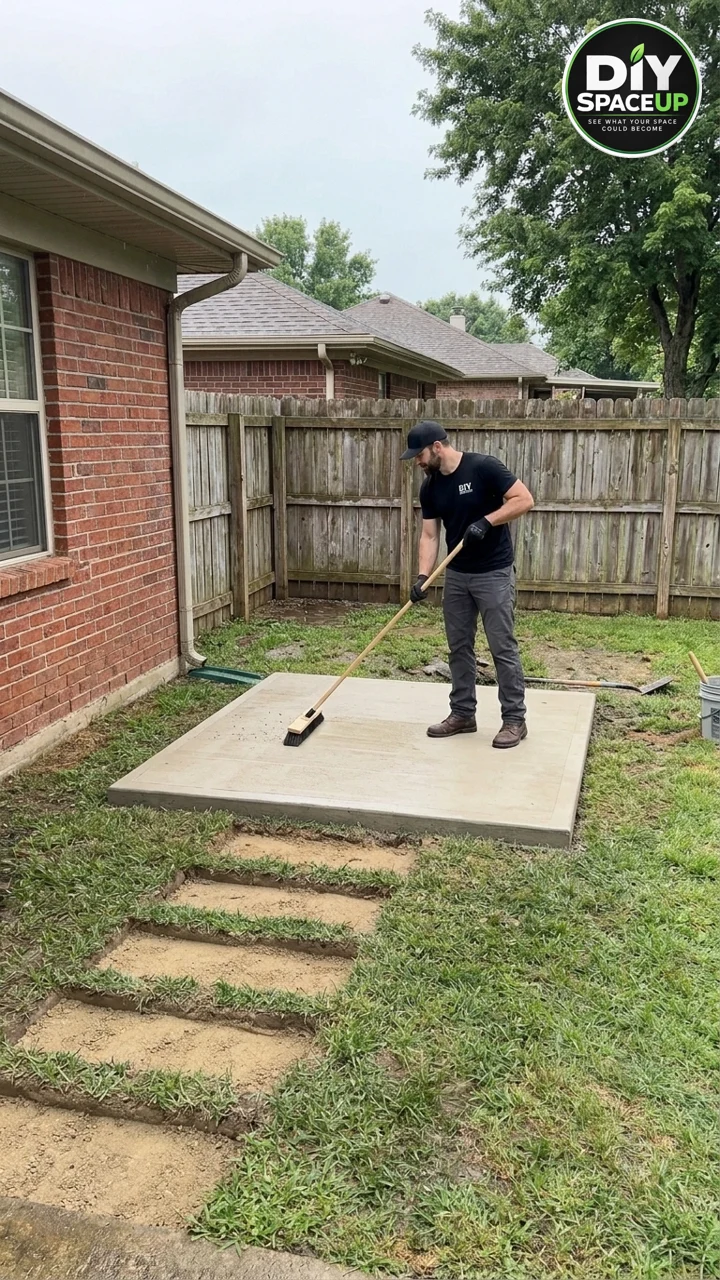
Step 3: Prepare and Finish the Concrete Slab
Remove unsuitable organic material and prepare the subgrade and compacted base to the slab design. Set forms using the planned finished elevations. Coordinate the walking surface with the foundations, house clearance, and path so it does not become a basin or create an awkward step.
Place reinforcement and joints as specified. Have the concrete finished with suitable outdoor traction; a glossy interior-style finish can be slippery when wet. Keep children out of the area during placement and curing. Follow the concrete and anchor manufacturers’ strength and curing requirements before erecting or loading the structure. A surface that looks dry is not proof that it is ready for anchors.
Step 4: Erect the Frame With a Complete Bracing System
Install the specified standoff bases and posts, then temporarily brace the posts plumb in both directions. Fit beams and rafters using the approved bearing details, connectors, and fastener schedule. Follow the load path from roof panels through the supporting frame to the footings, including uplift resistance.
Keep temporary bracing until the permanent stability system is complete. That system may use designed knee braces, structural wall panels, or rated moment connections. The slender wood slats shown at the back are decorative cladding unless an actual structural design says otherwise.
The post-base manufacturer’s guidance warns that ordinary post bases do not by themselves prevent posts rotating at the base. Four posts with a roof and decorative walls are not automatically a braced shelter.
Treat this concept as freestanding. The brick house wall in the background is not permission to fasten a load-bearing ledger into brick veneer. Any proposed house attachment needs its own structural, flashing, and approval details.
Step 5: Install the Roof, Gutter, and Discharge Route
Use the selected metal-panel manufacturer’s installation instructions for minimum slope, support spacing, substrate, underlayment, panel overlaps, fastener position, and closures. Different profiles have different requirements. The shallow roof drawn in the reference is not a measured or approved pitch.
Install the roof system in its specified sequence, including edge trim and flashing. Handle sharp metal edges with suitable protection and keep panels controlled in wind. Use appropriate access equipment; avoid reaching sideways from a ladder while holding a panel.
Place the gutter along the roof’s low edge and secure the downspout to the frame. Connect its discharge to the planned outlet without dumping water beside a footing or onto the stepping path. Where the ground remains wet, compare the broader site approach in our muddy backyard drainage guide. A roof relocates rainwater; it does not make that water disappear.
Step 6: Add Exterior Slat Walls and Secure Storage
Install the back and right-side cladding after the frame is stable and the roof is complete. Use exterior-suitable wood and a wall assembly that can drain and dry. Maintain clearances from concrete and soil according to the selected materials. Finish exposed cut ends and use fasteners compatible with treated wood and adjacent metal.
Choose an outdoor-rated cabinet rather than assuming a painted indoor cabinet will withstand humidity. Secure it to structural blocking using its anti-tip instructions. The thin finish slats alone are not an adequate mounting assumption. Attach the pegboard to suitable backing and keep small hooks, sharp tools, adhesives, and other adult supplies out of children’s reach.
Lidded bins help organize washable art supplies, but paper, electronics, and moisture-sensitive materials belong indoors during damp weather. Leave space to inspect and clean behind the cabinet.
Step 7: Fit Lighting and an Optional Child-Safe Screen
Warm lighting makes the small space appealing near dusk. Choose listed fixtures rated for their actual exposure, with secure mounting and protected wiring. A roof does not automatically make an open shelter a dry location.
Have permanent wiring and any new outdoor receptacle installed by a qualified electrician under local requirements. Include GFCI protection and appropriate weatherproof covers. ESFI’s outdoor electrical guidance explains the importance of weatherproof covers and protection around water. Do not run a household extension cord through a window as permanent power.
If adding the gray roll-down screen shown in the reference, select a cordless outdoor product and follow its wind limits and mounting instructions. Keep the bottom rail and moving parts away from the table and children’s hands. A screen can catch wind and adds forces to its supports. It is not structural bracing or a storm wall.
Step 8: Install the Approach and Arrange the Furniture
Set stepping pavers on a prepared, compacted base appropriate to the units and soil. Do not lay them directly in loose mud. Keep them stable and free of abrupt height changes, with a comfortable route from the house to the slab.
The wide grassy gaps in the reference may be inconvenient for little feet, a stroller, or someone with limited mobility. Adjust the spacing or choose a continuous accessible path to meet the household’s needs. Our paver walkway guide covers base preparation and drainage decisions.
Put the table on a stable area, leave the exit open, and check every chair for wobble. Use age-appropriate outdoor furniture with rounded edges. Do not position chairs where they invite climbing onto the cabinet or reaching lighting and screen hardware.
Step 9: Inspect Before the First Art Afternoon
Complete required inspections and check the finished work against the structural and electrical plans. Look for missed fasteners, sharp edges, loose trim, unsecured storage, pinch points, and trip hazards. Verify that the screen operates safely and the cabinet doors cannot hit a seated child.
Observe drainage during ordinary rain from a safe location. Check for gutter overflow, water collecting at bases, and flow crossing the path. Have drainage defects corrected before furnishing the space permanently. Move children indoors whenever conditions become windy, stormy, excessively hot, or cold.
Budget and Timing: What to Price Before Starting
A roofed shelter with concrete and electricity is a small construction project, even when the furniture is tiny. The images contain no invoices, dimensions, or local labor rates, so a reliable total cannot be calculated from them. Request itemized local quotes rather than treating a social-media makeover as a fixed-price kit.
| Budget allowance | What the quote should include |
|---|---|
| Planning and approvals | Drawings, structural review, permits, and inspections where required. |
| Site and drainage | Excavation, disposal, private locating if needed, grading, and the full runoff outlet. |
| Foundations and concrete | Piers or engineered thickened footings, reinforcement, base, slab, joints, delivery, labor, and access. |
| Frame and roof | Lumber, complete connectors and bracing, roofing system, gutter, and installation equipment. |
| Fit-out | Cladding, finish, weather-resistant storage, furniture, optional screen, lighting, and path. |
Keep separate contingency money for unsuitable soil, difficult access, and drainage discoveries. Save by simplifying finishes, postponing the screen, or using furniture already owned if suitable for outdoor use. Do not reduce the foundation, bracing, or connection specification to meet a decorating budget.
Schedule approvals and site work first, followed by foundations and slab, the required curing period, framing and roofing, and finally fit-out. Inspection availability, concrete requirements, weather, and trade schedules determine the elapsed time. This is not a one-afternoon build.
Maintenance and Realistic Weather Protection
Before each season, check roof fasteners and trim as the roofing maker directs, clean the gutter, inspect the outlet, and look for movement or corrosion at connections. Check the cabinet’s anti-tip attachment, pegboard hooks, lighting, screen, and pavers. Recoat exterior wood when the finish system calls for it.
After strong wind or a major storm, inspect before children return. Do not let them climb the frame, cabinet, or screen. Keep the workspace supervised and store construction tools elsewhere.
The roof helps with overhead rain and shade. The open front and side still admit wind-driven rain, splash, humidity, insects, and temperature changes. Bring sensitive supplies inside. For a fully enclosed, conditioned room, start a different building design with the relevant permits and moisture, ventilation, and life-safety requirements.
Covered Backyard Kids Studio FAQ
Do I need a permit for a small outdoor homework shelter?
Possibly. Requirements depend on location, size, height, foundations, placement, and electrical work. Ask the local building department before ordering materials. Check zoning and easements separately.
Can I bolt the posts to an existing patio?
Only if the patio and anchorage have been verified for the roofed structure. A walking slab may lack the necessary thickness, reinforcement, bearing support, or edge distances. Separate structural footings may be required.
Will a metal roof keep the art supplies dry?
It reduces rain from above, but open sides remain exposed. Use appropriate storage, take paper and electronics indoors, and stop using the space in unsuitable weather.
Are the wood slat walls enough to stabilize the shelter?
Not by appearance alone. A designed bracing or moment-resisting system must stabilize the frame. Finish slats and a pegboard are not automatically structural panels.
Can the shelter attach to the brick house?
A house attachment needs an approved load path and flashing details. Do not support a roof by fastening a ledger to brick veneer. The concept can instead be developed as a freestanding structure with its own foundations.
What is the simplest way to reduce the scope?
Keep the first version to the properly designed shelter, safe floor and approach, weather-suitable table, and secure storage. Add lighting or the screen later through the proper installation process. Keep the drainage and structural work complete from the beginning.
A successful covered backyard kids studio is easy to use and easy to put away: a clear table, reachable everyday supplies, stable seating, and a dry route back indoors. The sage cabinet and warm wood give this concept its character; careful site planning and a sound structure make a real version worth building.